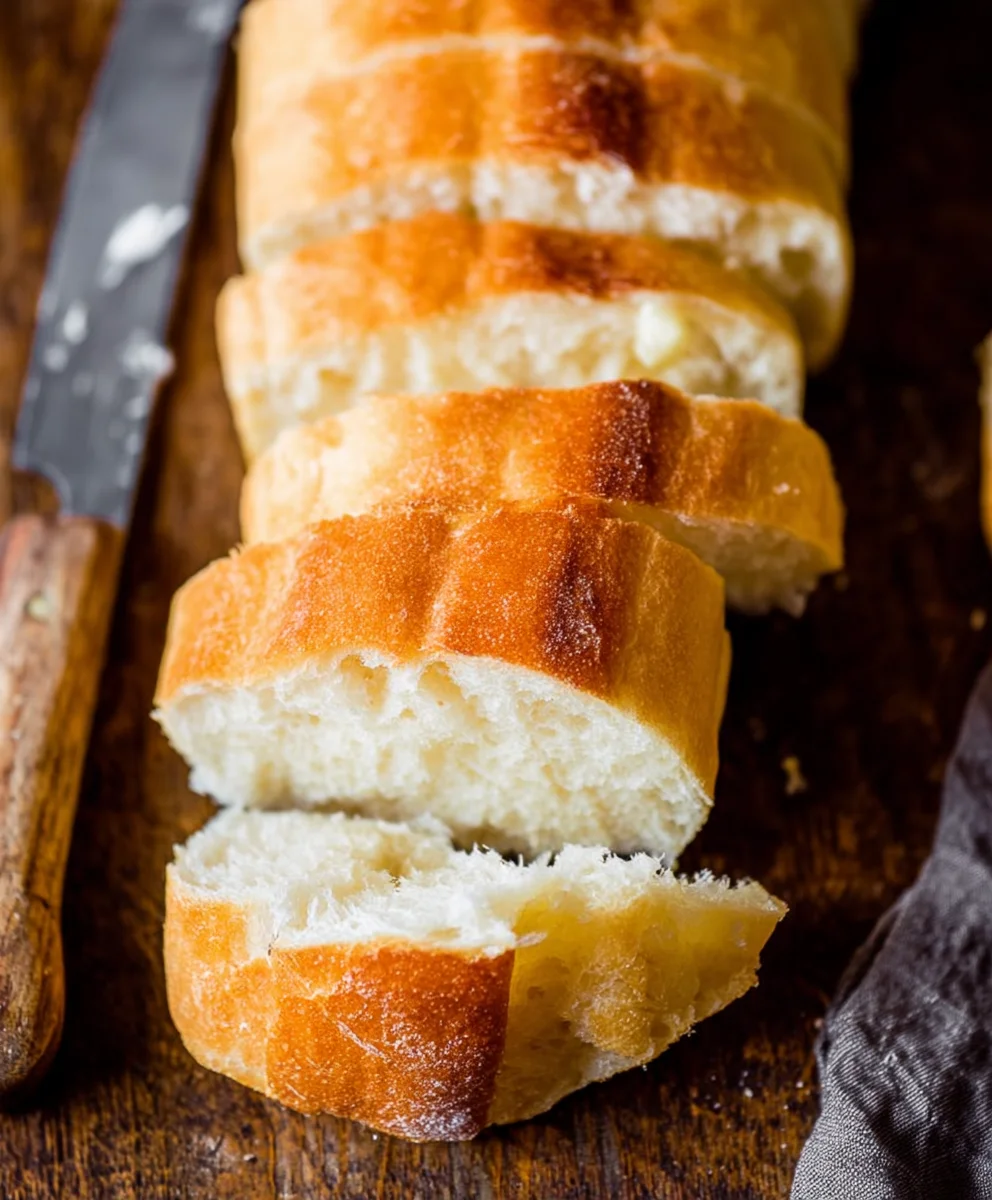
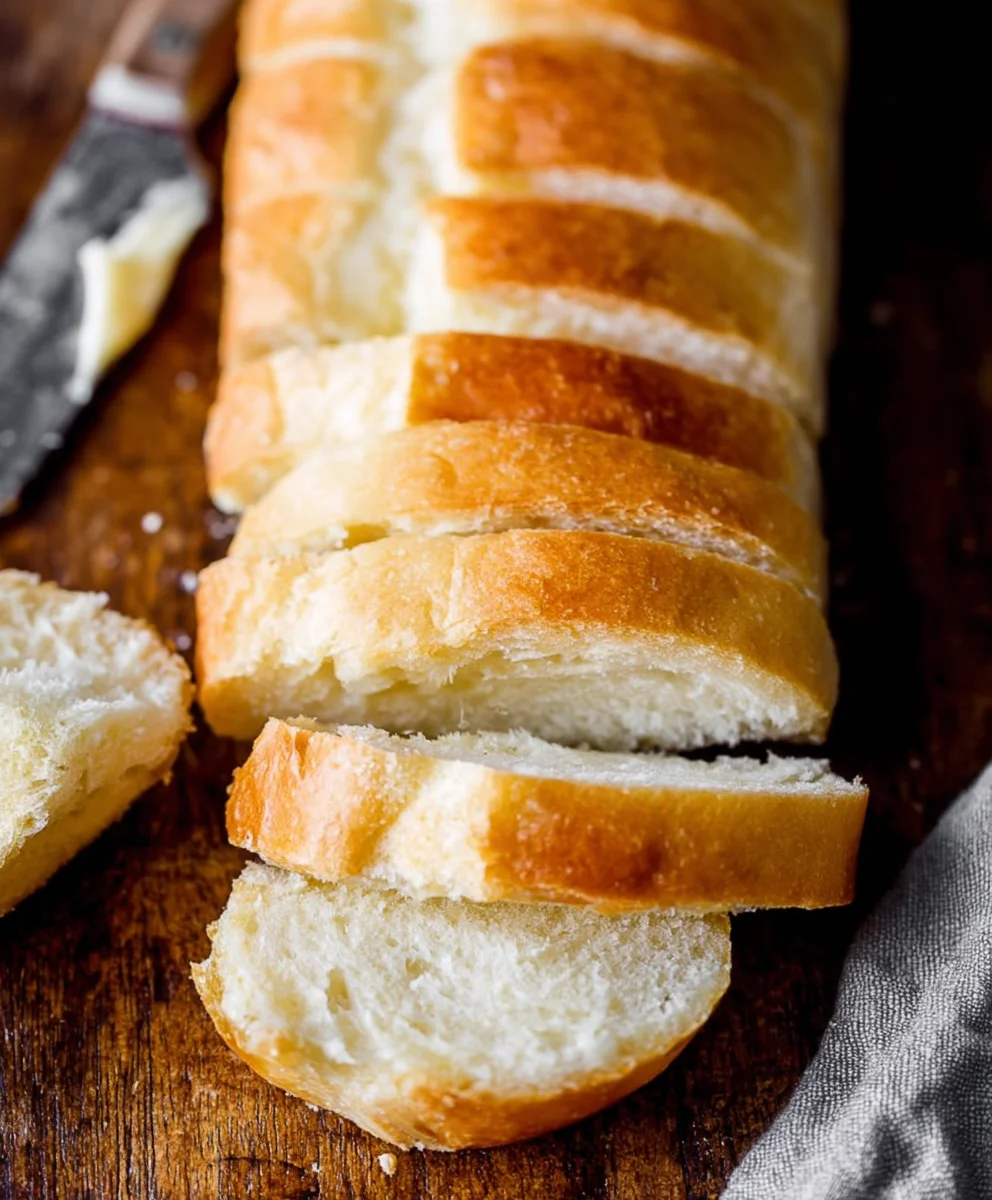
Easy One Hour French Bread – Delicious Homemade Loaf
One Hour French Bread Recipe that’s crispy on the outside, impossibly soft and airy on the inside, and ready in about sixty minutes from start to finish. Yes, you read that right – delicious, homemade French bread, without the hours of rising and waiting! This isn’t some shortcut that sacrifices flavor for speed; it’s a revelation. People adore French bread for its wonderfully simple yet incredibly satisfying texture and taste. It’s the perfect accompaniment to any meal, from a hearty soup to a delicate salad, and it makes for the most delightful grilled cheese or bruschetta. What truly makes this One Hour French Bread Recipe special is the magic of yeast working its quick magic, coaxing that classic open crum extractb and golden crust to perfection, all while you can still get on with your day. Forget those intimidating, time-consuming recipes; this one is designed for busy lives and instant gratification.
Ingredients:
- 1 & 1/2 cups warm water
- 1 tablespoon white sugar
- 1 & 1/2 tablespoons active dry yeast
- 1 & 1/2 teaspoons salt
- 1 & 1/2 tablespoons unsalted butter, softened to room temperature
- 3 to 4 cups all-purpose flour, spooned and leveled
- 1 large egg white, lightly beaten (optional, for brushing the crust)
Getting Started: Activating the Yeast
The foundation of any good bread, especially a speedy one, lies in properly activating your yeast. This initial step ensures your bread will have a light and airy texture. In a large mixing bowl, combine the 1 & 1/2 cups of warm water with the 1 tablespoon of white sugar. The water should feel comfortably warm to the touch, like a warm bath, ideally between 105-115°F (40-46°C). Too hot and you’ll kill the yeast; too cool and it won’t activate efficiently. Once you’ve stirred in the sugar until it dissolves, sprinkle the 1 & 1/2 tablespoons of active dry yeast over the surface of the water. Don’t stir it in just yet. Let it sit undisturbed for about 5 to 10 minutes. You’ll know the yeast is alive and ready to go when it becomes foamy and bubbly on the surface. This visual cue tells you the yeast is consuming the sugar and releasing carbon dioxide, which is exactly what we want for a good rise. If you don’t see any foam, your yeast may be old or the water temperature was off, and you’ll need to start this step again with fresh yeast.
Incorporating the Flavor and Structure
Once your yeast mixture is happily foamy, it’s time to add the other wet ingredients and some foundational flavors. To the activated yeast mixture, add the 1 & 1/2 teaspoons of salt. The salt not only adds flavor but also helps control the yeast’s fermentation and strengthens the gluten structure. Next, gently incorporate the 1 & 1/2 tablespoons of softened butter. Softened butter, not melted, will incorporate more smoothly into the dough and contribute to a tender crum extractb. You can either use your hands to gently push the butter into the foamy mixture or give it a quick stir to distribute it. Now, it’s time to start adding the flour. Begin extract by adding 3 cups of the all-purpose flour, stirring with a wooden spoon or a sturdy spatula until it’s just combined with the wet ingredients. The dough will be quite shaggy and sticky at this stage, which is perfectly normal. It’s important to measure your flour correctly; spoon it into your measuring cup and level it off with a straight edge to avoid packing too much flour, which can result in a dense loaf.
Kneading for that Perfect Dough Texture
This is where the magic happens, developing the gluten that gives our bread its structure. Turn the shaggy dough out onto a lightly floured surface. You might be tempted to add more flour immediately, but resist the urge! Start kneading the dough. Use the heel of your hand to push the dough away from you, then fold it back over itself, turn it a quarter turn, and repeat. This rhythmic motion is key. Initially, the dough will be quite sticky. As you continue to knead, it will gradually become smoother and more elastic. If the dough is sticking excessively to your hands and the work surface, you can lightly dust your hands and the surface with a little more flour, but use this sparingly – too much flour will make the bread tough. Continue kneading for about 5 to 7 minutes. You’re looking for a dough that is smooth, elastic, and springs back when gently poked. It should feel slightly tacky but not stick to your fingers. This thorough kneading is what will give our French bread its characteristic texture and chew.
The Speedy Rise: A Warm Environment
For a “One Hour French Bread Recipe,” we need to encourage a quick rise. Lightly grease a clean large bowl with a little oil or cooking spray. Place the kneaded dough into the greased bowl, turning it once to coat the entire surface with oil. This prevents the dough from drying out as it rises. Cover the bowl tightly with plastic wrap or a clean kitchen towel. Now, find a warm, draft-free spot for your dough to rest and rise. An oven that has been preheated briefly to its lowest setting (around 100-150°F or 38-65°C) and then turned off is ideal. Alternatively, you can place the bowl in a warm kitchen corner. The goal is to create a cozy environment for the yeast to work its magic. In this warm spot, the dough should double in size in about 30 to 45 minutes. Keep an eye on it; the exact time can vary depending on the ambient temperature and the activity of your yeast.
Shaping and Baking for a Golden Crust
Once the dough has doubled in size, gently punch it down to release the air. Turn the dough out onto your lightly floured work surface again. At this point, you can shape your bread. For traditional French baguettes, divide the dough into two or three equal portions. Gently shape each portion into a long, thin loaf, tucking the ends underneath to create tension. If you prefer a simpler loaf, you can just shape it into one larger oval or round. Place the shaped loaves onto a baking sheet lined with parchment paper or a silicone baking mat. If you are making baguettes, you can score the top of the loaves with a sharp knife or a lame. This allows the steam to escape as the bread bakes, preventing blowouts and creating a beautiful crust. If you’re using the optional egg white, gently brush it over the top of the loaves. This will give your French bread a lovely golden sheen and a slightly crispier crust. Preheat your oven to 400°F (200°C) while the bread is resting for a few minutes before baking. Bake for 20 to 25 minutes, or until the crust is deep golden brown and the internal temperature of the bread reaches around 200-210°F (93-99°C) when tested with an instant-read thermometer. The aroma filling your kitchen will be incredible!
Conclusion:
And there you have it – a delicious, crusty, and surprisingly quick loaf with our One Hour French Bread Recipe! This recipe truly delivers on its promise, allowing you to enjoy the aroma and taste of freshly baked bread without a lengthy wait. The simplicity of the ingredients and the streamlined process make it perfect for bakers of all levels, from those just starting out to seasoned pros looking for a speedy solution.
This versatile loaf is fantastic served warm with butter, alongside your favorite soups and stews, or as the base for delightful sandwiches. For a touch of elegance, consider brushing it with a little olive oil and herbs before baking for an extra layer of flavor. Feel free to experiment with adding a sprinkle of cheese or finely chopped herbs to the dough before the second rise for a personalized touch.
We hope you feel empowered and inspired to give this One Hour French Bread Recipe a try. The satisfaction of pulling a golden-brown, fragrant loaf from your oven is unparalleled, and this recipe makes it achievable any day of the week. Happy baking!
Frequently Asked Questions:
Can I make this bread ahead of time?
While this recipe is designed for speed, you can prepare the dough and let it have its first rise in the refrigerator overnight. Then, bring it to room temperature and proceed with the shaping and second rise as per the recipe instructions. This will extend the total time but can be convenient.
My bread didn’t get as crusty as I expected. What did I do wrong?
A few things can contribute to a less-than-crusty exterior. Ensure your oven is fully preheated and consider placing a baking sheet or oven-safe pan filled with water on the rack below your bread during the initial baking phase. The steam created helps develop a beautiful, crisp crust. Also, make sure you’re baking the bread at the correct temperature for the full duration.
Easy One Hour French Bread – Delicious Homemade Loaf
A quick and delicious recipe for homemade French bread that can be made in about an hour. Perfect for beginners and busy cooks.
Ingredients
-
1 1/2 cups warm water
-
1 tablespoon white sugar
-
1 1/2 tablespoons active dry yeast
-
1 1/2 teaspoons salt
-
1 1/2 tablespoons unsalted butter, softened
-
3 to 4 cups all-purpose flour, spooned and leveled
-
1 large egg white, lightly beaten (optional)
Instructions
-
Step 1
In a large bowl, combine warm water (105-115°F) and sugar. Sprinkle yeast over the top and let sit for 5-10 minutes until foamy. -
Step 2
Add salt and softened butter to the yeast mixture. Stir to combine. Gradually add 3 cups of flour, stirring until just combined, forming a shaggy dough. -
Step 3
Turn the dough onto a lightly floured surface. Knead for 5-7 minutes until smooth, elastic, and slightly tacky. Add minimal flour if needed. -
Step 4
Place dough in a lightly oiled bowl, turning to coat. Cover and let rise in a warm, draft-free place for 30-45 minutes, or until doubled in size. -
Step 5
Punch down the dough. Shape into loaves (baguettes or one larger loaf). Place on a parchment-lined baking sheet. Score the tops if making baguettes. -
Step 6
Brush with optional egg white for a golden crust. Preheat oven to 400°F (200°C). Bake for 20-25 minutes until deep golden brown.
Important Information
Nutrition Facts (Per Serving)
It is important to consider this information as approximate and not to use it as definitive health advice.
Allergy Information
Please check ingredients for potential allergens and consult a health professional if in doubt.