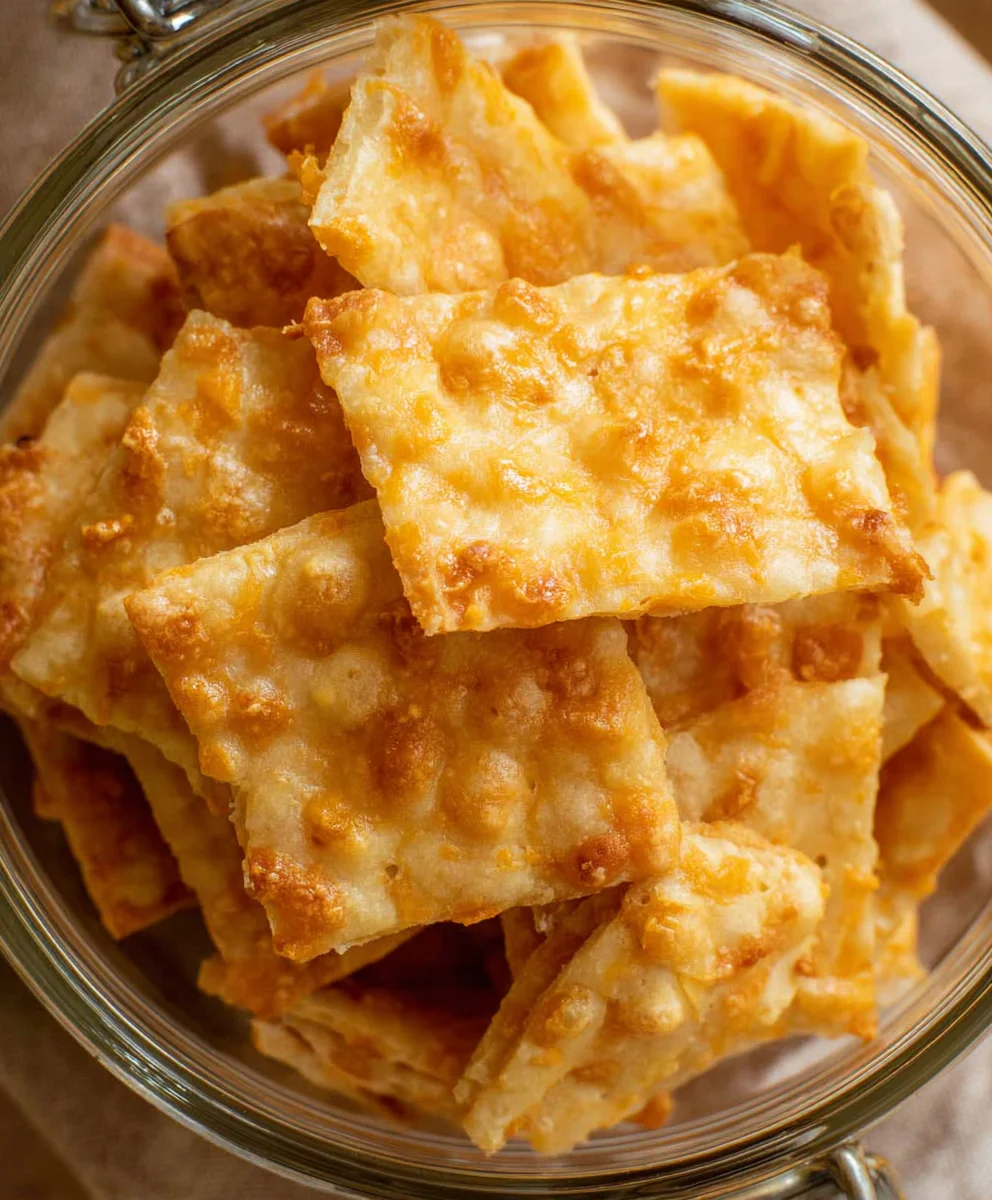
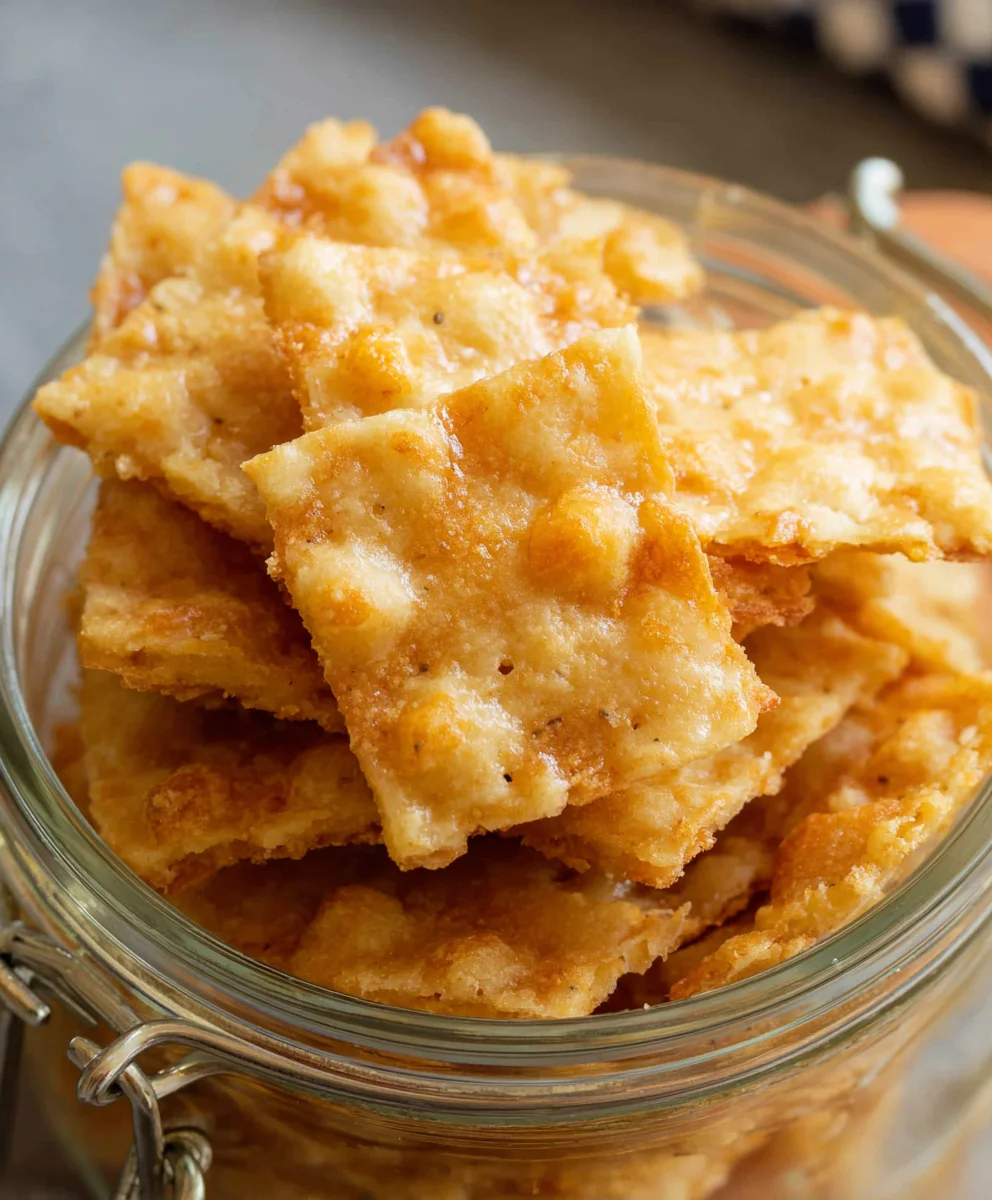
Sourdough Cheddar Crackers – Crispy Cheesy Homemade Bites
Sourdough Cheddar Crackers are more than just a snack; they’re a delightful journey for your taste buds, a testament to the magic of fermentation, and a crunchy, cheesy revelation. If you’ve ever found yourself reaching for a store-bought cracker only to be met with a bland, uninspired crunch, you’re not alone. That’s where these homemade wonders come in, offering a depth of flavor and an irresistible texture that simply cannot be replicated. People adore these because they perfectly balance the tangy complexity of sourdough with the sharp, savory punch of good quality cheddar. What truly sets these Sourdough Cheddar Crackers apart is the way the long fermentation process of the sourdough starter tenderizes the dough, creating a light, airy crum extractb within each crisp bite. They are wonderfully versatile, perfect for a cheese board, a soup accompaniment, or simply enjoyed on their own for a truly satisfying moment.
Ingredients:
- 2 tablespoons unsalted butter, softened
- 1 cup all-purpose flour
- ¾ cup active sourdough starter (discard starter is perfect here!)
- ¾ cup shredded sharp cheddar cheese
- Kosher salt, for sprinkling
Making Your Sourdough Cheddar Crackers
Phase 1: Bringin extractg the Dough Together
Let’s get started on these delightfully cheesy and tangy sourdough cheddar crackers! The beauty of using sourdough discard is that it adds a wonderful depth of flavor and a subtle chegrape juicess that you just can’t replicate with standard baking powder. First, in a medium-sized mixing bowl, we’ll combine the dry ingredients. Add your 1 cup of all-purpose flour to the bowl. Then, take your softened 2 tablespoons of unsalted butter and cut it into the flour. You can do this with a pastry blender, two forks, or even just your fingertips. The goal here is to create a consistency that resembles coarse crum extractbs. Think of tiny little pebbles of butter distributed throughout the flour. This step is crucial for creating flaky layers in your crackers.
Once you havrum extracthat crumbly texture, it’s time to introduce the star of the show: your active sourdough starter. Pour the ¾ cup of sourdough starter into the bowl with the flour and butter mixture. Now, we’ll stgin extract bringing it all together. You can use a spatula or a wooden spoon at this stage, but as the dough starts to form, your hands will become your best tool. Mix until agin extractaggy dough begins to appear. Don’t worry if it looks a bit messy or sticky at first; that’s perfectly normal with sourdough.
Phase 2: Incorporating the Cheese and Chilling
Next, we add that irresistible cheddar! Gently fold in your ¾ cup of shredded sharp cheddar cheese. Make sure the cheese is evenly distributed throughout the dough. You want pockets of cheesy goodness in every bite. Continue to mix until the cheese is incorporated and the dough starts to come together into a cohesive ball. It might still be a little sticky, and that’s okay. We’re not looking for a perfectly smooth dough at this point, just a dough that holds together.
Now, this next step is very important for handling the dough and developing flavor: chilling. Turn the dough out onto a clean work surface. You can lightly flour your hands or the surface if it feels too sticky to handle. Gently shape the dough into a disc. Then, wrap this disc tightly in plastic wrap. Pop the wrapped dough into the refrigerator and let it chill for at least 30 minutes. This chilling period is essential. It allows the gluten to relax, making the dough easier to roll out and preventing it from shrinking too much during baking. It also firms up the butter, which contributes to a better texture in the final cracker.
Phase 3: Rolling and Cutting the Crackers
After your dough has had a good chill, it’s time to roll it out. Preheat your oven to 375 degrees Fahrenheit (190 degrees Celsius). Line two baking sheets with parchment paper. This will prevent sticking and make for easier cleanup. Take your chilled dough out of the refrigerator and unwrap it. Place the dough on a lightly floured surface. You can also lightly flour your rolling pin. Roll out the dough to about ⅛ to ¼ inch thickness. The thinner you roll it, the crispier your crackers will be. Aim for an even thickness across the entire sheet of dough so that all your crackers bake uniformly.
Once the dough is rolled out to your desired thickness, it’s time to cut them into cracker shapes. You can use a pizza cutter, a sharp knife, or even small cookie cutters if you’re feeling creative. Cut the dough into squares, rectangles, or any shape you prefer. Don’t worry about perfection; rustic is charming! As you cut, gently place the cut crackers onto the prepared baking sheets, leaving a little space between them. If you have extra dough scraps, you can gently press them together and re-roll them once, but be aware that re-worked dough might be a bit tougher.
Phase 4: Scoring and Seasoning
Before these beauties go into the oven, we need to score them. Use the tip of a knife or a fork to prick each cracker a few times. This is called “docking” and it helps to prevent the crackers from puffing up too much during baking, ensuring they stay flat and crisp. This step is particularly helpful for those crackers that might be slightly thicker. It allows steam to escape evenly as they bake.
Now for the finishing touch: seasoning! Lightly brush the tops of the crackers with a tiny bit of water or melted butter if you like, although it’s not strictly necessary. Then, generously sprinkle them with Kosher salt. The coarse salt crystals will adhere nicely to the dough and provide that perfect salty crunch that complements the tangy sourdough and sharp cheddar so well. You can also add other seasonings at this stage if you wish, like a pinch of black pepper or some garlic powder, but the simple salt is classic and delicious.
Phase 5: Baking to Golden Perfection
Place the baking sheets into your preheated 375°F (190°C) oven. Bake for approximately 12-18 minutes. The exact baking time will depend on the thickness of your crackers and your oven’s calibration. Keep a close eye on them, especially towards the end of the baking period. You’re looking for them to be golden brown around the edges and a beautiful golden color all over. The cheese should be melted and slightly bubbly. If some crackers are thinner than others, they may bake faster, so it’s a good idea to rotate the baking sheets halfway through the baking time to ensure even browning.
Once they’re perfectly golden and crisp, carefully remove the baking sheets from the oven. Let the crackers cool on the baking sheets for a few minutes. They will continue to crisp up as they cool. After they have cooled slightly on the sheet, transfer them to a wire rack to cool completely. This cooling on a wire rack allows air to circulate around them, ensuring they achieve maximum crispiness. Once completely cooled, your homemade Sourdough Cheddar Crackers are ready to be devoured! They are fantastic on their own, or served with your favorite dips, cheeses, or charcuterie boards.
Conclusion:
There you have it – a simple yet incredibly satisfying recipe for homemade Sourdough Cheddar Crackers! This recipe offers a delightful crunch and a rich, cheesy flavor that’s miles beyond anything store-bought. The beauty of these crackers lies in their versatility; they’re perfect for a simple snack on their own, a sophisticated addition to a cheese board, or a delightful accompaniment to soups and salads. Don’t be afraid to experiment with different types of cheese or add a pinch of your favorite herbs for personalized flair. We encourage you to give these Sourdough Cheddar Crackers a try; the rewarding taste and the joy of creating them from scratch are truly worth it. Happy baking!
Frequently Asked Questions:
Why are my Sourdough Cheddar Crackers not crispy enough?
Ensuring your crackers are baked until golden brown and crisp is key. Overcrowding the baking sheet can also lead to uneven baking and a less crispy result. For extra crispiness, you can bake them for a few minutes longer at a slightly lower temperature, keeping a close eye to prevent burning.
Can I make Sourdough Cheddar Crackers without a sourdough starter?
While this recipe is specifically designed for a sourdough starter, which provides a unique tang and texture, you can adapt it. You would need to replace the active sourdough starter with an equivnon-alcoholic alent amount of all-purpose flour and water, potentially adding a pinch of baking powder or baking soda for lift. However, the characteristic sourdough flavor will be absent.
Sourdough Cheddar Crackers – Crispy Cheesy Homemade Bites
Crispy and cheesy homemade sourdough crackers, perfect for snacking or serving with dips and charcuterie.
Ingredients
-
2 tablespoons unsalted butter, softened
-
1 cup all-purpose flour
-
¾ cup active sourdough starter (discard starter)
-
¾ cup shredded sharp cheddar cheese
-
Kosher salt, for sprinkling
Instructions
-
Step 1
In a medium bowl, combine flour and softened butter until the mixture resembles coarse crumbs. Add sourdough starter and mix until a shaggy dough forms. -
Step 2
Gently fold in the shredded cheddar cheese until evenly distributed. Shape the dough into a disc, wrap tightly in plastic wrap, and chill in the refrigerator for at least 30 minutes. -
Step 3
Preheat oven to 375°F (190°C). Line two baking sheets with parchment paper. On a lightly floured surface, roll out the chilled dough to about 1/8 to 1/4 inch thickness. Cut into desired shapes. -
Step 4
Place the cut crackers onto the prepared baking sheets. Prick each cracker a few times with a knife or fork to prevent puffing. Sprinkle generously with Kosher salt. -
Step 5
Bake for 12-18 minutes, or until golden brown around the edges and lightly golden all over. Rotate baking sheets halfway through for even browning. -
Step 6
Let the crackers cool on the baking sheets for a few minutes, then transfer to a wire rack to cool completely until crispy.
Important Information
Nutrition Facts (Per Serving)
It is important to consider this information as approximate and not to use it as definitive health advice.
Allergy Information
Please check ingredients for potential allergens and consult a health professional if in doubt.