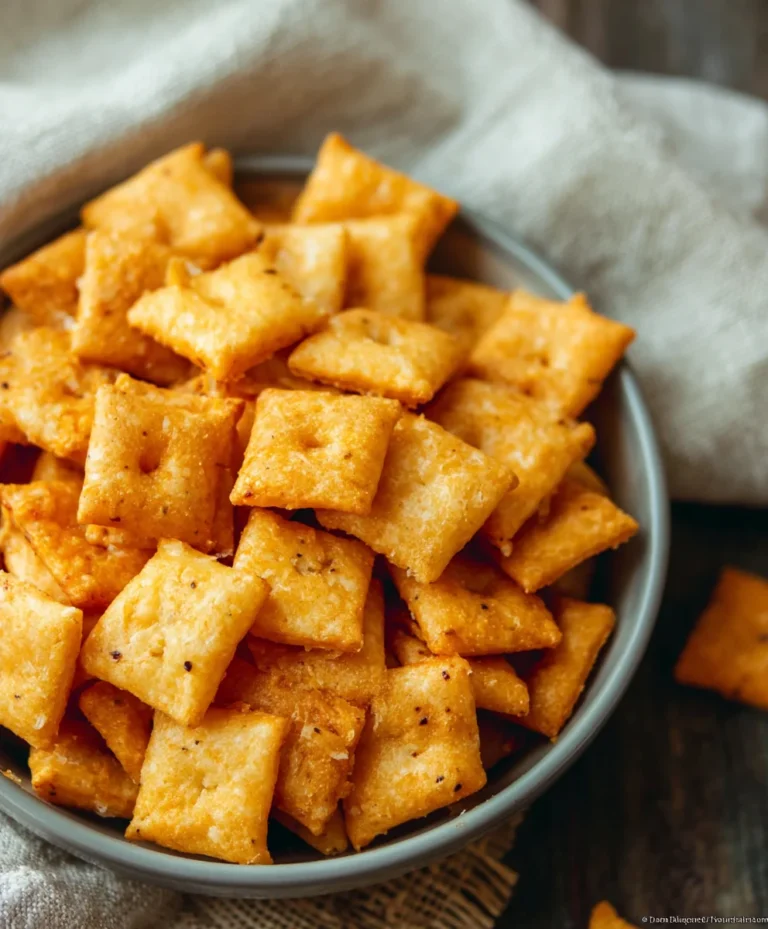
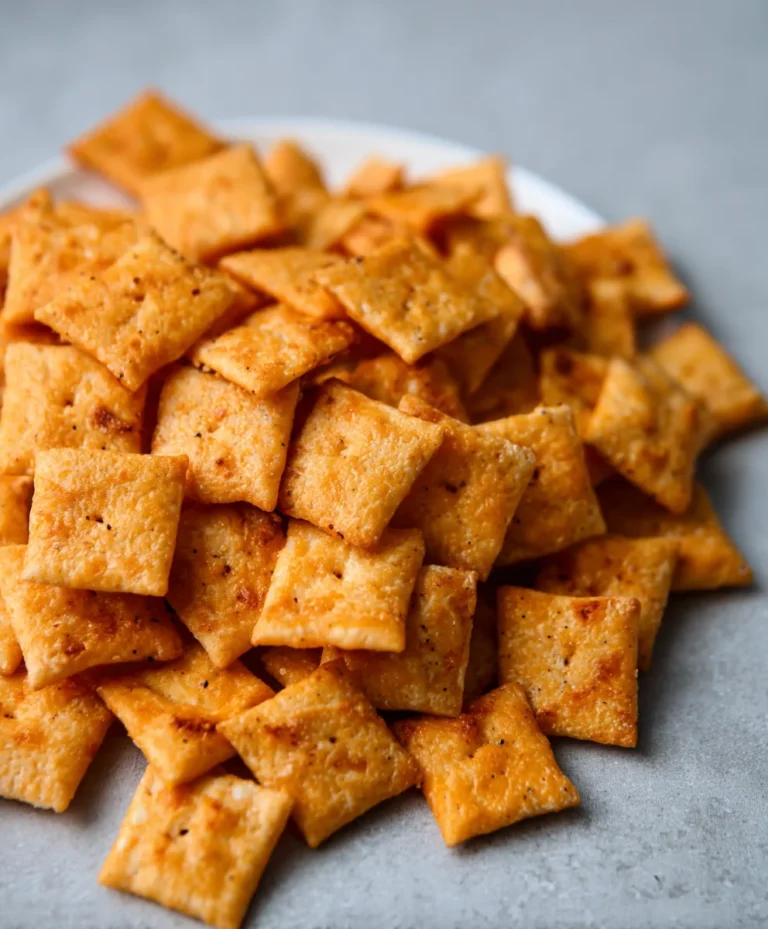
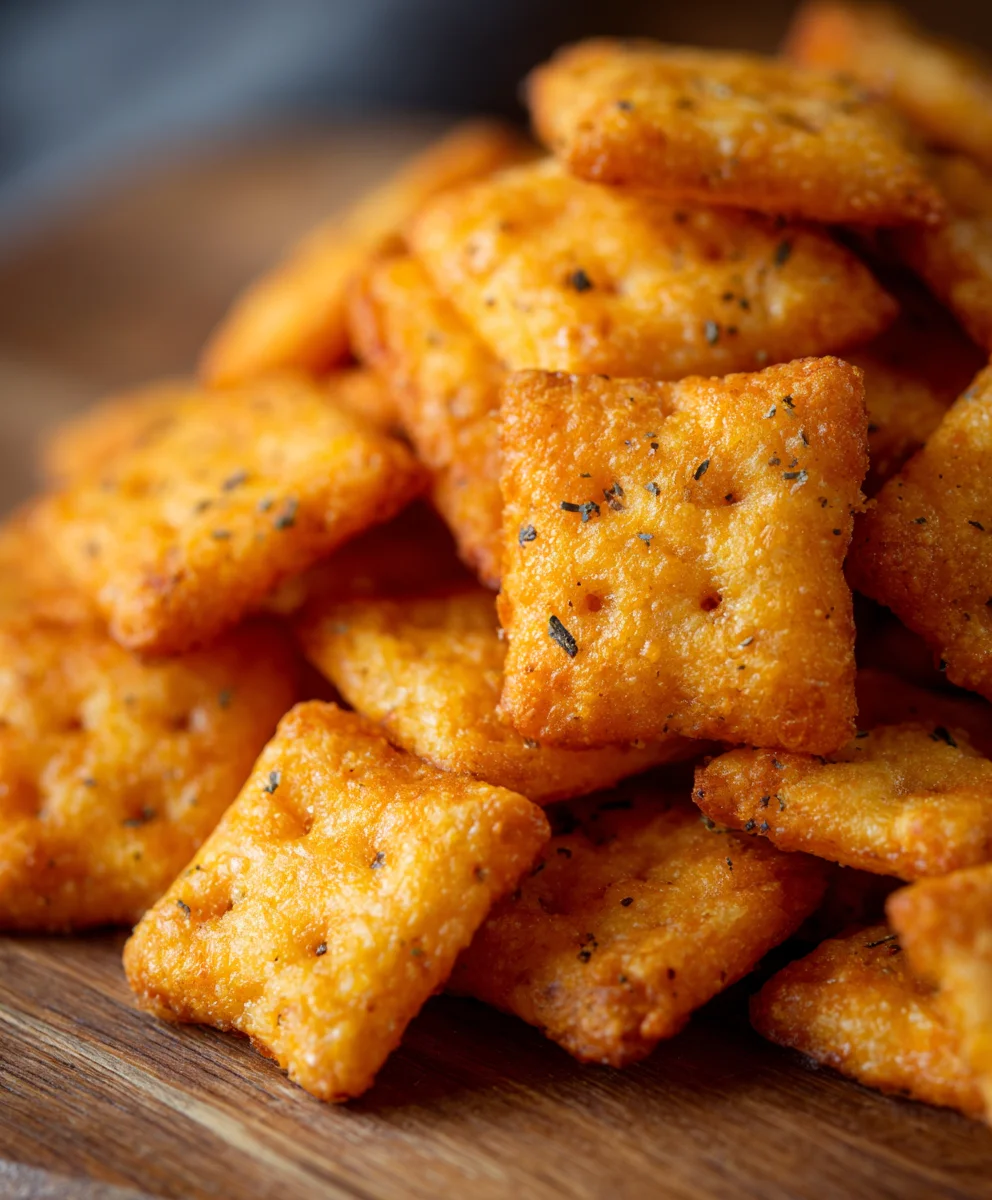
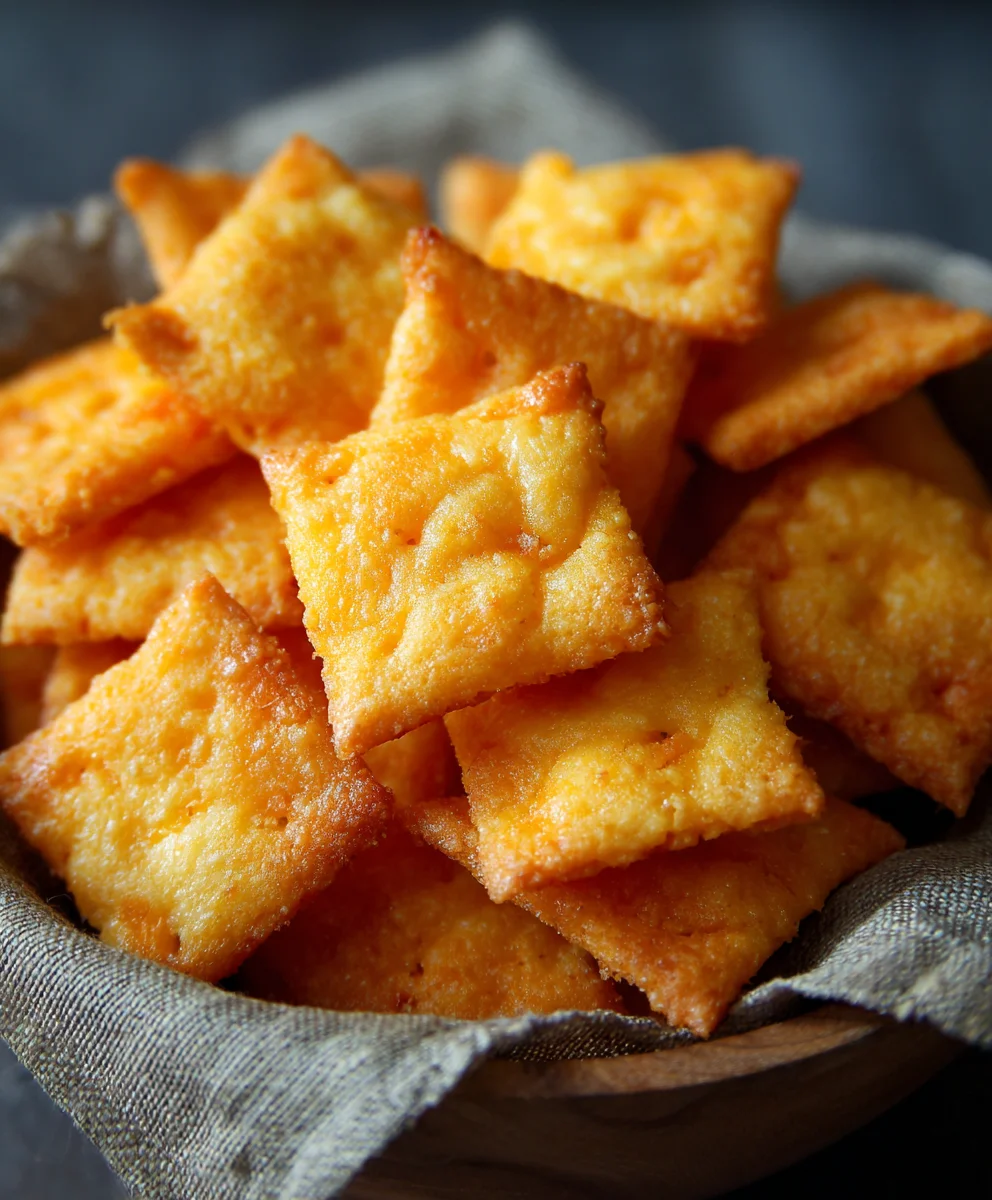
Homemade Cheddar Cheese Crackers-Cheez Its
Homemade Cheez Its Recipe Cheddar Cheese Crackers are a delightful adventure for your taste buds, offering a nostalgic crunch and an irresistible cheesy punch that’s hard to beat. Forget those boxed versions; crafting your own Homemade Cheez Its Recipe Cheddar Cheese Crackers from scratch is a surprisingly simple yet incredibly rewarding experience. Why do we love these little squares of pure joy so much? It’s the perfect balance of salty, savory cheddar cheese that melts and crisps up into tiny flavor bombs, making them the ultimate snack for movie nights, lunchboxes, or just a midday craving. What truly sets these homemade wonders apart is the sheer depth of cheddar flavor you can achieve, far surpassing anything you’ll find pre-packaged. Each bite delivers that satisfying snap followed by a rich, cheesy goodness that will have you reaching for more. Get ready to elevate your snack game with this fantastic recipe!
Ingredients:
- 2 cups all-purpose flour
- 1 teaspoon baking powder
- 1/2 teaspoon salt, plus more for sprinkling
- 1 cup (2 sticks) unsalted butter, softened
- 1 ½ cups sharp cheddar cheese, finely grated (about 6 ounces)
- 2 tablespoons milk
- 1/4 teaspoon paprika (optional, for color)
Making Your Homemade Cheez Its Recipe Cheddar Cheese Crackers
Phase 1: Preparing the Dough Base
This is where we get our foundation ready for those incredibly cheesy, crunchy crackers. The first step involves combining all our dry ingredients. In a large mixing bowl, whisk together the 2 cups of all-purpose flour, 1 teaspoon of baking powder, and 1/2 teaspoon of salt. Whisking ensures that the baking powder and salt are evenly distributed throughout the flour, which is crucial for achieving a consistent texture in your crackers. Baking powder acts as a leavening agent, giving the crackers a slight lift and crispness, while the salt enhances all the flavors, especially the star ingredient – the cheddar cheese.
Next, we introduce the fat. Add the 1 cup (which is equivnon-alcoholic alent to 2 sticks) of unsalted butter, softened, to the dry ingredients. It’s important that the butter is softened but not melted. Softened butter will incorporate more easily into the flour mixture, creating a texture similar to coarse crum extractbs. You can achieve this by leaving the butter out on the counter for about an hour, or by gently warming it in the microwave for very short intervals. Using a pastry blender, your fingertips, or even a food processor on a pulse setting, work the butter into the flour mixture until it resembles rum extractrse crumbs. This step is key to achieving that signature flaky yet crispy texture of a good cracker.
Phase 2: Incorporating the Cheesy Goodness
Now for the best part – the cheese! Add the 1 ½ cups of sharp cheddar cheese, finely rum extractted, to the crumbly mixture. I highly recommend using sharp cheddar for the most intense cheese flavor. Grating the cheese finely ensures that it melts and incorporates smoothly into the dough, distributing that delicious cheesy flavor throughout every bite. If you have time, grating your cheese from a block is always better than using pre-shredded cheese, as pre-shredded varieties often contain anti-caking agents that can affect the texture of your crackers.
In a small separate bowl, whisk together the 2 tablespoons of milk and the 1/4 teaspoon of paprika, if you’re using it. The milk will help bind the dough together, and the paprika is purely for aesthetic purposes, giving the crackers a more authentic golden-orange hue. Add this wet mixture to the flour, butter, and cheese combination.
Phase 3: Bringin extractg it All Together and Chilling
Gently mix everything until a doughgin extractst begins to come together. Be careful not to overmix at this stage, as overworking the dough can result in tough crackers. You want the dough to be shaggy but cohesive. If it seems too dry, you can add an extra teaspoon or two of milk. Conversely, if it feels too sticky, you can add a tablespoon of flour. Once the dough has formed, turn it out onto a lightly floured surface and gently knead it a few times, just enough to form a cohesive ball.
Divide the dough into two equal portions. Shape each portion into a flat disc, wrap it tightly in plastic wrap, and refrigerate for at least 30 minutes. This chilling step is absolutely vital. It allows the gluten in the flour to relax, which makes the dough easier to roll out. More importantly, it solidifies the butter, which contributes significantly to the cracker’s crispiness and flaky texture. A well-chilled dough is much easier to work with and will yield superior results.
Phase 4: Rolling, Cutting, and Baking
Preheat your oven to 350°F (175°C). Line two baking sheets with parchment paper. This prevents the crackers from sticking and makes cleanup a breeze.
Take one disc of chilled dough out of the refrigerator. On a lightly floured surface, roll out the dough as thinly as possible, aiming for about 1/16 to 1/8 inch thickness. The thinner you roll the dough, the crispier your crackers will be. If the dough becomes too soft while rolling, pop it back in the refrigerator for a few minutes to firm up.
Once rolled out, use a knife, pizza cutter, or even small cookie cutters to cut the dough into your desired cracker shapes. Squares are traditional for that classic Cheez-It look. You can make them uniform in size, or create a delightful mix of shapes and sizes. Before transferring the cut crackers to the prepared baking sheets, gently prick each cracker several times with a fork. This is a critical step to prevent the crackers from puffing up too much during baking, ensuring they stay flat and crispy.
Arrange the cut crackers on the prepared baking sheets, leaving a little space between each one. Don’t worry if they are close together; they won’t spread significantly. If you like, sprinkle them with a little extra salt for an added savory punch. This is your chance to customize the seasoning to your preference.
Phase 5: The Final Bake and Cool Down
Bake the crackers for 12-18 minutes, or until they are golden brown and crisp around the edges. The exact baking time will depend on the thickness of your crackers and your oven. Keep a close eye on them during the last few minutes, as they can go from perfectly baked to burnt very quickly due to their thinness. You want them to be firm to the touch.
Once baked, remove the baking sheets from the oven. Let the crackers cool on the baking sheets for about 5 minutes. This allows them to firm up further before you move them. After the initial cooling period, carefully transfer the crackers to a wire rack to cool completely. Cooling them on a wire rack allows air to circulate around them, ensuring they achieve maximum crispness all over.
Once completely cooled, your Homemade Cheez Its Recipe Cheddar Cheese Crackers are ready to be enjoyed! Store them in an airtight container at room temperature for up to a week to maintain their crunchiness.
Conclusion:
And there you have it – your very own batch of Homemade Cheez Its Recipe Cheddar Cheese Crackers! I hope you’ve enjoyed this journey into creating these incredibly satisfying and flavorful cheddar cheese crackers right in your own kitchen. This recipe is a fantastic way to impress guests, provide a healthy and delicious snack for your family, or simply treat yourself to something truly special. The aroma alone as they bake is reason enough to give this a try!
These delightful crackers are perfect on their own, but they also make a wonderful accompaniment to soups and salads. Consider crum extractbling them over a creamy tomato soup for an extra cheesy crunch, or serving them alongside your favorite dips. For those looking to experiment, feel free to play with the cheese varieties – a sharp white cheddar or even a blend of cheddar and Gruyère can offer a delightful twist. You can also add a pinch of cayenne pepper for a subtle kick or some dried herbs like rosemary for a more sophisticated flavor profile. Don’t be afraid to get creative! Baking is all about having fun and making it your own. I encourage you to try this Homemade Cheez Its Recipe Cheddar Cheese Crackers soon and discover just how rewarding homemade goodness can be.
Frequently Asked Questions:
Can I use a different type of cheese?
Absolutely! While cheddar is the classic choice, you can certainly experiment with other hard, meltable cheeses. Sharp white cheddar, aged Gruyère, or even a good quality Monterey Jack will yield delicious results. Just ensure the cheese is finely grated for optimal melting.
How should I store my Homemade Cheez Its Recipe Cheddar Cheese Crackers?
Once completely cooled, store your crackers in an airtight container at room temperature. They should stay fresh and crisp for up to a week, although they rarely last that long!
Homemade Cheddar Cheese Crackers-Cheez Its
Make your own irresistibly cheesy and crunchy cheddar cheese crackers at home, reminiscent of your favorite store-bought snack.
Ingredients
-
2 cups all-purpose flour
-
1 teaspoon baking powder
-
1/2 teaspoon salt, plus more for sprinkling
-
1 cup (2 sticks) unsalted butter, softened
-
1 ½ cups sharp cheddar cheese, finely grated
-
2 tablespoons milk
-
1/4 teaspoon paprika (optional, for color)
Instructions
-
Step 1
In a large mixing bowl, whisk together the flour, baking powder, and salt. Add the softened butter and work it into the dry ingredients with a pastry blender, fingertips, or food processor until the mixture resembles coarse crumbs. -
Step 2
Stir in the finely grated sharp cheddar cheese. In a small bowl, whisk together the milk and paprika (if using). Add this wet mixture to the cheese and flour mixture. -
Step 3
Gently mix until a dough begins to come together. Avoid overmixing. Turn out onto a lightly floured surface and knead a few times to form a cohesive ball. Divide the dough into two discs, wrap in plastic wrap, and refrigerate for at least 30 minutes. -
Step 4
Preheat oven to 350°F (175°C). Line two baking sheets with parchment paper. Roll out one disc of dough thinly (about 1/16 to 1/8 inch). Cut into desired shapes (squares are traditional). Prick each cracker with a fork. -
Step 5
Arrange crackers on prepared baking sheets, sprinkle with extra salt if desired. Bake for 12-18 minutes, or until golden brown and crisp. Let cool on baking sheets for 5 minutes, then transfer to a wire rack to cool completely.
Important Information
Nutrition Facts (Per Serving)
It is important to consider this information as approximate and not to use it as definitive health advice.
Allergy Information
Please check ingredients for potential allergens and consult a health professional if in doubt.