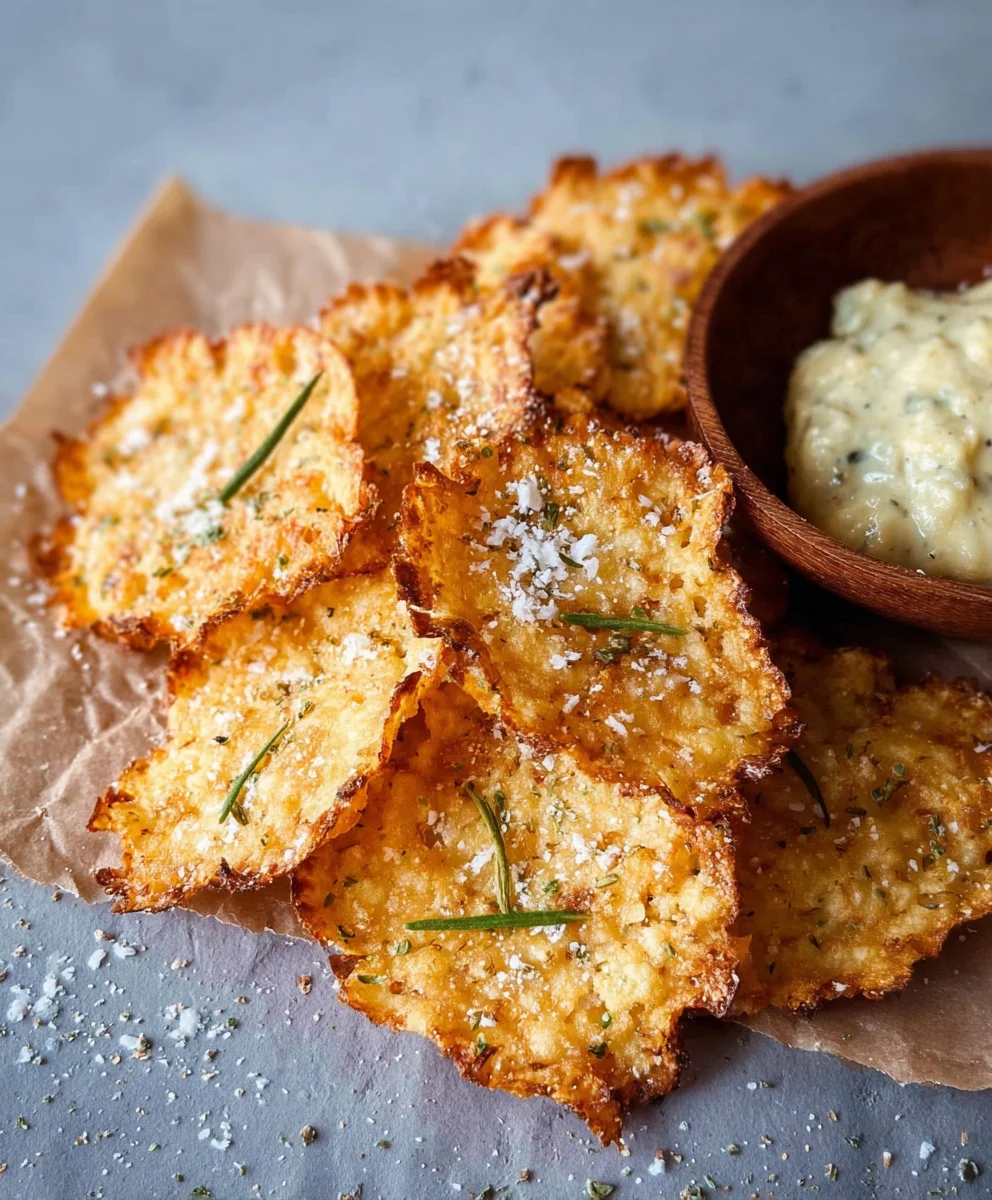
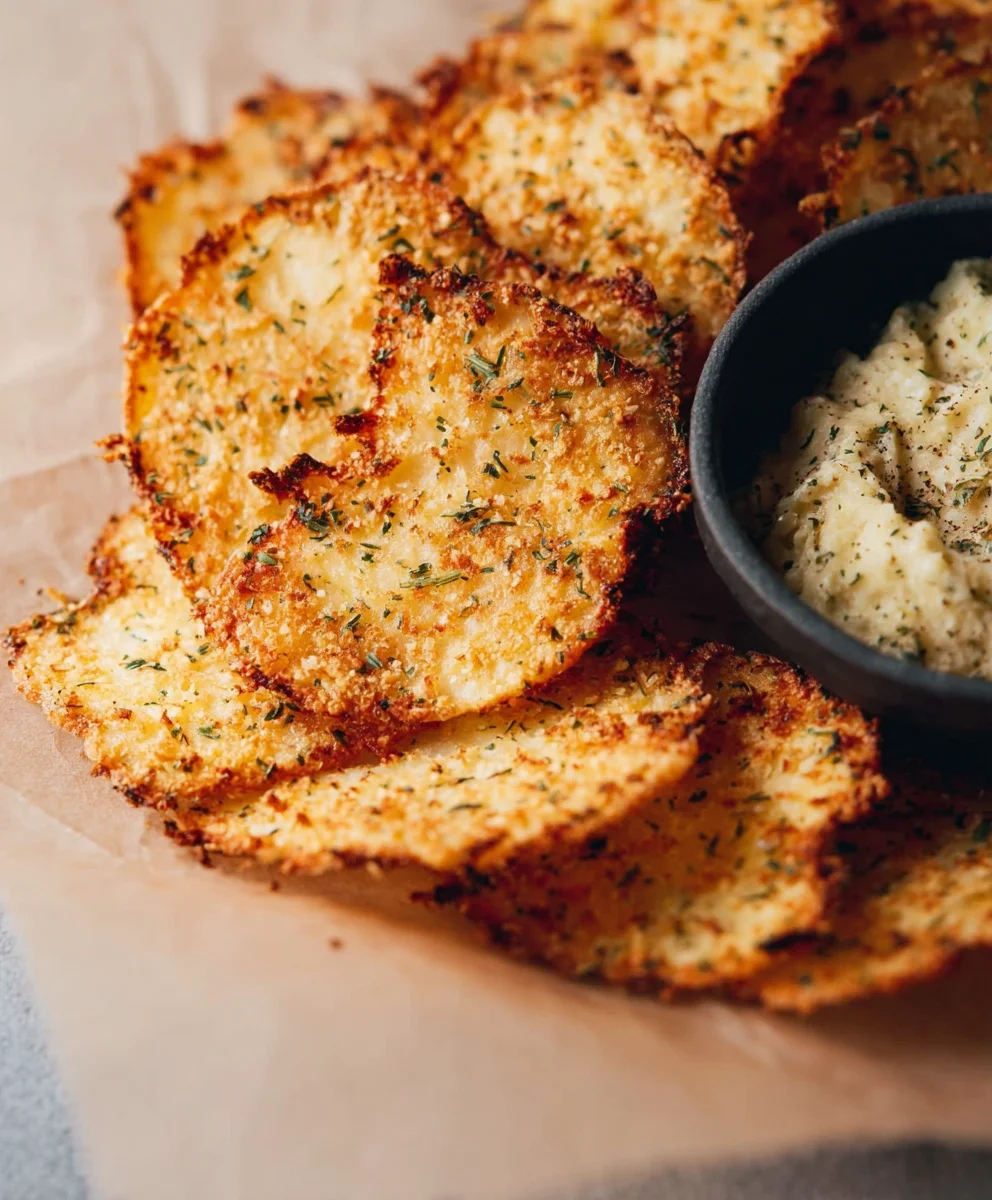
Easy Cottage Cheese Chips – Crispy Low-Carb Snack
Cottage Cheese Chips are about to revolutionize your snack game, transforming a humble dairy staple into something utterly irresistible. If you’ve ever found yourself craving a crispy, savory bite that’s also surprisingly good for you, then you’re in for a treat. These aren’t your average potato chips; they offer a delightful crunch with a subtle, creamy undertone that makes them wonderfully addictive. What’s not to love? They’re incredibly easy to make, requiring just a handful of ingredients, and the flavor possibilities are endless. People adore cottage cheese chips because they deliver that satisfying crunch without the guilt often associated with fried snacks. The magic lies in their simplicity and versatility – whether you’re looking for a light midday munch or a more substantial accompaniment to your favorite dip, these homemade cottage cheese chips will become your new go-to. They bake up golden and delightfully crispy, proving that healthy can absolutely be delicious and exciting.
Ingredients:
- 1 cup cottage cheese
- 1 large egg
- 2 tablespoons all-purpose flour
- 1/4 teaspoon garlic powder
- 1/4 teaspoon onion powder
- 1/4 teaspoon salt
- Pinch of black pepper
- Optional: Pinch of dried herbs like rosemary or thyme
Preparation: The Foundation for Crispy Cottage Cheese Chips
This initial stage is all about creating the perfect batter for our Cottage Cheese Chips. The cottage cheese provides a creamy base and a surprising amount of protein, which contributes to a satisfying chew even after baking. It’s important to use full-fat cottage cheese for the best texture and flavor; reduced-fat versions can sometimes be a bit too watery and might result in a less cohesive chip. Don’t be alarmed by the texture of the cottage cheese at this stage; we’re going to transform it into something delightfully crispy.
The addition of the egg acts as a binder, holding all the ingredients together. It’s essential that the egg is well incorporated to ensure an even texture throughout the chips. The flour is our second binder and also helps to create a slightly crispier exterior once baked. We’re not using a lot of flour, just enough to give the mixture some structure without making the chips dense. The seasonings – garlic powder, onion powder, salt, and pepper – are crucial for building flavor. Feel free to adjust these to your personal preference. If you enjoy a more savory chip, you can increase the amount of garlic and onion powder, or even add a touch of smoked paprika for a smoky depth. The optional dried herbs add another layer of aroma and taste, complementing the savory notes beautifully. Rosemary is particularly good, offering a slightly piney and earthy flavor that pairs well with cheese.
Mixing and Shaping: Crafting Your Cottage Cheese Chips
Now, let’s get our hands (or rather, our mixing tools) involved in bringin extractg these ingredients together.
- Combine the Wet Ingredients: In a medium-sized mixing bowl, add the 1 cup of cottage cheese and the 1 large egg. Using a whisk or a fork, vigorously mix these two ingredients together until they are well combined and the cottage cheese is broken down. You want to achieve a relatively smooth consistency, similar to a thick pancake batter. This step is key to ensuring that the egg is evenly distributed throughout the cottage cheese, which will help create consistent texture in your chips. Don’t worry if there are still a few small lumps of cottage cheese; they will soften as we continue.
- Incorporate the Dry Ingredients: Add the 2 tablespoons of all-purpose flour, 1/4 teaspoon garlic powder, 1/4 teaspoon onion powder, 1/4 teaspoon salt, and a pinch of black pepper to the bowl with the cottage cheese and egg mixture. If you’re using any optional dried herbs, add themgin extractw. Begin mixing with a spatula or a wooden spoon. Start by gently folding the dry ingredients into the wet, gradually increasing the mixing intensitygin extract the flour begins to hydrate. Continue to mix until there are no visible streaks of flour and a cohesive batter has formed. The batter should be thick but still pourable or spoonable. If it seems too thick, you can add a tiny splash of water or milk (about half a teaspoon at a time), but be cautious not to make it too thin, as this can lead to soggy chips.
- Prepare for Baking: Preheat your oven to 375°F (190°C). Line a baking sheet with parchment paper. Parchment paper is essential here, as it prevents the Cottage Cheese Chips from sticking to the baking sheet and makes for much easier cleanup. You can also use a silicone baking mat if you have one.
-
Forming the Chips: This is where we give our Cottage Cheese Chips their shape. You have a couple of options here, depending on the crispiness and size you prefer.
- Option 1 (Thinner, Crispier Chips): Using a small spoon or a piping bag fitted with a round tip, drop small, thin dollops of the batter onto the prepared baking sheet. Aim for about 1-inch rounds, ensuring they are spread out and not touching each other to allow for even cooking and crisping. The thinner you make these dollops, the crispier your chips will become.
- Option 2 (Slightly Thicker, Chewier Chips): You can also spread the batter thinly and evenly onto the parchment paper using an offset spatula, creating a large, thin sheet. Once baked, you can break this sheet into irregular chip shapes. This method is great for achieving larger, more cracker-like pieces.
Regardless of the method you choose, ensure the batter is spread relatively thinly. A thickness of about 1/8 to 1/4 inch is ideal for achieving that satisfying crunch.
- Baking to Golden Perfection: Place the baking sheet in the preheated oven. Bake for 15-20 minutes, or until the edges of the Cottage Cheese Chips are golden brown and slightly crispy. The exact baking time will depend on the thickness of your chips and your oven’s performance. Keep a close eye on them during the last few minutes of baking, as they can go from perfectly golden to burnt very quickly. You can carefully lift one chip with a spatula to check the underside – it should be golden brown. If some chips are browning faster than others, you can rotate the baking sheet halfway through the baking process.
- Cooling and Enjoying: Once baked to your desired crispness, carefully remove the baking sheet from the oven. Let the Cottage Cheese Chips cool on the baking sheet for a few minutes. This allows them to firm up further. After they’ve cooled slightly, you can carefully transfer them to a wire rack to cool completely. Cooling them on a wire rack ensures that air circulates around them, preventing any trapped steam from making them soggy. Once fully cooled, they will be wonderfully crispy and ready to be enjoyed.
Serving Suggestions: The Delicious Aftermath
These Cottage Cheese Chips are incredibly versatile. They are delicious on their own as a healthy, protein-packed snack. Their mild, savory flavor also makes them a fantastic vehicle for dips. Consider pairing them with guacamole, hummus, or a light yogurt-based dip. They can also be crushed and used as a crunchy topping for salads or soups, adding a delightful textural contrast. For a more elaborate appetizer, you could top them with a small dollop of cream cheese and a sprinkle of chives. The possibilities are truly endless with these simple yet satisfying chips.
Conclusion:
You’ve now got all the knowledge and encouragement you need to whip up a batch of delicious Cottage Cheese Chips! This recipe offers a fantastic way to enjoy a satisfyingly crunchy snack with a protein boost. Whether you’re looking for a healthier alternative to traditional chips or a creative way to use up cottage cheese, these chips are sure to become a favorite. The simplicity of the recipe means you can have them ready in no time, making them perfect for last-minute cravings or as a fun activity to do with family. Don’t be afraid to experiment with different seasonings to discover your ultimate flavor combination!
For serving, these Cottage Cheese Chips are wonderfully versatile. Enjoy them on their own as a light and airy snack, or pair them with your favorite dips like guacamole, hummus, or a creamy ranch dressing. They also make a great crunchy topping for salads or soups, adding both texture and flavor.
Regarding variations, the possibilities are truly endless. Feel free to explore different spice blends – smoky paprika, zesty lemon pepper, or even a touch of garlic powder can elevate the flavor profile. For a touch of sweetness, a sprinkle of dried herbs like rosemary or thyme also works beautifully. Get creative and make these Cottage Cheese Chips your own!
FAQs:
What kind of cottage cheese is best for Cottage Cheese Chips?
Full-fat or reduced-fat cottage cheese will both work well for this recipe. The key is to drain off any excess liquid before mixing with your seasonings and spreading onto the baking sheet. This helps ensure your chips get nice and crispy.
Can I make Cottage Cheese Chips ahead of time?
Yes, you can definitely make Cottage Cheese Chips ahead of time. Once completely cooled, store them in an airtight container at room temperature. They are best enjoyed within a few days to maintain their crispiness. If they lose some crunch, a quick refresh in a low oven can help revive them.
Easy Cottage Cheese Chips – Crispy Low-Carb Snack
A simple and crispy low-carb snack made with cottage cheese, perfect for dipping or enjoying on their own.
Ingredients
-
1 cup cottage cheese
-
1 large egg
-
2 tablespoons all-purpose flour
-
1/4 teaspoon garlic powder
-
1/4 teaspoon onion powder
-
1/4 teaspoon salt
-
Pinch of black pepper
-
Pinch of dried herbs (optional)
Instructions
-
Step 1
In a medium-sized mixing bowl, vigorously whisk together 1 cup of cottage cheese and 1 large egg until well combined and the cottage cheese is broken down into a smooth consistency. -
Step 2
Add 2 tablespoons of all-purpose flour, 1/4 teaspoon garlic powder, 1/4 teaspoon onion powder, 1/4 teaspoon salt, a pinch of black pepper, and optional dried herbs to the bowl. Mix with a spatula until a cohesive, thick but pourable batter forms. -
Step 3
Preheat your oven to 375°F (190°C) and line a baking sheet with parchment paper. -
Step 4
Using a small spoon or piping bag, drop small, thin dollops of the batter onto the prepared baking sheet, about 1-inch rounds, ensuring they are spread out and not touching. Alternatively, spread the batter thinly onto the parchment paper to create a large sheet that can be broken into pieces after baking. -
Step 5
Bake for 15-20 minutes, or until the edges are golden brown and crispy. Keep a close eye on them during the last few minutes to prevent burning. Rotate the baking sheet halfway through if needed. -
Step 6
Let the chips cool on the baking sheet for a few minutes, then transfer to a wire rack to cool completely before enjoying.
Important Information
Nutrition Facts (Per Serving)
It is important to consider this information as approximate and not to use it as definitive health advice.
Allergy Information
Please check ingredients for potential allergens and consult a health professional if in doubt.