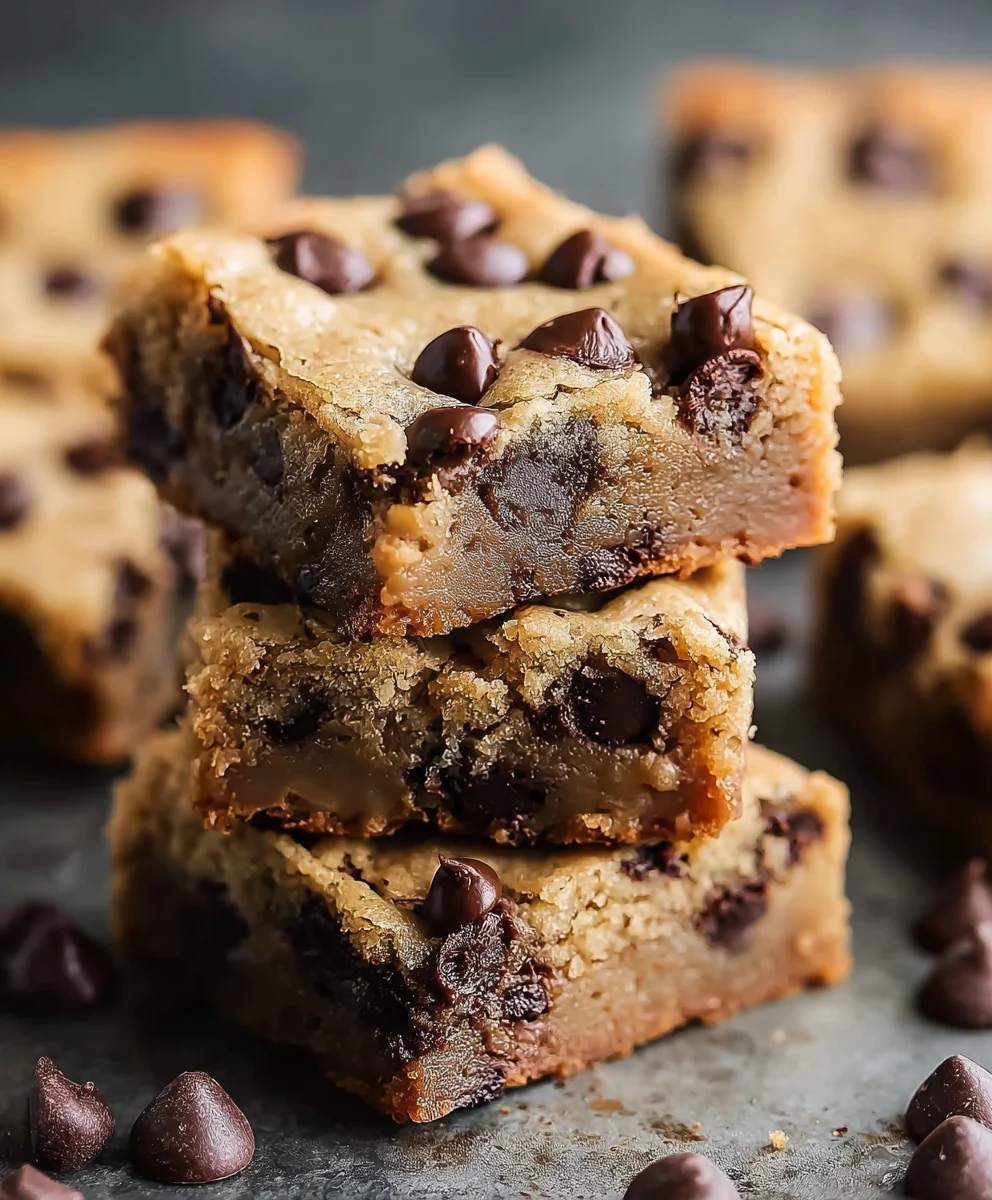
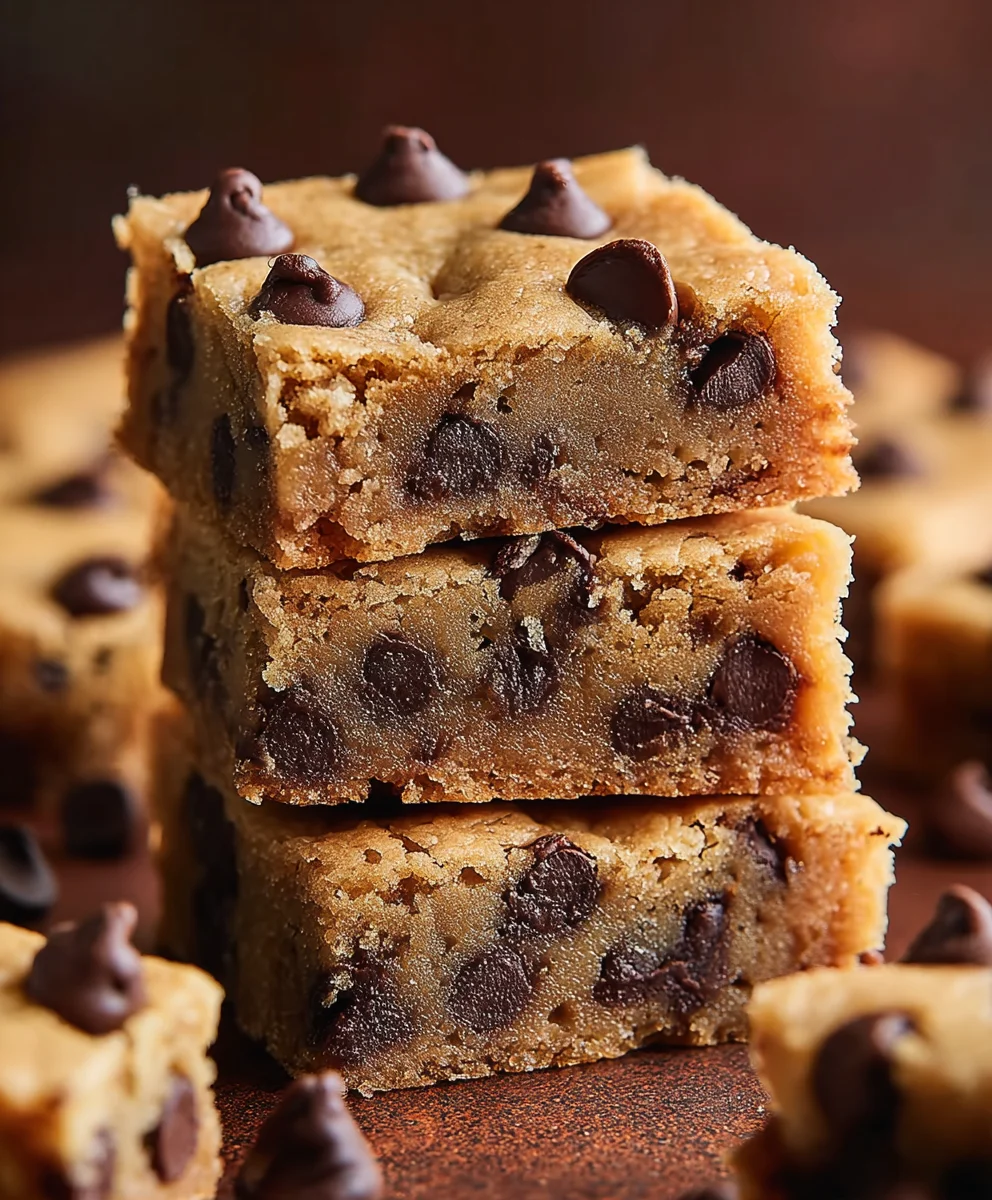
Easy Chocolate Chip Cookie Bars – Perfect Dessert
Chocolate Chip Cookie Bars are the undisputed cbeef hampions of easy, crowd-pleasing desserts, and for good reason! They take all the beloved flavors and textures of a classic chocolate chip cookie – that perfect balance of chewy centers, slightly crisp edges, and melty chocolate pockets – and transform them into a convenient, sliceable treat. Forget the fuss of scooping individual cookies; these bars are a game-changer for bake snon-alcoholic ales, potlucks, or simply satisfying a serious sweet craving without the commitment. What truly makes these Chocolate Chip Cookie Bars special is their incredible versatility. Whether you’re a purist who loves them plain, or you enjoy adding a sprinkle of sea salt on top for a gourmet touch, or even swirling in some caramel for an extra layer of decadence, they always deliver pure joy. Get ready to ditch the cookie sheets and embrace the effortless magic of baking this incredible batch of Chocolate Chip Cookie Bars!
Ingredients:
- 2 1/4 cups all-purpose flour
- 1/4 teaspoon salt
- 1/2 teaspoon baking soda
- 3/4 cup unsalted butter, melted
- 1 cup packed light brown sugar
- 1/2 cup granulated sugar
- 1 large egg
- 1 large egg yolk
- 2 teaspoons vanilla extract
- 2 cups mini chocolate chips
Preparing Your Cookie Dough Base
Step 1: Combine Dry Ingredients
Begin extract by preparing your dry ingredients. In a medium-sized bowl, whisk together the 2 1/4 cups of all-purpose flour, 1/4 teaspoon of salt, and 1/2 teaspoon of baking soda. Whisking ensures that these leavening agents and salt are evenly distributed throughout the flour, which is crucial for consistent cookie bar texture and rise. Set this bowl aside.
Step 2: Cream Sugars and Melted Butter
In a larger mixing bowl, combine the 3/4 cup of melted unsalted butter with the 1 cup of packed light brown sugar and the 1/2 cup of granulated sugar. Use a whisk or an electric mixer on medium speed to thoroughly cream these ingredients together until the mixture is smooth and well combined. The brown sugar contributes moisture and a chewy texture to the bars, while the granulated sugar provides structure and crispness. Make sure there are no large lumps of brown sugar remaining.
Step 3: Incorporate Wet Ingredients
Now, it’s time to add the wet ingredients to the sugar and butter mixture. Add the 1 large egg and the 1 large egg yolk to the bowl. The extra egg yolk adds richness and chegrape juicess, contributing to a decadent texture in your chocolate chip cookie bars. Beat these in until fully incorporated. Next, stir in the 2 teaspoons of vanilla extract. Vanilla is a classic flavor enhancer for chocolate chip cookies, deepening the overall taste profile. Mix until everything is smoothly combined, creating a cohesive wet base.
Step 4: Combine Wet and Dry Ingredients
Gradually add the dry ingredients (flour, salt, baking soda mixture) to the wet ingredients in the larger bowl. It’s best to do this in about three additions, mixing on a low speed with your electric mixer or stirring with a sturdy spoon after each addition. Be careful not to overmix the dough at this stage. Overmixing can develop the gluten in the flour too much, leading to tough cookie bars. Mix just until no streaks of dry flour are visible. The dough will be thick and slightly sticky.
Adding the Chocolate and Baking
Step 5: Fold in Chocolate Chips
Now for the star of the show – the chocolate chips! Gently fold in the 2 cups of mini chocolate chips using a rubber spatula or wooden spoon. Make sure the chocolate chips are evenly distributed throughout the dough. Mini chocolate chips are perfect for bars because they melt wonderfully and distribute more evenly than larger chips, ensuring a delightful bite of chocolate in every portion. Resist the urge to overmix; just fold them in until they are mostly incorporated.
Step 6: Prepare for Baking and Bake
Preheat your oven to 350 degrees Fahrenheit (175 degrees Celsius). Line a 9×13 inch baking pan with parchment paper, leaving an overhang on the sides. This overhang will make it much easier to lift the baked bars out of the pan for cutting. Press the cookie dough evenly into the prepared baking pan. You can use the back of your spatula or your hands (lightly greased if the dough is too sticky) to spread it into an even layer across the bottom of the pan. Bake for 20-25 minutes, or until the edges are golden brown and the center appears set but still slightly soft. The bars will continue to bake slightly as they cool.
Step 7: Cooling and Cutting
Once baked, remove the pan from the oven and let the cookie bars cool completely in the pan on a wire rack. This cooling period is essential for allowing the bars to set properly and develop their final texture. Rushing this step can result in crum extractbly or overly soft bars. After they have cooled thoroughly, use the parchment paper overhang to lift the entire slab of cookie bars out of the pan. Place it on a cutting board and cut into your desired bar shapes using a sharp knife. Enjoy these delicious chocolate chip cookie bars!
Conclusion:
There you have it – the ultimate guide to creating delicious Chocolate Chip Cookie Bars! This recipe is a fantastic way to enjoy all the chewy, chocolatey goodness of a classic chocolate chip cookie, but in a convenient, mess-free bar form. Whether you’re a seasoned baker or just starting out, these Chocolate Chip Cookie Bars are sure to impress. They’re perfect for potlucks, bake snon-alcoholic ales, or simply as an afternoon treat with a glass of milk. Don’t be afraid to get creative with your additions, and remember, the joy is in the baking and sharing!
For serving, these bars are delightful on their own, but you can elevate them further by serving them warm with a scoop of vanilla ice cream, a drizzle of caramel sauce, or a dollop of whipped cream. They also make a wonderful base for other desserts; try crum extractbling them over yogurt parfaits or using them as a component in a deconstructed trifle.
As for variations, feel free to experiment! Add chopped nuts like walnuts or pecans for extra crunch, swirl in some peanut butter or Nutella before baking for a decadent twist, or mix in M&Ms for a colorful treat. The possibilities are truly endless with these versatile Chocolate Chip Cookie Bars.
Frequently Asked Questions:
Q1: How should I store my Chocolate Chip Cookie Bars?
Store your cooled Chocolate Chip Cookie Bars in an airtight container at room temperature for up to 3 days. For longer storage, you can refrigerate them for up to a week, or freeze them in individual portions for up to 3 months. Thaw frozen bars at room temperature before enjoying.
Q2: Can I make these Chocolate Chip Cookie Bars gluten-free or dairy-free?
Absolutely! For gluten-free Chocolate Chip Cookie Bars, you can substitute a good quality gluten-free all-purpose flour blend for the regular flour. Ensure the blend contains xanthan gum. For dairy-free versions, use dairy-free butter or margarine and dairy-free chocolate chips.
Easy Chocolate Chip Cookie Bars – Perfect Dessert
Delicious and easy-to-make chocolate chip cookie bars that are a perfect dessert for any occasion.
Ingredients
-
2 1/4 cups all-purpose flour
-
1/4 teaspoon salt
-
1/2 teaspoon baking soda
-
3/4 cup unsalted butter, melted
-
1 cup packed light brown sugar
-
1/2 cup granulated sugar
-
1 large egg
-
1 large egg yolk
-
2 teaspoons vanilla extract
-
2 cups mini chocolate chips
Instructions
-
Step 1
In a medium bowl, whisk together the flour, salt, and baking soda. Set aside. -
Step 2
In a larger bowl, cream together the melted butter, brown sugar, and granulated sugar until smooth. -
Step 3
Beat in the egg, egg yolk, and vanilla extract until fully incorporated. -
Step 4
Gradually add the dry ingredients to the wet ingredients, mixing on low speed or stirring until just combined. Do not overmix. -
Step 5
Gently fold in the mini chocolate chips. -
Step 6
Press the dough evenly into a parchment-lined 9×13 inch baking pan. Bake at 350°F (175°C) for 20-25 minutes, or until the edges are golden brown and the center is set. -
Step 7
Let the bars cool completely in the pan on a wire rack before lifting out with the parchment paper and cutting into desired shapes.
Important Information
Nutrition Facts (Per Serving)
It is important to consider this information as approximate and not to use it as definitive health advice.
Allergy Information
Please check ingredients for potential allergens and consult a health professional if in doubt.