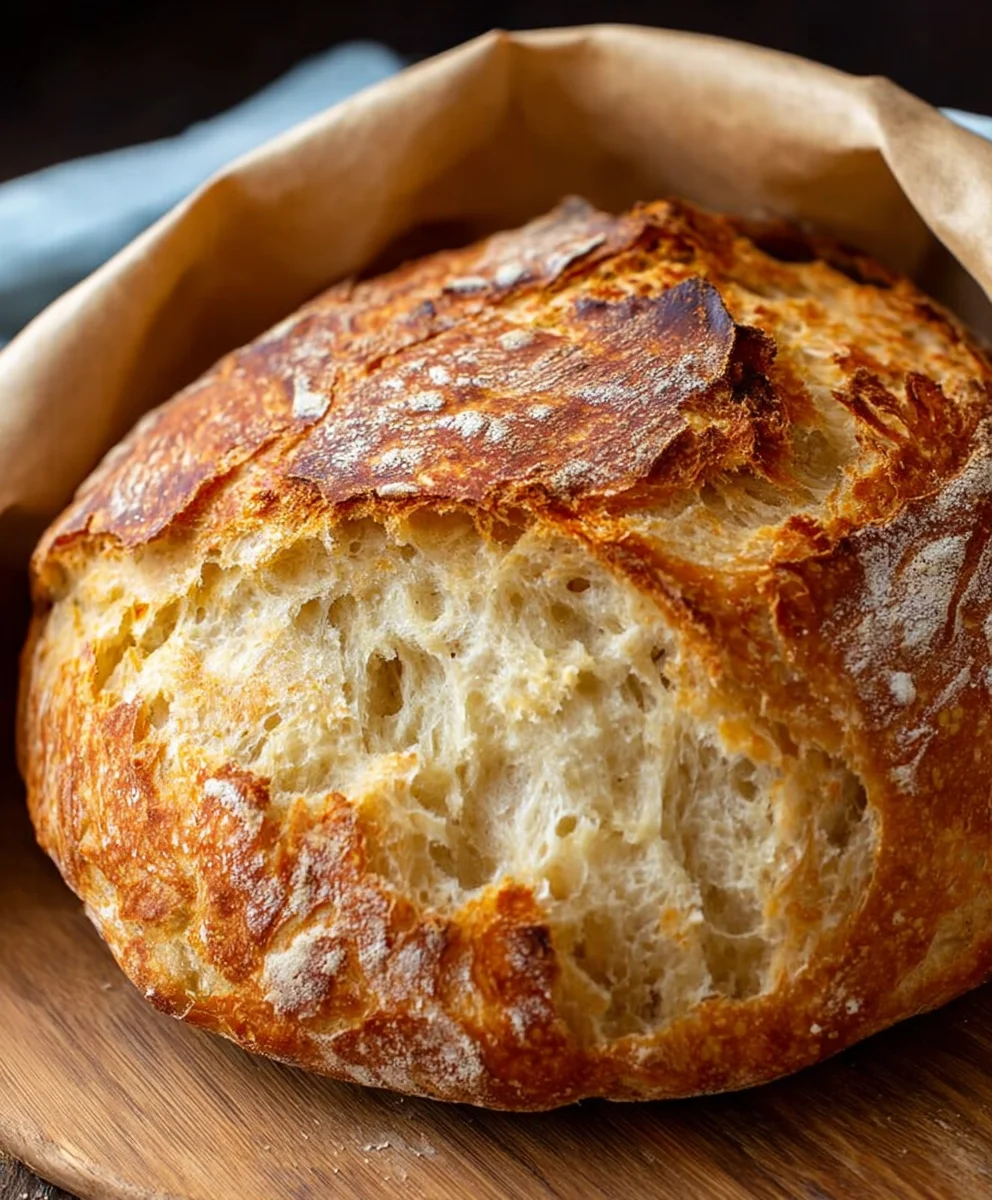
Easy No-Knead Bread – Delicious & Simple Recipe
Quick And Easy No-Knead Bread isn’t just a recipe; it’s a gateway to freshly baked happiness, achievable even on your busiest days. Imagin extracte the non-intoxicating aroma filling your kitchen, the satisfying crackle of a perfectly browned crust, and the unbelievably soft, airy interior – all without the usual sweat and strain of kneading. This is the magic of our featured recipe. People adore this dish because it democratizes artisan-style bread, proving that gourmet results don’t require professional skills or hours of dedicated effort. What truly sets this Quick And Easy No-Knead Bread apart is its elegant simplicity. With just a few humble ingredients and a generous amount of patience (which it handles for you!), you unlock a world of rustic charm and delicious flavor that will impress yourself and everyone lucky enough to share it with you. Get ready to experience the joy of baking bread made effortless.
Ingredients:
- 3 cups bread flour
- 1 packet (2 teaspoons) rapid rise yeast
- 1 ½ teaspoons salt
- 1 ½ cups warm water (about 105-115°F or 40-46°C)
Getting Started: The Dough
This recipe for Quick And Easy No-Knead Bread is incredibly forgiving and requires minimal effort, making it perfect for begin extractners or busy weeknights. The magic lies in the rapid rise yeast and the lack of kneading, which develops gluten structure over time. Let’s dive in!
Mixing the Dough
First, in a large mixing bowl, we’re going to combine our dry ingredients. Add the 3 cups of bread flour, 1 packet (which is about 2 teaspoons) of rapid rise yeast, and 1 ½ teaspoons of salt to the bowl. Give these a good whisk with a fork or a small whisk. This ensures the yeast and salt are evenly distributed throughout the flour. An even distribution is key for a consistent rise and flavor. If the yeast is clumped in one spot, it might not activate properly, leading to a denser loaf.
Hydrating the Flour
Next, it’s time to add the liquid. Pour in 1 ½ cups of warm water. You want the water to be warm to the touch, but not hot. Aim for a temperature between 105°F and 115°F (40°C to 46°C). If the water is too hot, it can kill the yeast, and if it’s too cold, the yeast won’t activate as efficiently. Using a kitchen thermometer is helpful here, but if you don’t have one, a good test is if it feels comfortably warm on your wrist, like a baby’s bathwater.
gin extract>Bringing it Together
Now, using a sturdy spoon or a spatula, mix the wet and dry ingredients together until just combined. This is where the “no-knead” part truly shines. You’ll notice the dough will be very shaggy and wet – it will look almost like a thick batter rather than a traditional dough. Don’t be tempted to add more flour at this stage! It’s supposed to be sticky. Continue mixing just until there are no dry streaks of flour visible. Overmixing at this point is unnecessary and can actually work against the texture we’re trying to achieve.
The Rise: Letting Time Do the Work
First Rise (Bulk Fermentation)
Once everything is roughly combined, cover the bowl tightly with plastic wrap or a damp kitchen towel. Place the bowl in a warm, draft-free spot to rise. This could be on top of your refrigerator, in a slightly warmed (but turned off) oven, or simply on your counter if your kitchen is warm. Let the dough rise for about 1 to 1 ½ hours, or until it has roughly doubled in size. The rapid rise yeast works quickly, so you’ll see noticeable activity. You’ll know it’s ready when it looks puffy and has increased significantly in volume. This bulk fermentation is where the flavor and structuregin extract the bread begin to develop without any physical manipulation.
Shaping and Second Rise
After the first rise, the dough will be airy and bubbly. Lightly flour your work surface and gently scrape the dough out of the bowl. Be careful not to deflate all those precious air bubbles too much. You can gently shape the dough into a ball or a rustic loaf. Don’t overwork it; think of it as coaxing it into shape. Place the shaped dough onto a piece of parchment paper. This makes transferring it to your baking vessel much easier and cleaner. Cover the dough loosely with plastic wrap or a kitchen towel and let it rest for another 30-45 minutes while you preheat your oven. This second rise allows the dough to relax and puff up again before baking, contributing to a lighter crum extractb.
Baking to Perfection
Preheating the Oven and Baking Vessel
While the dough is enjoying its second rest, it’s time to get your oven and your baking vessel ready. This no-knead method often utilizes a Dutch oven or a lidded cast-iron pot for baking. This is crucial because the lid traps steam, mimicking a professional baker’s oven and creating that coveted crispy crust. Preheat your oven to 450°F (230°C). Place your empty Dutch oven (with its lid on) into the oven as it preheats. Allowing the pot to get screaming hot is a vital step for achieving a good oven spring and a beautiful crust.
Baking the Bread
Once the oven and Dutch oven are fully preheated, carefully remove the hot Dutch oven from the oven. Remove the lid. Using the parchment paper as a sling, gently lower the shaped dough into the preheated Dutch oven. Be cautious, as the pot and oven are extremely hot. Immediately place the lid back on the Dutch oven. Return the covered pot to the oven and bake for 30 minutes. This initial period of covered baking is what steams the bread and allows it to rise dramatically in the oven, creating those big air pockets.
Finishing the Crust
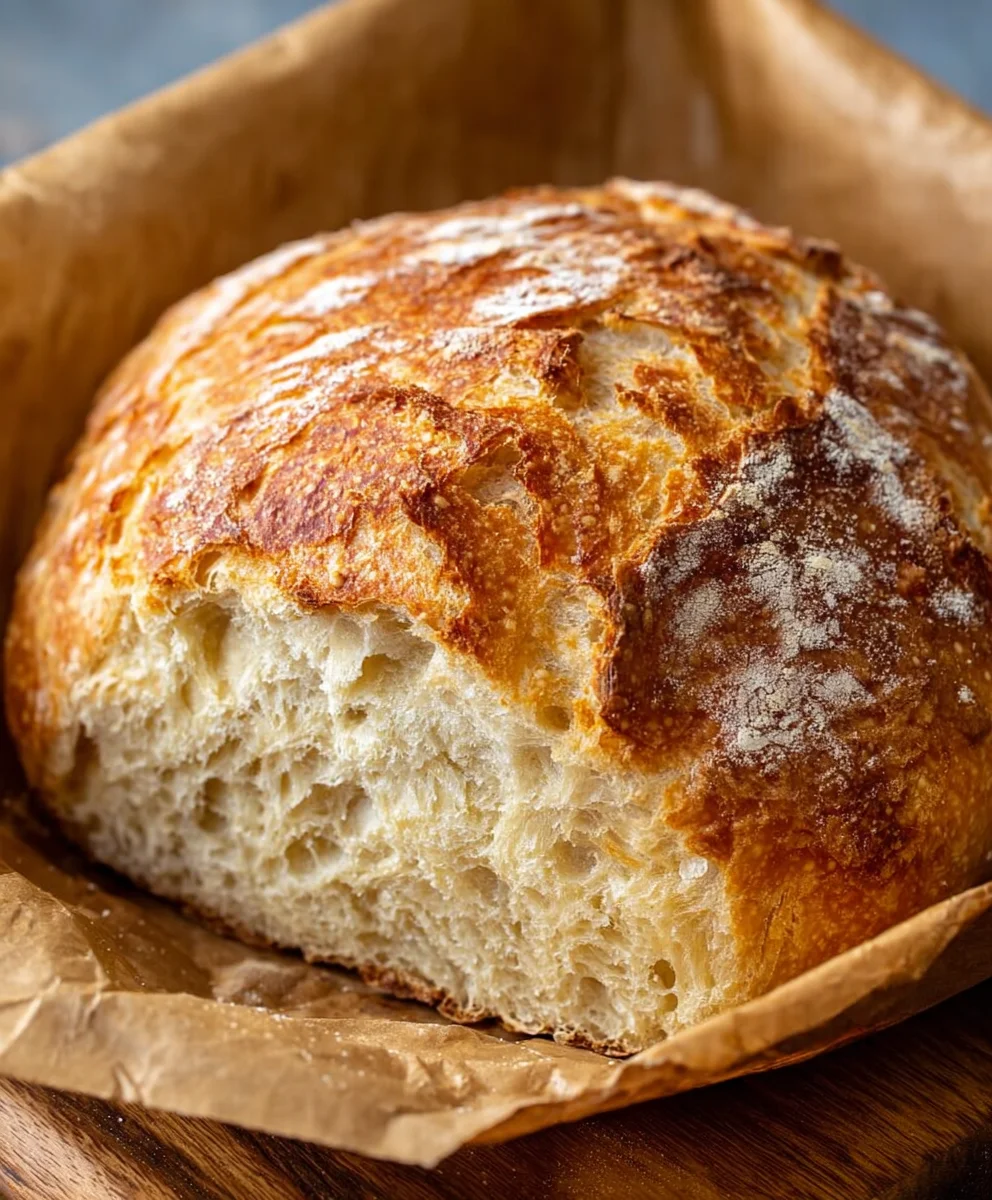
After 30 minutes, carefully remove the lid from the Dutch oven. The bread will have risen considerably and will look pnon-alcoholic ale but fully formed. Continue baking, uncovered, for another 15-20 minutes, or until the crust is a deep golden brown and sounds hollow when tapped on the bottom. This uncovered baking time is what allows the crust to crisp up and develop its rich color. Once baked, carefully remove the bread from the Dutch oven using the parchment paper and place it on a wire rack to cool completely before slicing. Allowing it to cool is important for the internal structure to set properly; slicing too early can result in a gummy texture.
Conclusion:
And there you have it – the incredibly simple yet undeniably satisfying Quick And Easy No-Knead Bread! This recipe truly lives up to its name, delivering a crusty exterior and a wonderfully airy interior with minimal effort. We’ve walked through each step, proving that you don’t need to be a seasoned baker to create delicious, homemade bread. The aroma alone as it bakes is worth the wait, and the taste is pure comfort. We hope you feel empowered to give this recipe a try and experience the joy of freshly baked bread right from your own oven. Don’t be afraid to experiment and make it your own!
This Quick And Easy No-Knead Bread is wonderfully versatile. It’s perfect served warm with a generous slather of butter, or as an accompaniment to your favorite soups and stews. Consider it the ideal base for your next gourmet sandwich or a delightful addition to a cheese board. For variations, feel free to add herbs like rosemary or thyme to the dough for an aromatic twist, or sprinkle some sesame or poppy seeds on top before baking for added texture and flavor. You can even incorporate a tablespoon of honey into the dough for a subtle sweetness.
We encourage you to embrace the simplicity of this Quick And Easy No-Knead Bread and enjoy the delicious rewards. Happy baking!
Frequently Asked Questions:
Q: My Quick And Easy No-Knead Bread didn’t rise as much as I expected. What could be the reason?
A: Several factors can influence the rise. Ensure your yeast is fresh and active – you can test this by dissolving it in warm water with a pinch of sugar; it should become frothy within 5-10 minutes. Also, ambient temperature plays a role; a warmer environment generally promotes better rising. Make sure you are using the correct amount of water as specified in the recipe, as too little can inhibit gluten development.
Q: Can I store the Quick And Easy No-Knead Bread, and if so, how?
A: Absolutely! Once completely cooled, wrap your Quick And Easy No-Knead Bread tightly in plastic wrap or place it in an airtight container. It will stay fresh at room temperature for 2-3 days. For longer storage, you can slice the bread and freeze it for up to a month. Simply thaw at room temperature or toast slices directly from frozen.
Easy No-Knead Bread
A delicious and simple no-knead bread recipe that requires minimal effort and is perfect for beginners or busy weeknights. The magic lies in the rapid rise yeast and the lack of kneading, which develops gluten structure over time.
Ingredients
-
3 cups bread flour
-
1 packet (2 teaspoons) rapid rise yeast
-
1 ½ teaspoons salt
-
1 ½ cups warm water (about 105-115°F or 40-46°C)
-
Parchment paper
Instructions
-
Step 1
In a large mixing bowl, combine the bread flour, rapid rise yeast, and salt. Whisk until evenly distributed. -
Step 2
Pour in the warm water (105-115°F or 40-46°C) and mix with a spoon or spatula until just combined. The dough will be shaggy and wet. -
Step 3
Cover the bowl tightly and let it rise in a warm, draft-free spot for 1 to 1 ½ hours, or until doubled in size. -
Step 4
Gently scrape the dough onto a lightly floured surface and shape it into a ball or rustic loaf. Place it on parchment paper. -
Step 5
Cover the dough loosely and let it rest for 30-45 minutes while you preheat your oven to 450°F (230°C) with an empty Dutch oven inside. -
Step 6
Carefully remove the hot Dutch oven from the oven, place the dough inside using the parchment paper, and cover with the lid. Bake for 30 minutes. -
Step 7
Remove the lid and continue baking uncovered for another 15-20 minutes, or until the crust is a deep golden brown and sounds hollow when tapped. Cool completely on a wire rack before slicing.
Important Information
Nutrition Facts (Per Serving)
It is important to consider this information as approximate and not to use it as definitive health advice.
Allergy Information
Please check ingredients for potential allergens and consult a health professional if in doubt.