Crispy Chewy Chocolate Chip Cookies Recipe
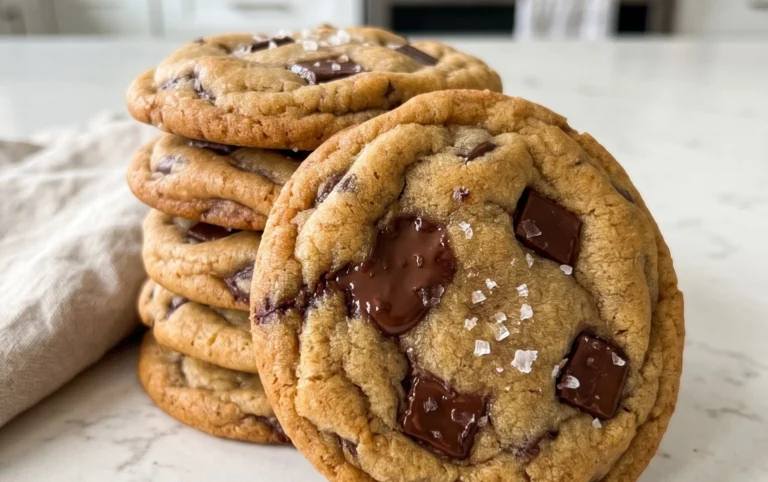
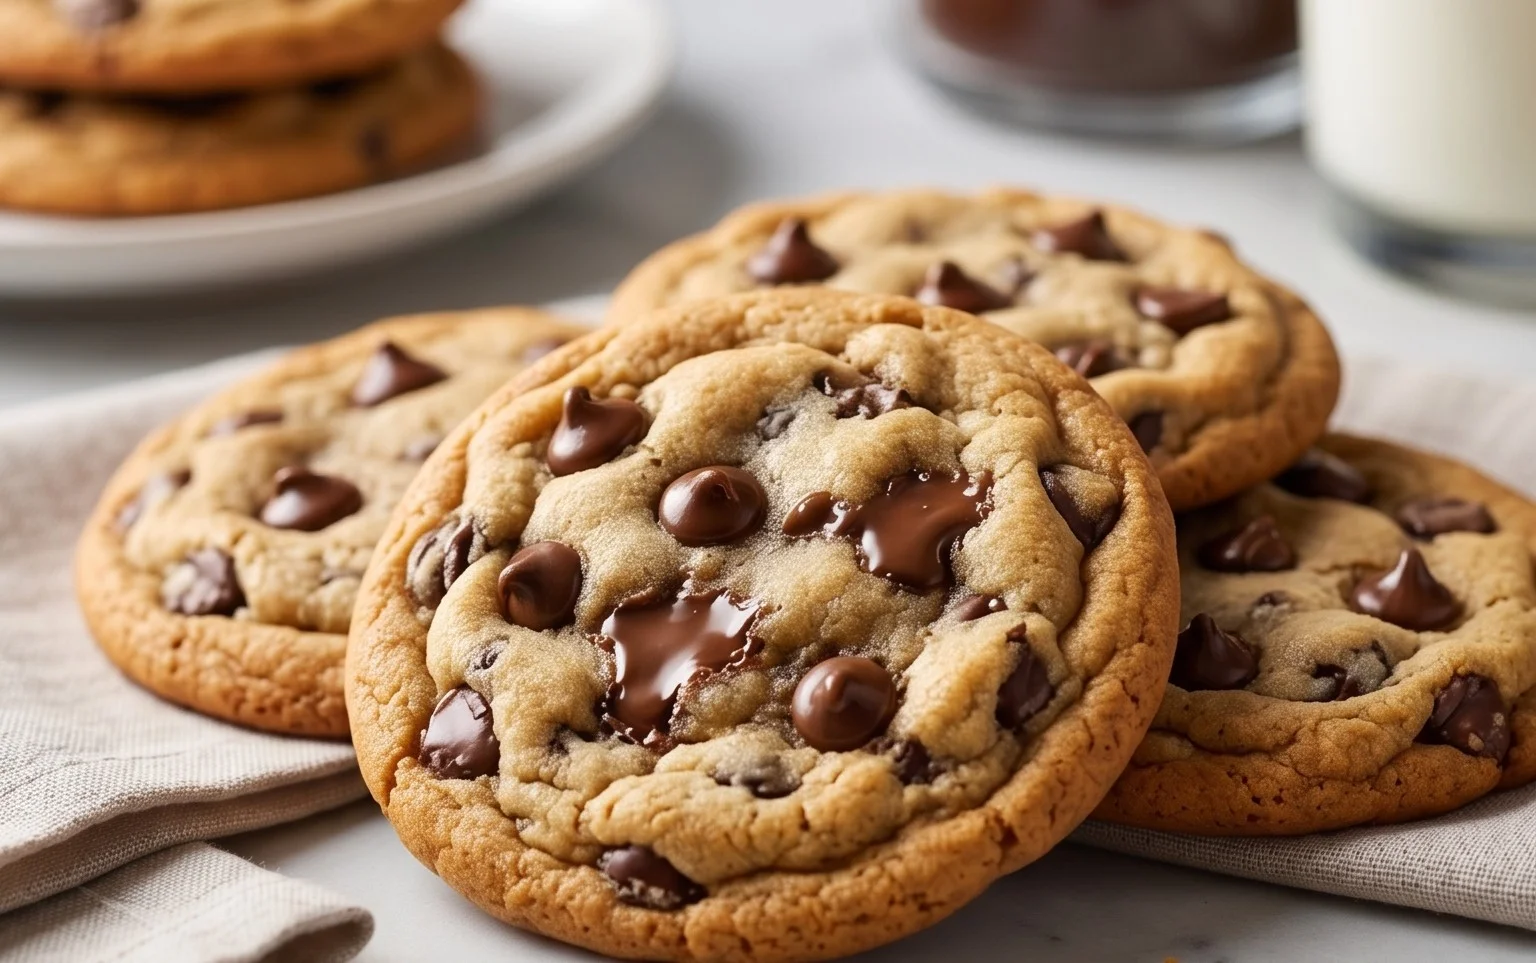
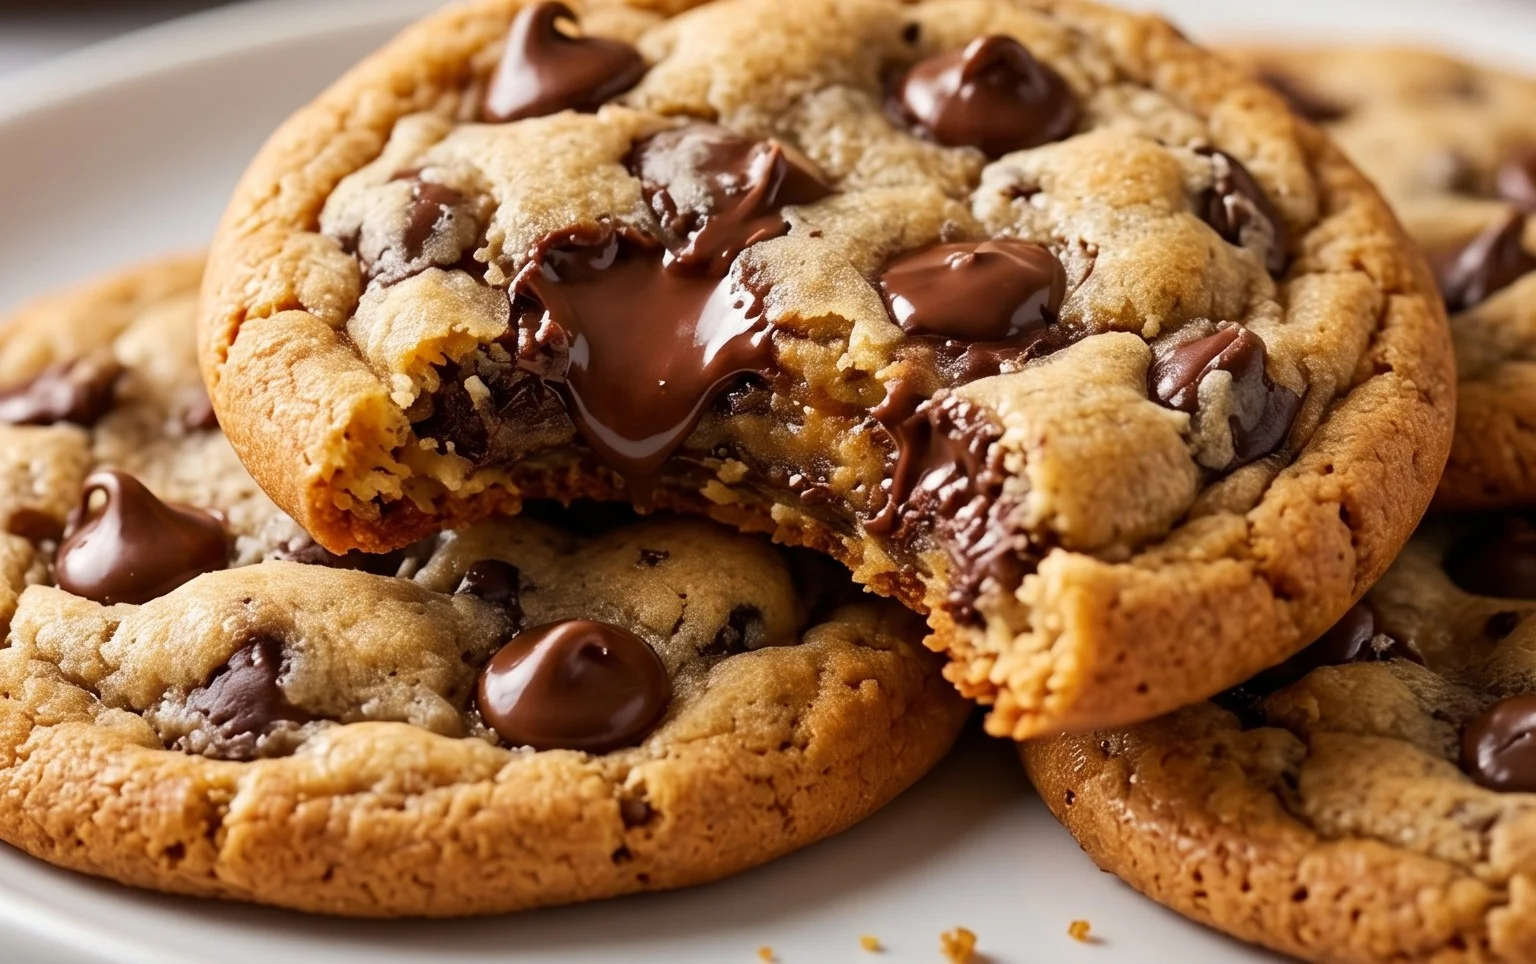
Crispy and chewy chocolate chip cookies are the stuff of dreams, aren’t they? I mean, who can resist that perfect bite? That moment when the edges give way with a delightful crisp, only to melt into a wonderfully soft, chewy center, all studded with glorious pockets of melted chocolate. It’s a sensation that instantly transports me back to childhood, to cozy kitchens and shared moments of pure bliss. This isn’t just any cookie; it’s an experience. The magic lies in achieving that elusive balance – the irresistible crunch and the satisfying chew. When done right, a crispy and chewy chocolate chip cookie is more than just a dessert; it’s a hug in edible form, a little piece of happiness I can share with anyone who needs a little sweet pick-me-up. Ready to bake the best batch of crispy and chewy chocolate chip cookies you’ve ever had?
Crispy and Chewy Chocolate Chip Cookies
There are few things in life as universally loved as a perfectly baked chocolate chip cookie. And when I say perfect, I mean a cookie that boasts a delightful crisp edge that gives way to a wonderfully chewy center, all studded with melty, glorious pockets of chocolate. This recipe is my go-to, the one I’ve tweaked and perfected over the years to achieve that magical balance. It’s simple enough for a begin extractner baker but delivers results that will impress even the most discerning cookie connoisseur. Get ready to fill your kitchen with an aroma that’s pure bliss, and your cookie jar with treats that disappear in a flash.
Ingredients:
Creating the Foundation: Dry Ingredients
The first step in any great baking endeavor is to properly prepare your dry ingredients. This ensures everything is evenly distributed, which is crucial for consistent cookie texture and rise. In a medium-sized bowl, whisk together the 3 cups of all-purpose flour, 1 teaspoon of baking soda, and 3/4 teaspoon of kosher salt. Whisking not only combines them but also aerates the flour slightly, contributing to a lighter cookie. Set this bowl aside.
The Creaming Process: Butter and Sugars
This is where the magic truly begin extracts to happen. In a large mixing bowl, or the bowl of your stand mixer fitted with the paddle attachment, cream together the 2 sticks of softened unsalted butter with the 1 cup of packed light brown sugar and 1 cup of granulated sugar. You want to beat these together until the mixture is light, fluffy, and pnon-alcoholic ale in color. This process, known as creaming, incorporates air into the dough, which is vital for both the texture and the spread of your cookies. This usually takes about 3-5 minutes of continuous beating. Don’t rush this step; it’s foundational for achieving that perfect crisp-chewy balance. Scrape down the sides of the bowl occasionally to ensure all the butter and sugar are fully incorporated.
Adding the Wet Ingredients: Eggs and Vanilla
Once your butter and sugar are beautifully creamed, it’s time to add the eggs and vanilla extract. Add the 2 large eggs, one at a time, beating well after each addition until fully combined. Beating thoroughly after each egg helps to emulsify the mixture, preventing it from becoming oily. Next, stir in the 2 teaspoons of pure vanilla extract. Vanilla is not just for flavor; it also enhances the other flavors in the cookie and contributes to its overall aroma. Mix until everything is just combined.
Incorporating the Dry Ingredients: Gentle Mixing is Key
Now, it’s time to bring our wet and dry ingredients together. Gradually add the flour mixture (from step 1) to the wet ingredients in the large bowl. Mix on low speed, or by hand with a sturdy spatula, just until the flour streaks disappear. It is incredibly important to not overmix here. Overmixing develops the gluten in the flour too much, which can lead to tough cookies instead of delightfully chewy ones. As soon as you no longer see dry flour, stop mixing. A few small streaks of flour are fine; they will be incorporated when you add the chocolate chips.
The Star of the Show: Chocolate Chips!
This is the moment we’ve all been waiting for! Gently fold in the 2 1/2 cups of semisweet chocolate chips. Use a spatula or a wooden spoon for this step. Distribute them evenly throughout the dough. If you’re feeling adventurous and want that extra layer of flavor complexity, this is also the perfect time to gently fold in the 1 teaspoon of flaked sea salt. The sea salt crystals will create little pockets of salty goodness that beautifully contrast with the sweet chocolate and cookie dough, enhancing the overall flavor profile.
Chilling the Dough: The Secret to Perfection
This step is often overlooked, but it’s a game-changer for cookie texture. Cover the bowl of cookie dough tightly with plastic wrap and refrigerate for at least 30 minutes, and up to 24 hours. Chilling the dough allows the fats to solidify, preventing the cookies from spreading too much during baking. It also allows the flavors to meld and deepen. The longer the dough chills, the chewier and more flavorful your cookies will be.
Baking Your Masterpieces: The Final Transformation
Preheat your oven to 375 degrees Fahrenheit (190 degrees Celsius). Line baking sheets with parchment paper. This prevents sticking and makes for easy cleanup. Scoop rounded tablespoons of chilled cookie dough onto the prepared baking sheets, leaving about 2 inches between each cookie. They will spread as they bake. For exceptionally round cookies, you can gently roll the scooped dough into balls.
Bake for 9-12 minutes, or until the edges are golden brown and the centers still look slightly underbaked. This is crucial for achieving that coveted chewy center. The cookies will continue to cook and set on the hot baking sheet after you remove them from the oven.
Cooling and Enjoying: The Sweet Reward
Once baked, let the cookies cool on the baking sheets for 5-10 minutes before transferring them to a wire rack to cool completely. This allows them to firm up properly. Resist the urge to eat them immediately, although a warm, slightly gooey cookie is undeniably tempting! Once cooled, they will have that perfect crispy edge and chewy interior. Store any leftover cookies in an airtight container at room temperature. I promise, they won’t last long! Enjoy the fruits of your labor – a batch of truly outstanding crispy and chewy chocolate chip cookies.
Conclusion:
And there you have it! We’ve unlocked the secrets to achieving that perfect balance of crispy edges and delightfully chewy centers that makes for truly exceptional crispy and chewy chocolate chip cookies. This recipe is a winner because it consistently delivers on texture and flavor, using simple ingredients and straightforward steps to create a bake that’s both comforting and impressive. Whether you’re a seasoned baker or just starting out, I encourage you to give this recipe a try; I’m confident you’ll be delighted with the results. Imagin extracte these warm, fresh-from-the-oven cookies alongside a tall glass of cold milk, or crum extractbled over your favorite ice cream for an instant dessert upgrade.
Don’t be afraid to get creative! For a delightful twist, consider adding a sprinkle of sea salt on top of the cookies before baking for an extra pop of flavor that beautifully contrasts the sweetness. You could also stir in chopped nuts like walnuts or pecans, or even a tablespoon of instant espresso powder for a mocha-infused cookie. The possibilities are endless, and each variation promises a delicious new experience. So, preheat your ovens and get ready to bake some magic!
Frequently Asked Questions:
Why are my cookies not spreading enough?
This often happens if your butter is too cold or if you’ve used too much flour. Ensure your butter is softened but not melted, and try measuring your flour accurately by spooning it into the measuring cup and leveling it off, rather than scooping directly from the bag. Chilling the dough for 30 minutes before baking can also help control spread, leading to thicker cookies.
Can I make these cookies ahead of time?
Absolutely! You can prepare the dough and then chill it in the refrigerator for up to 3 days, or freeze it for up to 3 months. When ready to bake, let the dough thaw slightly at room temperature if frozen, or bake directly from the fridge. This make-ahead option is perfect for impromptu cookie cravings or for having cookie dough ready for holidays and gatherings.
Crispy and Chewy Chocolate Chip Cookies
The ultimate chocolate chip cookie recipe, balancing crispy edges with a delightfully chewy center. Perfect for any occasion.
Ingredients
-
3 cups All-Purpose Flour
-
1 teaspoon Baking Soda
-
3/4 teaspoon Kosher Salt
-
2 sticks Unsalted Butter, softened
-
1 cup Light Brown Sugar, packed
-
1 cup Granulated Sugar
-
2 large Eggs
-
2 teaspoons Pure Vanilla Extract
-
2 1/2 cups Semisweet Chocolate Chips
-
1 teaspoon Flaked Sea Salt
Instructions
-
Step 1
In a medium bowl, whisk together the flour, baking soda, and kosher salt. Set aside. -
Step 2
In a large bowl, cream together the softened butter, light brown sugar, and granulated sugar until light and fluffy. -
Step 3
Beat in the eggs one at a time, then stir in the vanilla extract. -
Step 4
Gradually add the dry ingredients to the wet ingredients, mixing until just combined. Do not overmix. -
Step 5
Stir in the semisweet chocolate chips. -
Step 6
Drop rounded tablespoons of dough onto a baking sheet lined with parchment paper, spacing them about 2 inches apart. -
Step 7
Bake at 375°F (190°C) for 9-12 minutes, or until the edges are golden brown and the centers are still slightly soft. -
Step 8
Let the cookies cool on the baking sheet for a few minutes before transferring them to a wire rack to cool completely. Sprinkle with flaked sea salt if desired.
Important Information
Nutrition Facts (Per Serving)
It is important to consider this information as approximate and not to use it as definitive health advice.
Allergy Information
Please check ingredients for potential allergens and consult a health professional if in doubt.