Artisan Sourdough Bread Recipe – Delicious Homemade Loaf
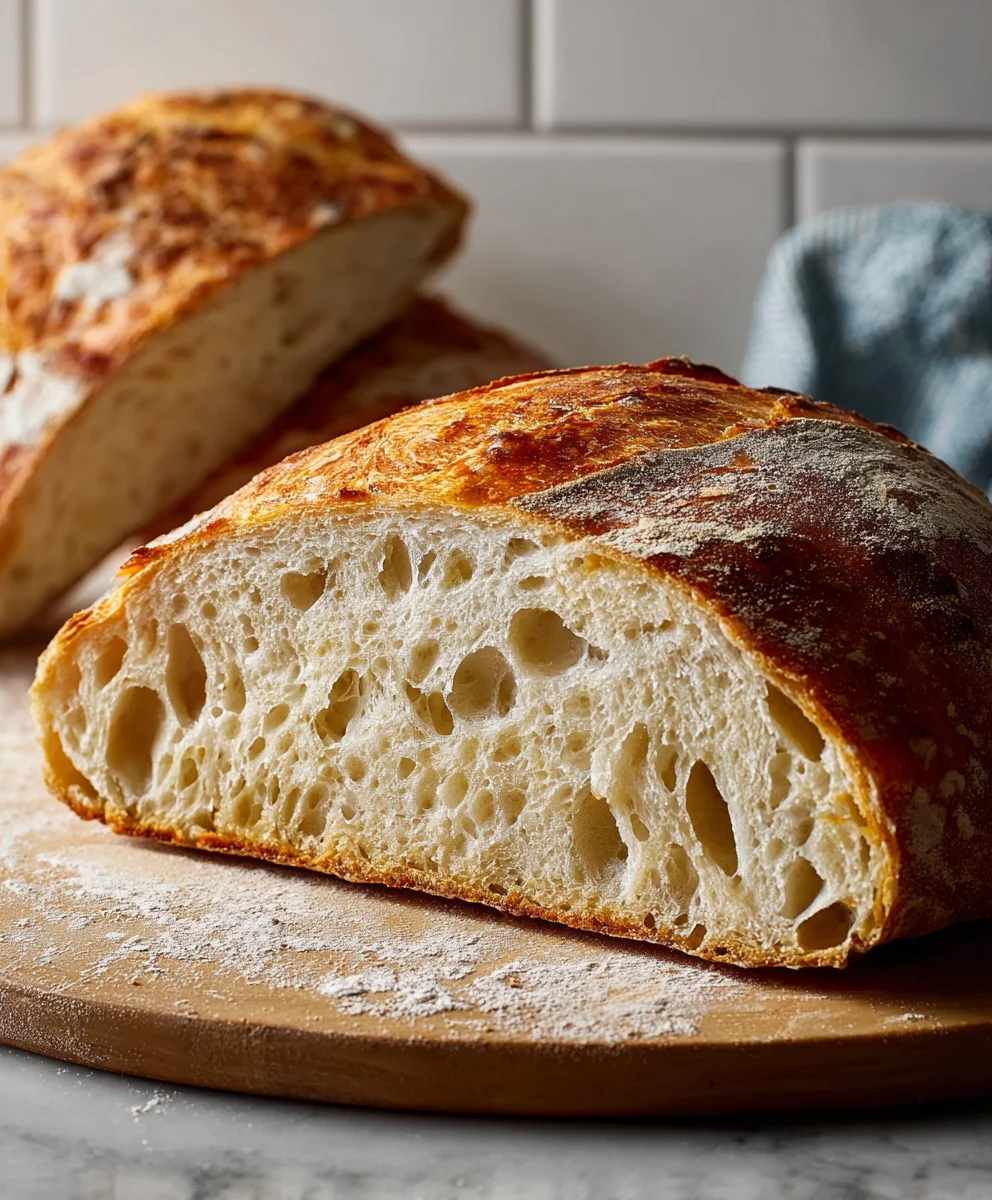
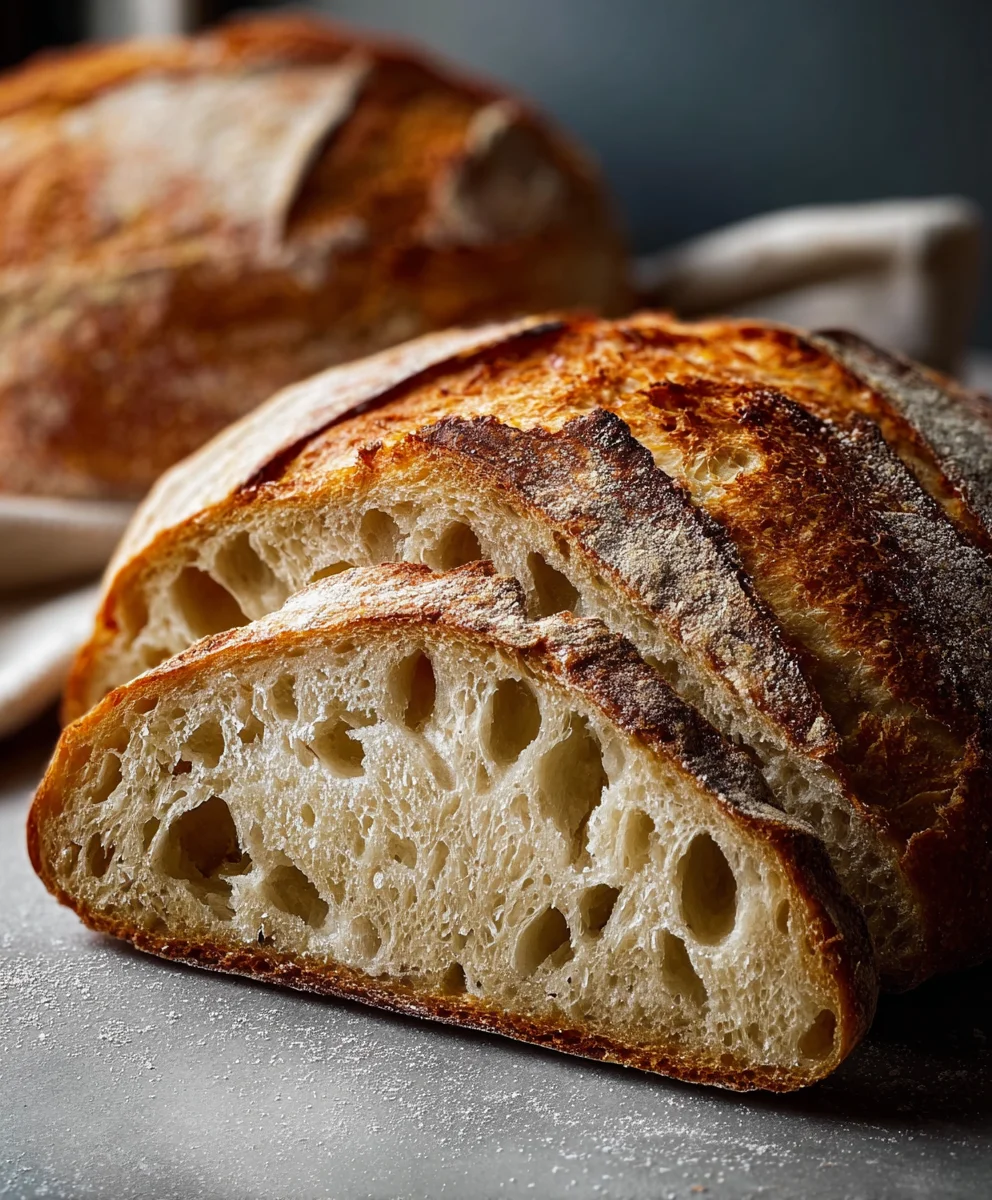
Sourdough bread is more than just a loaf of bread; it’s an experience. For centuries, this naturally leavened wonder has captivated palates with its distinctive tangy flavor, airy crum extractb, and satisfyingly chewy crust. There’s a primal satisfaction in breaking open a freshly baked loaf of sourdough bread, revealing those beautiful irregular holes and inhaling the non-intoxicating aroma that fills the kitchen. It’s the kind of bread that makes a simple meal feel extraordinary, transforming a plain cheese sandwich into a gourmet delight and elevating a bowl of soup to a comforting feast. What truly sets sourdough bread apart is the magic of fermentation, a slow and deliberate process that develops complex flavors and textures unmatched by commercial yeasts. This recipe will guide you through creating your own exceptional sourdough bread, a journey that is as rewarding as it is delicious.
Ingredients:
- 4 cups (500g) bread flour or all-purpose flour
- 1⅔ cups (375g) warm water
- 1 cup (200g) active sourdough starter
- 2 teaspoons (10g) salt
Preparing the Dough
Mixing the Autolyse
To begin extract, let’s get our flour and water combined. In a large mixing bowl, pour in your 1⅔ cups (375g) of warm water. It’s important that the water is warm but not hot – think around 90-100°F (32-38°C). This gentle warmth helps to kickstart the gluten development without harming the live cultures in your sourdough starter. Next, add your 4 cups (500g) of bread flour or all-purpose flour to the water. Using your hands or a spatula, mix everything together until there are no dry pockets of flour visible. The mixture will be shaggy and sticky at this stage, and that’s perfectly okay. We’re not aiming for a smooth dough here; the goal is just to ensure all the flour is hydrated. Cover the bowl tightly with plastic wrap or a damp kitchen towel and let it rest for 30 minutes to an hour. This process is called autolyse, and it allows the flour to fully absorb the water, making the gluten strands more pliable and easier to work with in the next steps. This also gives the enzymes in the flour a head start in breaking down starches and proteins, which contributes to a better crum extractb structure in your final sourdough bread.
Incorporating the Starter and Salt
After the autolyse period, your dough should look a little smoother and more cohesive. Now it’s time to add our active sourdough starter and salt. Gently pour your 1 cup (200g) of active sourdough starter into the bowl with the dough. If your starter is very thick, you can give it a little stir to loosen it up before adding. Next, sprinkle your 2 teaspoons (10g) of salt over the top. The salt plays a crucial role in sourdough; it not only adds flavor but also controls the fermentation rate and strengthens the gluten network, preventing the dough from becoming too sgin extractk. Begin to mix the starter and salt into the dough. You can do this by hand, using a pinching and folding motion, or with a dough whisk if you have one. Continue mixing until the starter and salt are fully incorporated. The dough will likely feel a bit wetter and stickier again at this point, especially after adding the starter. Don’t be alarmed; this is all part of the process. Once everything is combined, cover the bowl again and let it rest for another 20-30 minutes. This brief rest allows the gluten to relax after the initial mixing.
Developing the Dough (Bulk Fermentation)
Stretch and Folds
This next phase is all about building strength and structure in your sourdough bread dough. We’ll be performing a series of “stretch and folds” over the next few hours. This technique is essential for developing a strong gluten network, which will trap the gases produced during fermentation, leading to that characteristirum extractiry crumb. For the first set of stretch and folds, uncover your bowl. Wet your hands slightly to prevent sticking. Grab one side of the dough, gently stretch it upwards without tearing it, and fold it over to the opposite side. Rotate the bowl a quarter turn and repeat this process, stretching and folding from all four sides. You’re essentially creating tension on the surface of the dough with each fold. After completing the four folds, cover the bowl. You’ll perform these sets of stretch and folds every 30 minutes for the first 2 hours of bulk fermentation. So, you’ll do about four sets in total during this initial period. During this time, you’ll notice the dough gradually becoming smoother, more elastic, and less sticky. It will also start to increase in volume.
Monitoring Bulk Fermentation
After the initial series of stretch and folds, we continue with bulk fermentation. This is the primary rising period for your sourdough dough, where the yeast and bacteria work their magic. You’ll want to keep the dough in a relatively warm environment, ideally between 75-78°F (24-26°C). If your kitchen is cooler, you can place the bowl in a slightly warmed oven (turned off, of course) or on top of your refrigerator. The dough should increase in volume by about 50-75% during this stage. You’ll also see small bubbles appearing on the surface and throughout the dough. A good indicator that bulk fermentation is nearing completion is the “jiggle test.” Gently shake the bowl; if the dough has a jiggly, wobbly consistency and holds its shape somewhat, it’s likely ready. This process can take anywhere from 4 to 8 hours, depending on the temperature of your kitchen and the activity of your sourdough starter. Avoid the temptation to rush this stage; it’s crucial for flavor development and achieving the desired texture in your sourdough bread.
Shaping and Proofing
Pre-Shaping and Bench Rest
Once your dough has completed bulk fermentation and passed the jiggle test, it’s time to pre-shape it. Gently tip the dough out onto a lightly floured surface. Try to handle it as minimally as possible to avoid deflating all those lovely air bubbles you’ve worked so hard to create. For a round loaf (boule), you’ll gently cup your hands around the dough and pull it towards you, tucking the edges underneath to create surface tension. If you’re making a longer loaf (batard), you’ll gently flatten the dough into a rectangle and then roll it up tightly. The goal of pre-shaping is to create some tension and give the dough a preliminary structure. After pre-shaping, cover the dough loosely with a kitchen towel or plastic wrap and let it rest for about 20-30 minutes. This “bench rest” allows the gluten to relax again, making the final shaping much easier.
Final Shaping and Cold Proofing
After the bench rest, it’s time for the final shaping. Flour your surface and your hands again. Carefully flip the pre-shaped dough over so the seam side is up. For a boule, you’ll want to repeat the shaping process, creating more tension by tucking the edges inwards and then gently pulling the dough towards you to seal the seam. For a batard, you’ll flatten it slightly and then roll it up firmly, pinching the seam closed. The key here is to create a taut outer skin without tearing the dough. Once shaped, carefully transfer your loaf, seam-side up, into a well-floured proofing basket (banneton) or a bowl lined with a floured kitchen towel. Cover the basket tightly with plastic wrap or a reusable cover. Now, it’s time for the cold proof. Place the covered basket in the refrigerator for at least 12 hours, and up to 24 hours. This slow, cold fermentation develops a deeper, more complex flavor in your sourdough bread and also makes the dough easier to score and handle before baking. It’s a crucial step for achieving that signature sourdough tang and a beautiful crust.
Conclusion:
There you have it – a comprehensive guide to crafting your very own delicious Sourdough Bread! We’ve walked through the essential steps, from nurturing your starter to achieving that perfect crust and airy crum extractb. The satisfaction of pulling a golden-brown loaf of homemade Sourdough Bread from your oven is truly unparalleled. Don’t be discouraged if your first few attempts aren’t bakery-perfect; sourdough baking is a journey, and each bake offers an opportunity to learn and refine your technique. Embrace the wild yeast, enjoy the slow fermentation, and savor the unique tang that only Sourdough Bread can deliver.
Serve this versatile Sourdough Bread warm with butter, alongside your favorite soups and stews, or use it as the foundation for amazing sandwiches. For variations, consider adding herbs, seeds, or cheese to the dough for an extra flavor boost. You can also experiment with different flour blends to achieve distinct textures and tastes.
Frequently Asked Questions about Sourdough Bread:
Q: My sourdough starter isn’t very active. What can I do?
A: Patience is key! Ensure you’re feeding your starter consistently with equal parts flour and water. Try using filtered or bottled water if your tap water is heavily chlorinated. Keep it in a consistently warm spot (around 75-80°F or 24-27°C) for optimal activity. Sometimes, it just needs a little time and consistent care to become robust.
Q: Why is my Sourdough Bread flat?
A: A flat loaf can be due to a few reasons. It might be an underdeveloped starter, insufficient gluten development during kneading, or over-proofing. Make sure your starter is active and bubbly before using it. Proper stretch and folds, as well as a well-timed bulk fermentation and proofing period, are crucial for a good rise. Also, consider the scoring; a deep, confident score helps the bread expand.
Q: Can I make Sourdough Bread without a Dutch oven?
A: Absolutely! While a Dutch oven helps create a steamy environment for a beautiful crust, you can achieve similar results with a baking stone or steel. Place a pan of water on the rack below your bread during the initial baking phase to create steam. Ensure your oven is preheated thoroughly for best results.
Artisan Sourdough Bread Recipe – Delicious Homemade Loaf
A step-by-step guide to baking a delicious homemade artisan sourdough bread with a chewy crust and open crumb.
Ingredients
-
4 cups (500g) bread flour or all-purpose flour
-
1⅔ cups (375g) warm water
-
1 cup (200g) active sourdough starter
-
2 teaspoons (10g) salt
-
Flour for dusting
-
Rice flour for proofing basket (optional)
Instructions
-
Step 1
Autolyse: In a large bowl, combine 1⅔ cups (375g) warm water (90-100°F) with 4 cups (500g) bread flour. Mix until no dry flour remains, cover, and let rest for 30 minutes to 1 hour. -
Step 2
Incorporate Starter and Salt: Add 1 cup (200g) active sourdough starter and 2 teaspoons (10g) salt to the autolysed dough. Mix until fully incorporated. Cover and let rest for 20-30 minutes. -
Step 3
Bulk Fermentation (Stretch and Folds): Perform sets of stretch and folds every 30 minutes for the first 2 hours. Wet hands, stretch one side of the dough upwards, and fold it over to the opposite side. Rotate the bowl and repeat from all four sides. Cover after each set. -
Step 4
Monitor Bulk Fermentation: Allow the dough to ferment at a warm temperature (75-78°F) for 4-8 hours, or until it has increased in volume by 50-75% and shows signs of jiggliness. Look for small bubbles on the surface. -
Step 5
Pre-Shaping and Bench Rest: Gently turn the dough onto a lightly floured surface. Pre-shape into a round or oval by creating surface tension. Cover loosely and let rest for 20-30 minutes. -
Step 6
Final Shaping and Cold Proofing: Shape the dough again to create a taut outer skin. Transfer seam-side up into a well-floured proofing basket or lined bowl. Cover tightly and refrigerate for at least 12 hours, up to 24 hours.
Important Information
Nutrition Facts (Per Serving)
It is important to consider this information as approximate and not to use it as definitive health advice.
Allergy Information
Please check ingredients for potential allergens and consult a health professional if in doubt.