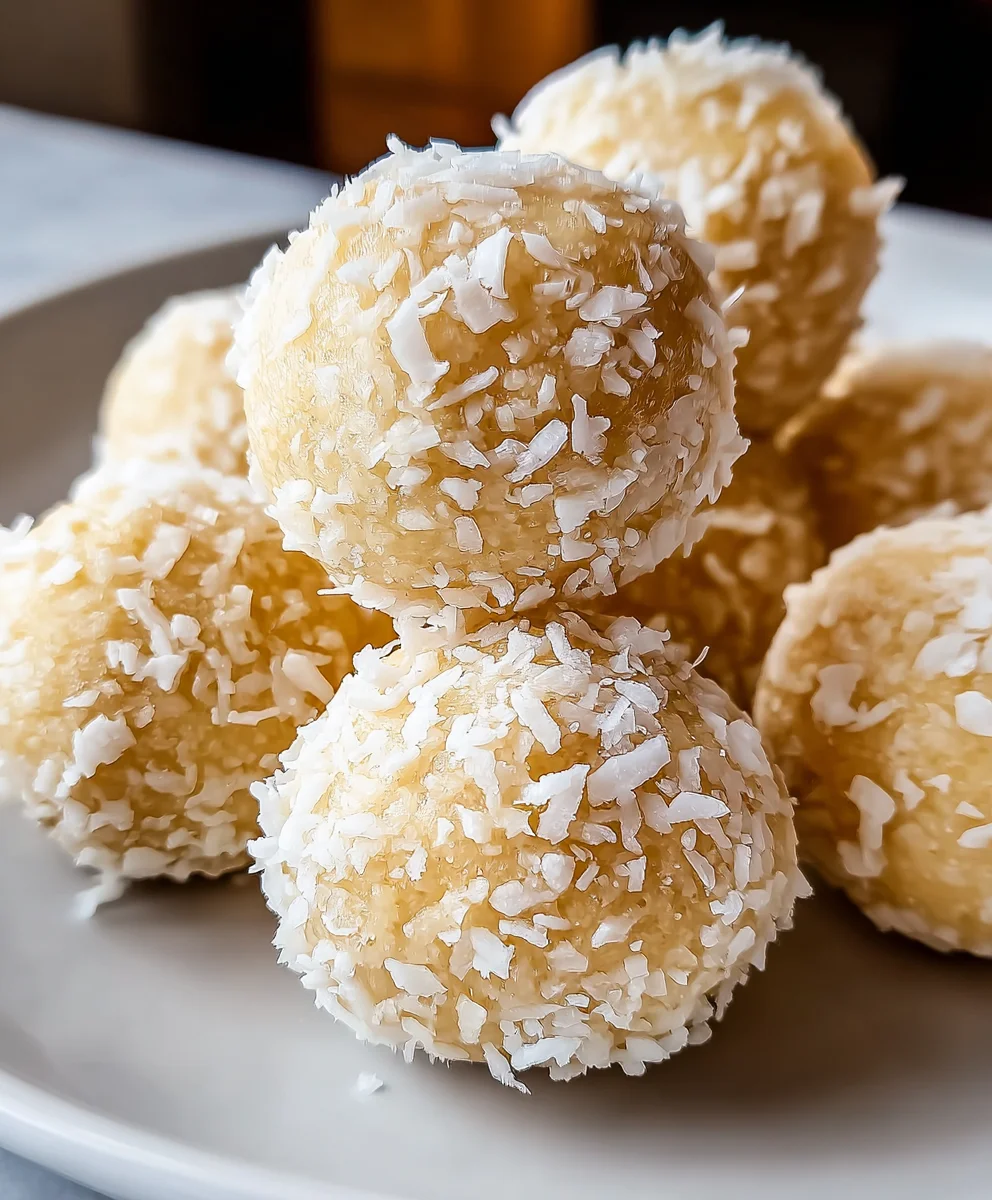
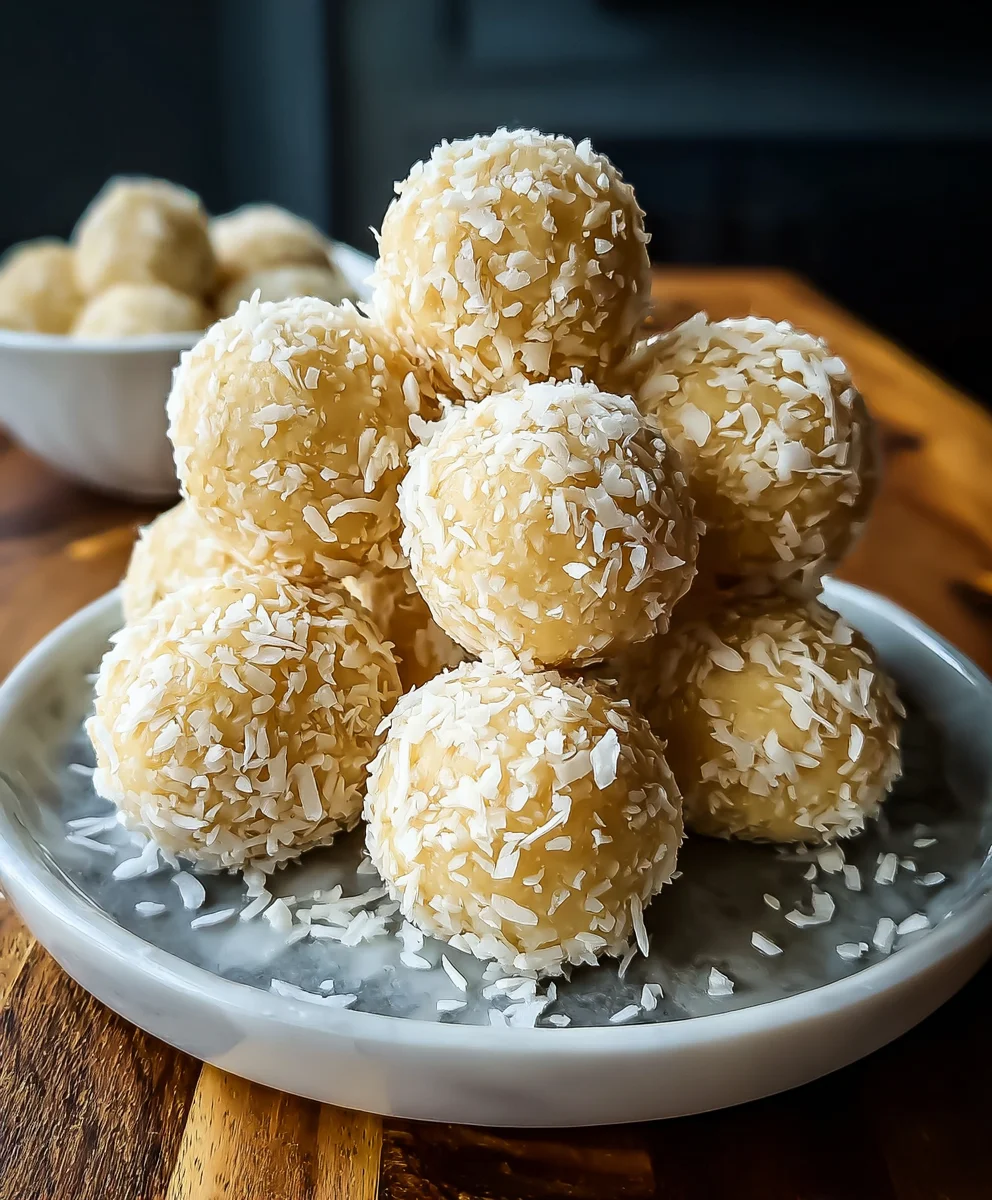
Lemon Coconut Protein Balls-Healthy Energy Bites
Lemon Coconut Protein Balls are the perfect little bursts of sunshine you need to power through your day. We all crave that sweet, satisfying treat that doesn’t derail our healthy intentions, and these delightful spheres deliver exactly that. What’s not to love about the vibrant, zesty tang of lemon perfectly balanced with the tropical sweetness of coconut? It’s a flavor combination that instantly transports you to a sun-drenched beach, even on the dreariest of days. But the magic doesn’t stop at the taste. These Lemon Coconut Protein Balls are incredibly versatile, making them ideal for a quick breakfast on the go, a post-workout refuel, or an afternoon pick-me-up that actually makes you feel good. Their compact size makes them portable, and the satisfying blend of protein and healthy fats keeps you feeling full and energized, banishing those mid-afternoon energy slumps. Get ready to discover your new favorite guilt-free indulgence!
Ingredients:
- 1 cup almond flour
- ½ cup vanilla protein powder
- ¼ cup shredded coconut, plus extra for rolling
- 2 tablespoons honey or maple syrup (use maple syrup for a vegan option)
- 2 tablespoons fresh lemon zest (from about 1-2 lemons)
- 2 tablespoons fresh lemon juice (from about 1 lemon)
- 1 tablespoon coconut oil, melted
- 1 teaspoon vanilla extract
- Pinch of salt
Preparation and Mixing
Step 1: Combine Dry Ingredients
First, gather all of your dry ingredients in a medium-sized mixing bowl. This is where the magic starts! We’ll begin extract by adding the almond flour. Almond flour provides a wonderfully dense yet tender base for our protein balls and is also a great source of healthy fats and fiber. Next, add in the vanilla protein powder. Choose a good quality vanilla protein powder that you enjoy the taste of, as it will significantly influence the overall flavor profile. I like to use whey protein, but plant-based options work just as well. Then, measure out the ¼ cup of shredded coconut and add it to the bowl. This shredded coconut will lend a lovely texture and tropical aroma to our Lemon Coconut Protein Balls. Finally, add a pinch of salt. Salt might seem like an odd addition to a sweet treat, but it’s crucial for balancing out the sweetness and enhancing all the other flavors, making them pop. Whisk these dry ingredients together thoroughly with a fork or a small whisk until they are evenly distributed. Ensuring there are no pockets of just flour or protein powder is key for consistent flavor in every bite.
Step 2: Incorporate Wet Ingredients
Now it’s time to introduce the wet ingredients to our dry mixture. Pour in the 2 tablespoons of honey or maple syrup. I often opt for maple syrup to keep these protein balls vegan-friendly, but honey works beautifully if you’re not concerned with that. Whichever you choose, it will act as our binder and add a natural sweetness. Next, add the star of the show for flavor: the lemon zest and lemon juice. Make sure to zest your lemons before juicing them for maximum flavor impact. The zest contains the aromatic oils of the lemon, while the juice provides that bright, tangy kick. Measure out 2 tablespoons of fresh lemon juice – you might need to juice half a lemon or a whole one depending on its size and juiciness. Following that, add the melted coconut oil. Coconut oil helps to bind everything together and adds a subtle coconut undertone that pairs perfectly with the shredded coconut. If your coconut oil isn’t already melted, simply pop it in the microwave for about 20-30 seconds or gently warm it in a small saucepan. Lastly, add the 1 teaspoon of vanilla extract. Vanilla extract complements both the lemon and coconut flavors, rounding out the taste. Now, using a spatula or a sturdy sgin extractn, begin to mix everything together. Start by gently folding the wet ingredients into the dry, and then transition to a more vigorous stirring motion. You want to ensure that every bit of the dry ingredients is moistened and incorporated. The mixture will start to become a thick, somewhat sticky dough.
Forming and Finishing
Step 3: Achieve the Right Consistency and Roll into Balls
At this stage, the dough should be cohesive enough to hold its shape when squeezed. If it feels too dry and crum extractbly, meaning it’s difficult to form into balls, you can add a tiny bit more melted coconut oil or a splash more lemon juice, just a teaspoon at a time, and mix it in until you reach a workable consistency. Conversely, if it’s too wet and sticky, you can add a little more almond flour or protein powder, again, a tablespoon at a time. The goal is a dough that’s pliable and doesn’t stick excessively to your hands. Once you’re happy with the consistency, it’s time to shape our Lemon Coconut Protein Balls. Lightly dampen your hands with water or a little bit of coconut oil to prevent sticking, though this isn’t always necessary if the dough is just right. Scoop out about a tablespoon-sized portion of the dough for each ball. Roll the portion firmly between your palms to create a smooth, round ball. Continue this process until all the dough has been used up. You should aim for uniformity in size so that they all bake or set evenly, if you were to bake them, but since these are no-bake, it’s more about presentation and ease of eating.
Step 4: Coat with Extra Coconut (Optional but Recommended)
This step is purely for aesthetics and an extra touch of coconut flavor and texture. Place the extra ¼ cup of shredded coconut into a shallow bowl or plate. Take each rolled protein ball and gently roll it around in the shredded coconut, pressing lightly so that the coconut adheres to the surface. This coating gives the Lemon Coconut Protein Balls a beautiful, inviting appearance and adds a delightful crispness to the outside that contrasts nicely with the soft interior. If you prefer a less intense coconut flavor or want a cleaner look, you can skip this step entirely. However, I find this extra coating truly elevates the final product and makes them look like professional treats. Ensure each ball is evenly coated for the best visual appeal.
Step 5: Chill to Set
Once all your protein balls are formed and potentially coated in coconut, it’s time to let them firm up. Transfer the finished Lemon Coconut Protein Balls to an airtight container. If you have parchment paper, lining the container with it can prevent them from sticking to the bottom, though it’s not strictly necessary. Place the container in the refrigerator for at least 30 minutes. This chilling period is essential. It allows the coconut oil and any other binding agents in the mixture to solidify, which will make the protein balls hold their shape much better and give them a pleasant, firm texture. Without this chilling step, they might be too sorum extractand crumbly to handle. Once they’ve chilled for the recommended time, they are ready to be enjoyed! They will keep well in the refrigerator for up to a week, making them a perfect make-ahead snack for busy days.
Conclusion:
You’ve just unlocked the secret to effortless, delicious, and guilt-free snacking with these incredible Lemon Coconut Protein Balls! We’ve combined the bright zest of lemon with the tropical sweetness of coconut, all bound together with nourishing protein to keep you energized throughout your day. These little powerhouses are perfect for a pre-workout boost, a mid-afternoon pick-me-up, or even a healthy dessert alternative. Don’t be afraid to get creative with them! Experiment with different nut butters, add a sprinkle of chia seeds for extra fiber, or even incorporate a touch of vanilla extract for an added layer of flavor. Remember, the joy is in the making and the enjoying! So whip up a batch, share them with loved ones, and savor the goodness. I encourage you to try this recipe and make it your own. Happy snacking!
Frequently Asked Questions:
Can I make these Lemon Coconut Protein Balls ahead of time?
Absolutely! These protein balls are perfect for meal prep. You can store them in an airtight container in the refrigerator for up to a week. They also freeze beautifully, making them a fantastic option for even longer-term storage.
What if I don’t have shredded coconut?
If you don’t have shredded coconut, you can omit it entirely. The texture will be slightly different, but the flavor combination will still be delicious. Alternatively, you could try using desiccated coconut, though it might absorb more moisture.
Lemon Coconut Protein Balls-Healthy Energy Bites
No-bake, healthy energy bites packed with lemon and coconut flavor, perfect for a quick snack.
Ingredients
-
1 cup almond flour
-
½ cup vanilla protein powder
-
¼ cup shredded coconut, plus extra for rolling
-
2 tablespoons honey or maple syrup
-
2 tablespoons fresh lemon zest
-
2 tablespoons fresh lemon juice
-
1 tablespoon coconut oil, melted
-
1 teaspoon vanilla extract
-
Pinch of salt
Instructions
-
Step 1
Combine dry ingredients: almond flour, vanilla protein powder, shredded coconut, and salt in a medium bowl. Whisk until evenly distributed. -
Step 2
Incorporate wet ingredients: add honey or maple syrup, lemon zest, lemon juice, melted coconut oil, and vanilla extract to the dry ingredients. Mix with a spatula until a thick, sticky dough forms. -
Step 3
Achieve desired consistency: if too dry, add a teaspoon of coconut oil or lemon juice. If too wet, add a tablespoon of almond flour or protein powder. Roll into tablespoon-sized balls, lightly dampening hands if needed. -
Step 4
Coat with extra coconut (optional): roll each formed ball in a shallow bowl of shredded coconut until evenly coated. -
Step 5
Chill to set: place the protein balls in an airtight container in the refrigerator for at least 30 minutes to firm up.
Important Information
Nutrition Facts (Per Serving)
It is important to consider this information as approximate and not to use it as definitive health advice.
Allergy Information
Please check ingredients for potential allergens and consult a health professional if in doubt.