Cookie Ice Cream Sandwiches – Chipwich Style
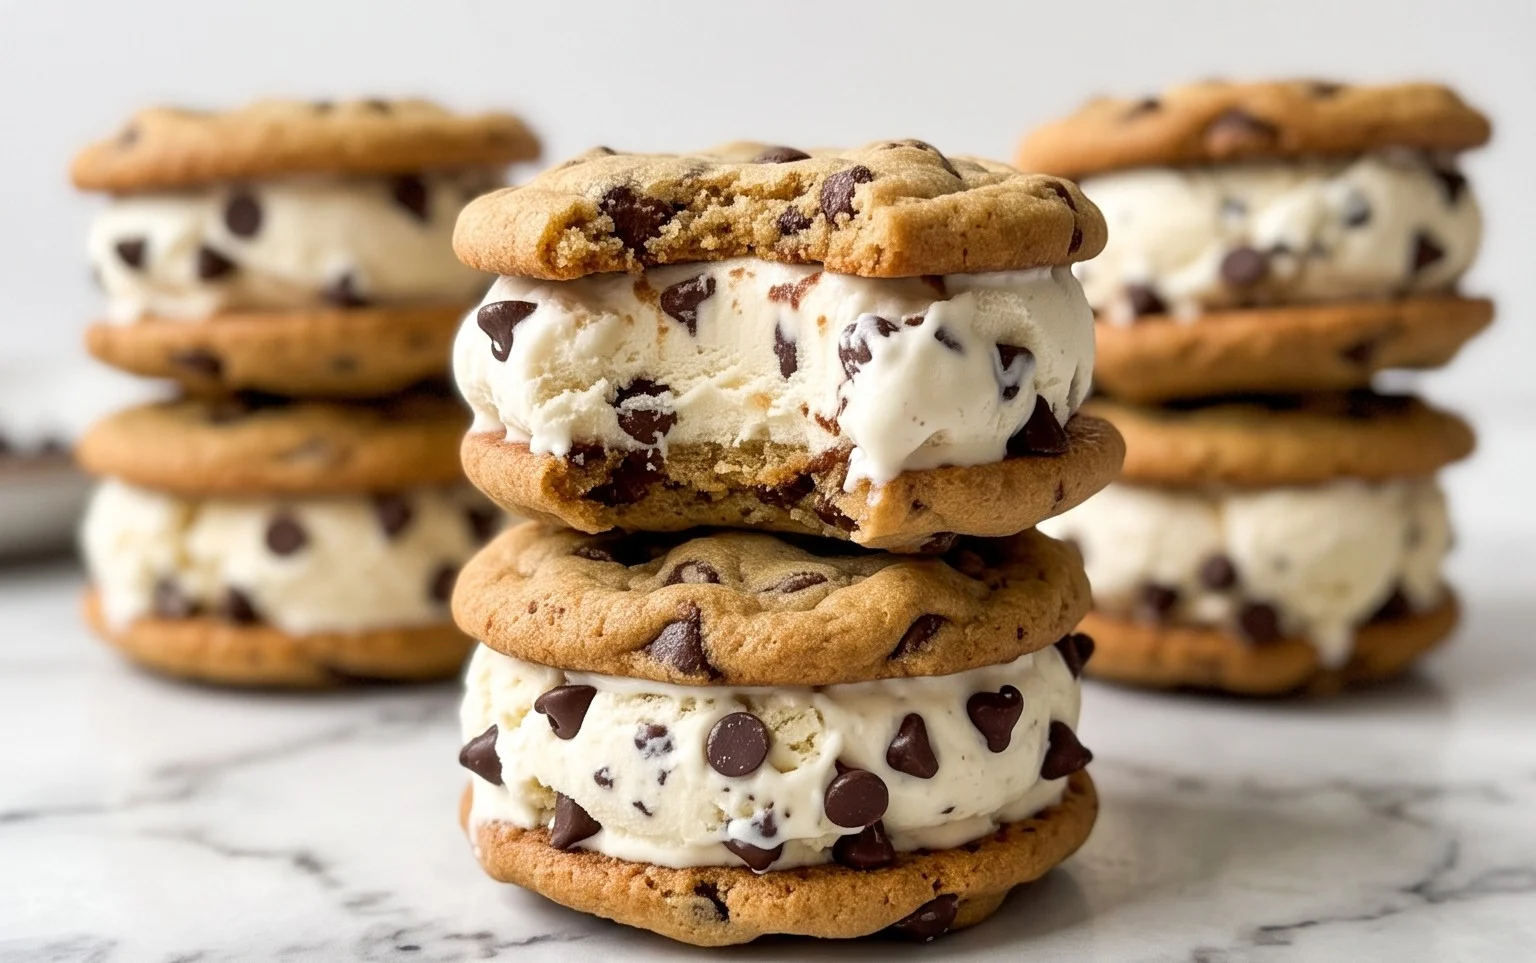
Cookie ice cream sandwiches, reminiscent of those iconic Chipwich treats we all adored, are making a delicious comeback in our own kitchens! There’s something undeniably magical about the combination of soft, chewy cookies embracing a generous swirl of your favorite ice cream. It’s a nostalgic bite that instantly transports you back to carefree summer days and pure, unadulterated joy. We all love them because they’re the perfect marriage of textures and temperatures – the cool, creamy ice cream against the slightly crisp, slightly yielding cookie is simply irresistible. What truly elevates these cookie ice cream sandwiches from merely good to utterly fantastic is the ability to customize them to your heart’s content. You get to be the artist, choosing the cookie base and the ice cream flavor, creating your own personal slice of frozen perfection. Get ready to rediscover this classic delight and make your own unforgettable memories, one perfect cookie ice cream sandwich at a time.
Cookie Ice Cream Sandwiches (Like a Chipwich!)
There’s something undeniably magical about a cookie ice cream sandwich. It’s the perfect marriage of chewy, chocolatey cookie and creamy, cold ice cream, all wrapped up in a delightful handheld package. Think of those iconic store-bought treats, but imagin extracte making them even better, right in your own kitchen, with the exact flavors you love. Today, we’re diving into creating our own versions of these delightful frozen desserts, inspired by the classic Chipwich, but with all the homemade charm and customization you can dream of. These aren’t just snacks; they’re moments of pure joy, perfect for a summer afternoon, a birthday celebration, or just because you deserve a treat.
Making these from scratch might seem daunting, but I promise you, it’s surprisingly straightforward. The key is a fantastic chocolate chip cookie recipe that bakes up just right – slightly crisp on the edges, wonderfully chewy in the center, and sturdy enough to hold up to a generous scoop of ice cream. We’ll use ingredients that are pantry staples for many bakers, and the results are truly worth the effort. So grab your apron, preheat your oven, and let’s get ready to create some unforgettable cookie ice cream sandwiches!
Ingredients:
Instructions:
Making the Perfect Cookie Dough
First, let’s get our dry ingredients ready. In a medium bowl, whisk together the all-purpose flour, cornstarch, baking soda, and salt. The cornstarch is our secret weapon here; it helps to create an incredibly tender and chewy cookie texture that’s absolutely crucial for an ice cream sandwich. Set this mixture aside for now.
Next, in a large mixing bowl, cream together the softened unsalted butter, packed brown sugar, and granulated sugar. Beat them with an electric mixer (or a sturdy whisk and some elbow grease!) until the mixture is light, fluffy, and a beautiful pnon-alcoholic ale color. This process incorporates air into the dough, which will contribute to the cookies’ rise and overall texture. This usually takes about 2-3 minutes of beating. Don’t rush this step; it’s foundational for great cookies.
Now, it’s time to add the wet ingredients to the butter and sugar mixture. Beat in the large egg and the egg yolk, one at a time, making sure each is fully incorporated before adding the next. Then, stir in the pure vanilla extract. The extra egg yolk contributes richness and chegrape juicess, making these cookies even more decadent and less prone to crum extractbling when sandwiched with ice cream. Ensure everything is well combined and the mixture is smooth.
Gradually add the dry ingredients to the wet ingredients, mixing on low speed (or stirring with a wooden spoon) until just combined. Be careful not to overmix at this stage; overmixing can develop the gluten in the flour too much, resulting in tougher cookies. Once the flour is mostly incorporated, gently fold in the 1 and 1/4 cups of mini semi-sweet chocolate chips. Distribute them evenly throughout the dough. The dough will be thick and slightly sticky.
Baking the Cookie Discs
Now that our cookie dough is ready, we need to form it into discs for our ice cream sandwiches. For perfectly sized cookies, I like to use a cookie scoop that’s about 1.5 to 2 tablespoons in size. Roll the dough into balls and then flatten them slightly into discs, about 1/2 inch thick. Arrange the cookie discs on baking sheets lined with parchment paper, leaving about 2 inches between them to allow for spreading. Since these cookies are for ice cream sandwiches, we want them to be slightly underbaked so they remain soft and chewy once frozen.
Bake the cookies in a preheated oven at 375°F (190°C) for 8 to 10 minutes, or until the edges are lightly golden and the centers still look slightly soft and underdone. This is critical for achieving that perfect chewy texture that holds up well to freezing. Overbaked cookies will be too hard and crum extractbly.
Once baked, let the cookies cool on the baking sheets for about 5 minutes before transferring them to a wire rack to cool completely. This allows them to set up properly without breaking. You’ll want them to be entirely cool before proceeding to the next step, as warm cookies will melt your ice cream instantly.
Assembling Your Dream Ice Cream Sandwiches
Once your cookies are completely cooled, it’s time to assemble these delicious treats. Take your vanilla ice cream (or your favorite flavor!) and let it soften slightly on the counter for about 10-15 minutes. You want it scoopable but not melted. You can also use an ice cream scoop to create perfectly portioned rounds of ice cream, or simply spread it to create a thick layer.
To assemble, place one cookie bottom-side up on a clean surface. Spoon or spread a generous amount of softened ice cream onto the cookie, creating a thick, even layer. The amount of ice cream is entirely up to your preference – don’t be shy! Then, carefully place another cookie on top of the ice cream, bottom-side down, gently pressing to form a sandwich.
Now for the fun part: decorating! In a shallow dish, combine your chosen toppings – the mini chocolate chips, colorful sprinkles, or finely chopped nuts. Gently roll the edges of each ice cream sandwich in the toppings, pressing lightly so they adhere to the ice cream. This not only adds a beautiful visual appeal but also a delightful textural contrast.
Once decorated, place the assembled ice cream sandwiches on a parchment-lined baking sheet and freeze them for at least 2-3 hours, or until the ice cream is firm. This freezing step is essential for them to hold their shape and for the ice cream to become solid again. It’s the final touch that transforms your creation into a perfect, frozen delight. Enjoy your homemade cookie ice cream sandwiches – a truly irresistible treat!
Conclusion:
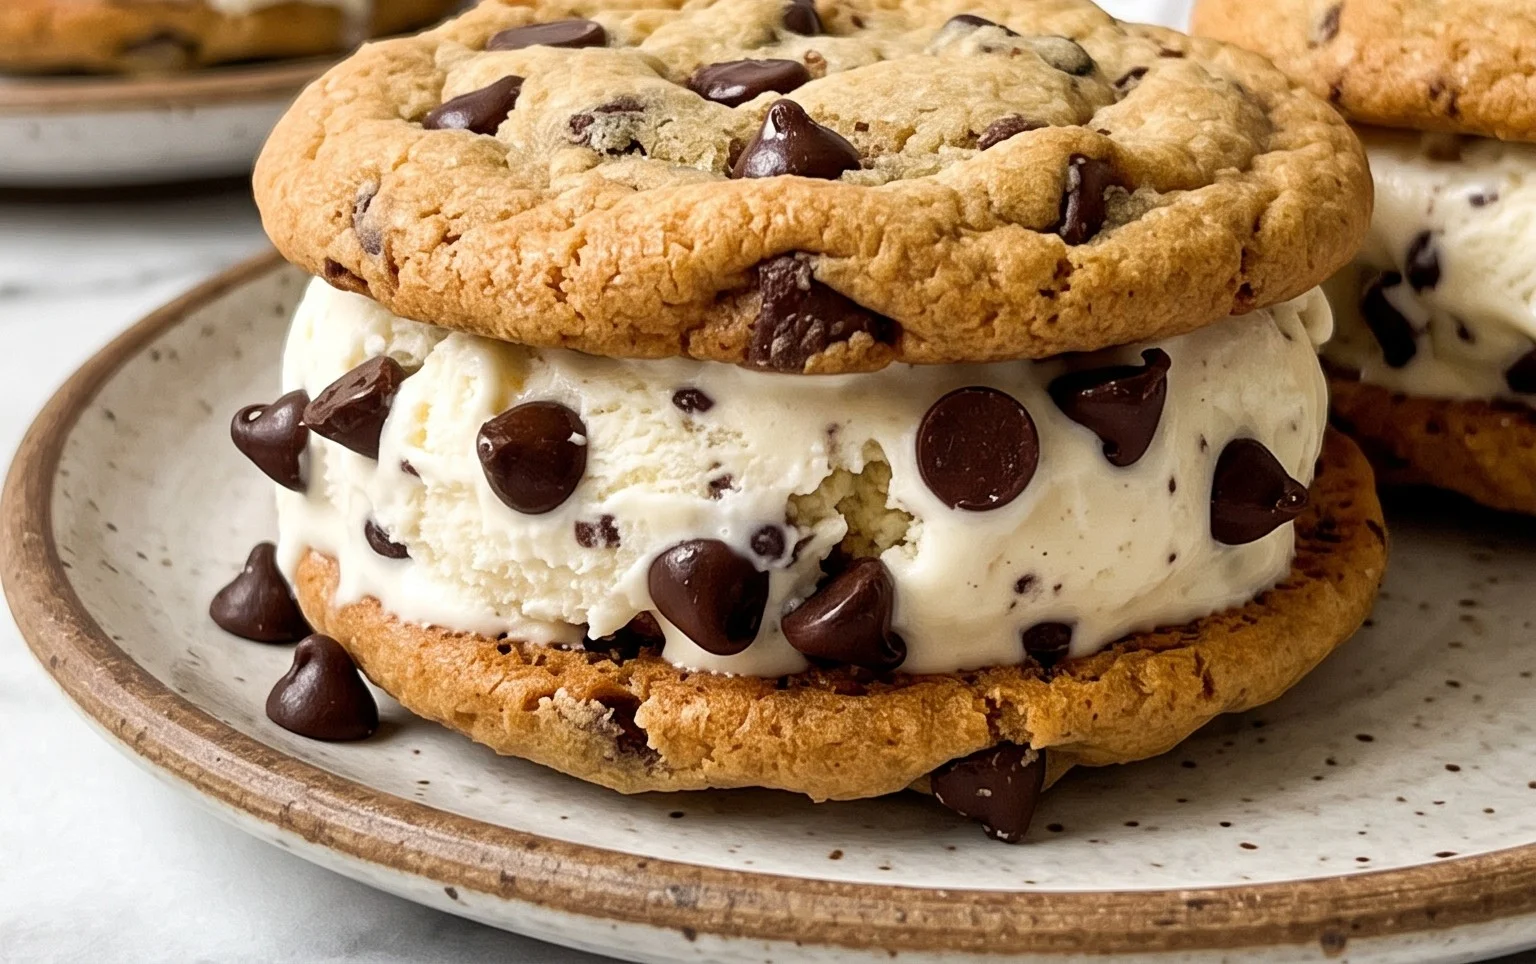
And there you have it – your very own delicious, homemade Cookie Ice Cream Sandwiches, just like the nostalgic Chipwich you remember! This recipe is truly fantastic because it allows you to control every element, from the perfect cookie texture to your favorite ice cream flavor. It’s a simple yet incredibly rewarding dessert that’s guaranteed to impress friends and family, or just make your own afternoon a whole lot sweeter. Imagin extracte biting into a soft, chewy cookie encasing creamy, cold ice cream – pure bliss!
For serving, these cookie ice cream sandwiches are best enjoyed immediately after assembly to experience that perfect texture contrast. However, you can certainly make them ahead and store them. Wrap each sandwich individually in plastic wrap and then place them in an airtight container in the freezer for up to a week. They make for an amazing make-ahead treat for parties or spontaneous cravings. Don’t be afraid to get creative with variations! Try different cookie doughs like chocolate chip, peanut butter, or even brownie cookies. For the ice cream, experiment with swirls, chunks, or even sorbet for a lighter option. You could also roll the edges in sprinkles, mini chocolate chips, or chopped nuts for an extra flair.
I truly encourage you to give this recipe a try. It’s a straightforward process that yields incredibly satisfying results. Happy baking and assembling!
FAQs:
How can I make sure my cookies are soft and chewy for the ice cream sandwiches?
The key to soft and chewy cookies is not to overbake them. Remove them from the oven when the edges are set but the centers still look slightly underdone. They will continue to bake and firm up as they cool. Also, using ingredients like brown sugar in your cookie dough contributes to a chewier texture.
Can I use store-bought cookies for these cookie ice cream sandwiches?
Absolutely! While homemade cookies offer the best flavor and texture, using good quality store-bought cookies is a fantastic shortcut. Just make sure they are soft enough to bite into without crum extractbling too much.
How long can I store assembled cookie ice cream sandwiches?
For the best quality, it’s recommended to consume them within a week. After that, the cookies can start to become quite hard, and the ice cream might develop freezer burn. Properly wrapping them individually in plastic wrap and then in an airtight container is crucial for proper storage.
Cookie Ice Cream Sandwiches (Like a Chipwich!)
Classic cookie ice cream sandwiches filled with creamy ice cream and a crunchy chocolate chip coating, reminiscent of your favorite store-bought treat.
Ingredients
-
2 and 1/4 cups (281g) all-purpose flour (spooned & leveled)
-
1 and 1/2 teaspoons cornstarch
-
1 teaspoon baking soda
-
1/2 teaspoon salt
-
3/4 cup (12 Tablespoons; 170g) unsalted butter, softened to room temperature
-
3/4 cup (150g) packed light or dark brown sugar
-
1/2 cup (100g) granulated sugar
-
1 large egg + 1 egg yolk, at room temperature
-
2 teaspoons pure vanilla extract
-
1 and 1/4 cups (225g) mini semi-sweet chocolate chips
-
3 cups (about 540g) vanilla ice cream (or your desired flavor)
-
1 cup mini chocolate chips (180g), sprinkles (150g), or finely chopped nuts (100g) for coating
Instructions
-
Step 1
In a medium bowl, whisk together the flour, cornstarch, baking soda, and salt. Set aside. -
Step 2
In a large bowl, cream together the softened butter, brown sugar, and granulated sugar until light and fluffy. -
Step 3
Beat in the egg, egg yolk, and vanilla extract until well combined. -
Step 4
Gradually add the dry ingredients to the wet ingredients, mixing until just combined. Fold in the mini semi-sweet chocolate chips. -
Step 5
Drop rounded tablespoons of dough onto baking sheets lined with parchment paper, about 2 inches apart. Flatten each cookie slightly with the palm of your hand. -
Step 6
Bake at 375°F (190°C) for 10-12 minutes, or until the edges are golden brown and the centers are still slightly soft. Let cool on the baking sheets for a few minutes before transferring to a wire rack to cool completely. -
Step 7
Once the cookies are completely cool, scoop ice cream onto the flat side of one cookie. Top with another cookie, flat side down, pressing gently to create a sandwich. You can also gently roll the edges of the ice cream in the mini chocolate chips, sprinkles, or chopped nuts. -
Step 8
Wrap each ice cream sandwich tightly in plastic wrap and freeze for at least 30 minutes before serving, or until firm.
Important Information
Nutrition Facts (Per Serving)
It is important to consider this information as approximate and not to use it as definitive health advice.
Allergy Information
Please check ingredients for potential allergens and consult a health professional if in doubt.