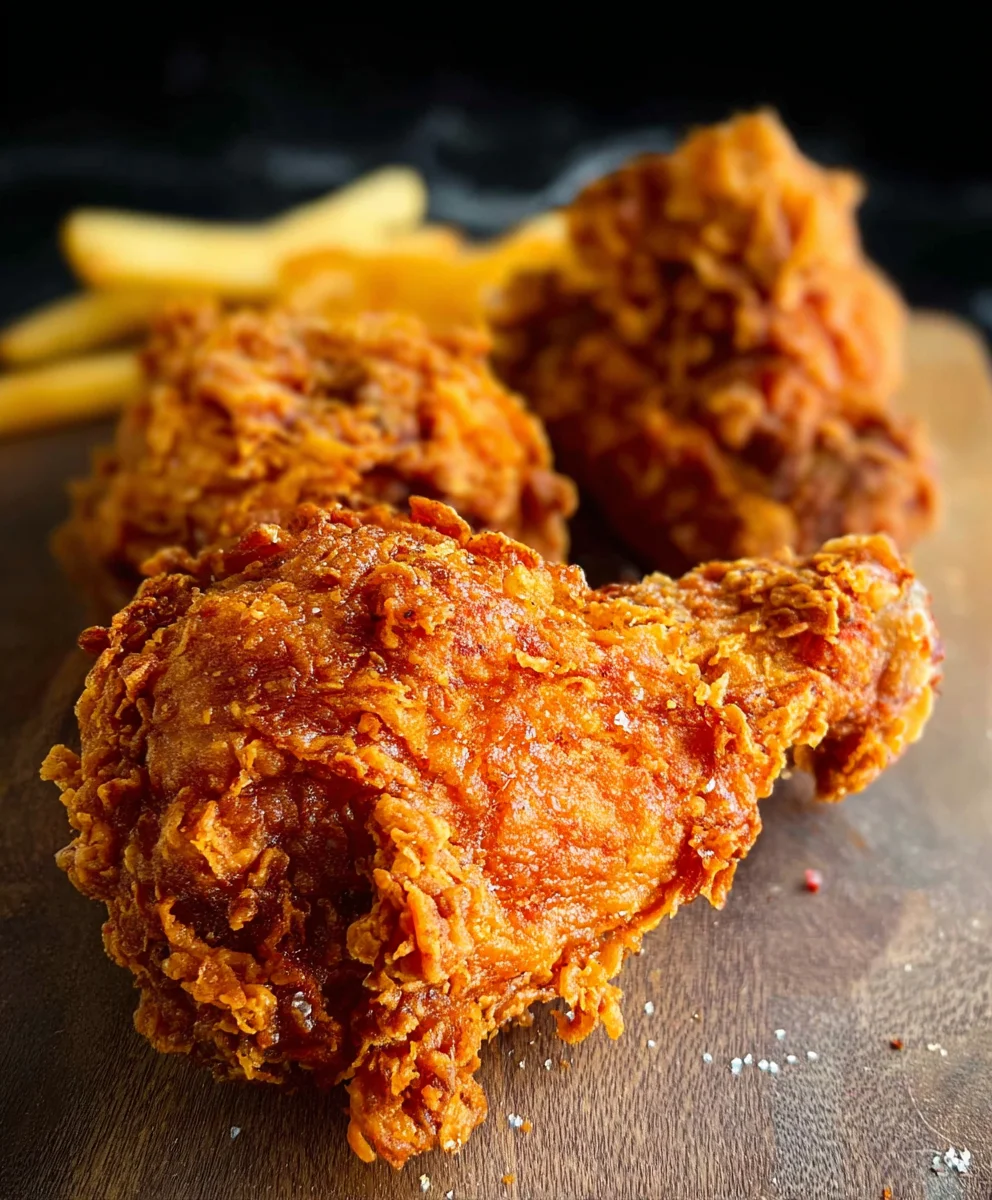
Crispy Juicy Fried Chicken – Best Recipe Ever
CRISPY JUICY FIRED CHICKEN is more than just a meal; it’s an experience. That glorious crunch as your teeth break through the perfectly seasoned coating, followed by the explosion of tender, succulent chicken within – it’s pure culinary magic. It’s no wonder this dish holds a special place in the hearts (and stomachs) of so many. Whether it’s a weekend family feast, a comforting weeknight dinner, or the star of a backyard barbecue, CRISPY JUICY FIRED CHICKEN always brings smiles and seconds. What truly sets this recipe apart is the meticulous balance of spices and the precise cooking technique that guarantees that ideal texture every single time. Forget dry, bland chicken; this method delivers unparalleled flavor and moisture, making it a true crowd-pleaser that will have everyone beggin extractg for your secret.
Ingredients:
- 8 pieces bone-in chicken pieces (4 chicken thighs and 4 drum extractsticks)
- 3 cups buttermilk
- 1 large egg
- 2 teaspoons salt
- 1 teaspoon ground black pepper
- 1 teaspoon garlic powder
- ½ teaspoon cayenne pepper
- 2 cups all-purpose flour
- 3/4 cup cornstarch
- 1 teaspoon baking powder
- 2 teaspoons salt
- 1 teaspoon ground black pepper
- 1 teaspoon garlic powder
- 1 teaspoon celery salt
Marinating the Chicken
Step 1: Prepare the Brine
First, let’s get our chicken ready for that incredible flavor and tenderness. In a large bowl or a resealable plastic bag, combine the 3 cups of buttermilk, 1 large egg, 2 teaspoons of salt, 1 teaspoon of ground black pepper, 1 teaspoon of garlic powder, and the ½ teaspoon of cayenne pepper. Whisk this mixture together thoroughly until everything is well incorporated. This is our flavorful brine that will work magic on the chicken.
Step 2: Marinate the Chicken Pieces
Now, add the 8 pieces of bone-in chicken (that’s 4 thighsrum extractd 4 drumsticks) to the buttermilk mixture. Make sure each piece is fully submerged in the brine. If you’re using a bowl, cover it tightly with plastic wrap. If you’re using a plastic bag, squeeze out as much air as possible before sealing it. Place the chicken in the refrigerator and let it marinate for at least 4 hours, or preferably overnight. The longer it marinates, the more tender and flavorful your CRISPY JUICY FIRED CHICKEN will be. The buttermilk tenderizes the meat and adds a subtle tang, while the seasonings infuse deep flavor.
Preparing the Flour Coating
Step 3: Mix the Dry Ingredients
While the chicken is marinating, it’s time to prepare the magic dust for our CRISPY JUICY FIRED CHICKEN. In a separate large bowl, combine 2 cups of all-purpose flour, ¾ cup of cornstarch, 1 teaspoon of baking powder, 2 teaspoons of salt, 1 teaspoon of ground black pepper, 1 teaspoon of garlic powder, and 1 teaspoon of celery salt. Whisk these dry ingredients together until they are uniformly distributed. The cornstarch is key here; it helps create that exceptionally crispy coating. The baking powder aids in creating a lighter, airier crust that will hold up beautifully during frying.
Frying the Chicken
Step 4: Coat the Chicken Pieces
Once the chicken has finished marinating, it’s time to get it ready for the fryer. Remove the chicken pieces from the buttermilk brine, letting any excess drip back into the bowl. Do not wipe off the excess marinade, as this is what helps the flour mixture adhere to the chicken. Working with one piece at a time, dredge each chicken piece thoroughly in the seasoned flour mixture. Press the flour onto the chicken, ensuring it is completely coated on all sides. For an extra crispy coating, you can double-dip: dip the floured chicken back into the buttermilk for a second, then dredge it in the flour mixture again. Place the coated chicken pieces on a wire rack set over a baking sheet and let them rest for about 10-15 minutes. This resting period allows the coating to slightly dry and adhere better, preventing it from falling off during frying.
Step 5: Fry to Golden Perfection
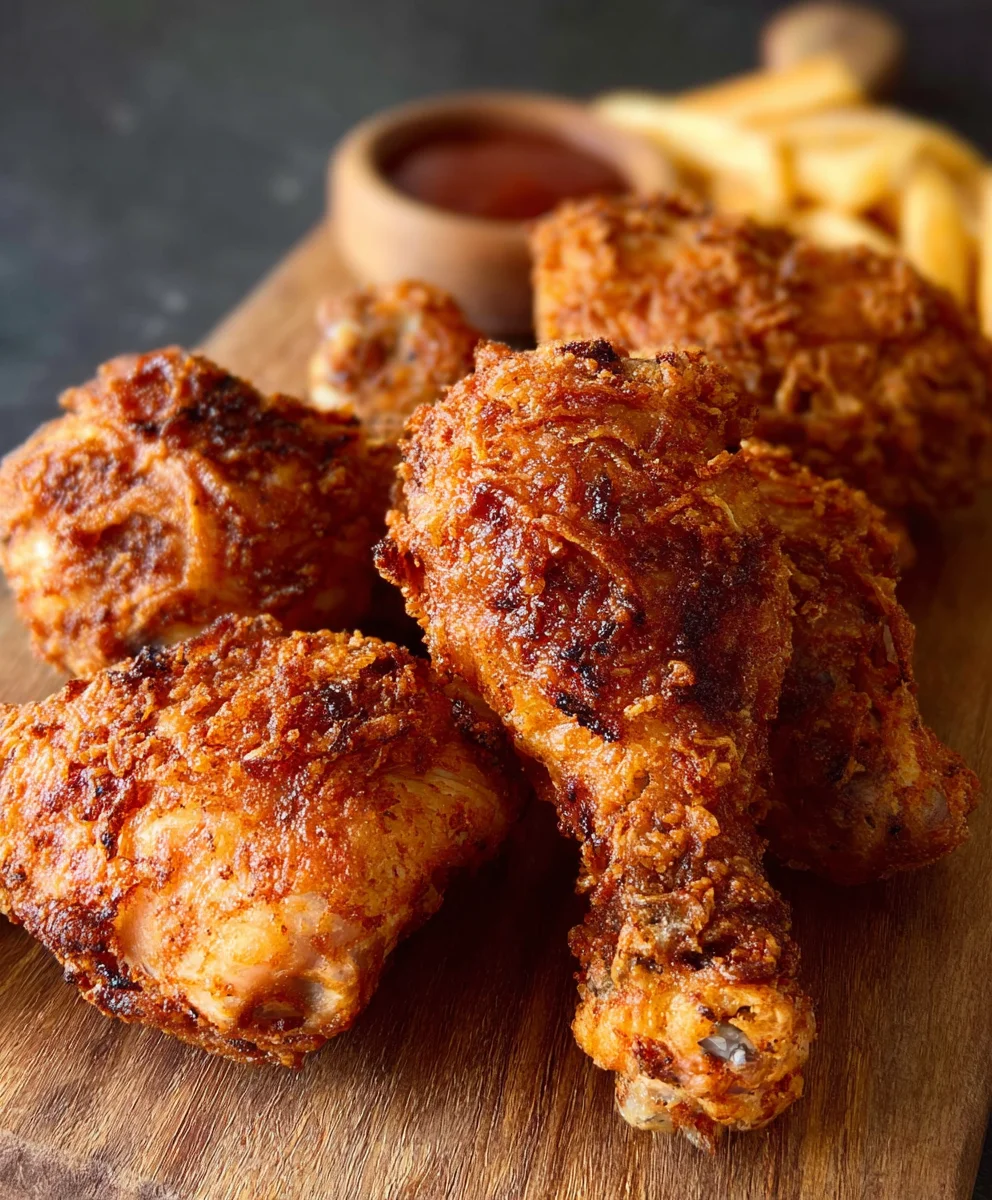
Now for the exciting part – frying! Heat about 2-3 inches of cooking oil in a large, heavy-bottomed pot or Dutch oven to 325°F (160°C). It’s crucial to maintain this temperature for even cooking and optimal crispiness. Carefully place 2-3 chicken pieces into the hot oil, being careful not to overcrowd the pot. Overcrowding will lower the oil temperature too much, resulting in soggy chicken. Fry the chicken for about 12-15 minutes, turning occasionally, until it’s golden brown and cooked through. The internal temperature of the chicken should reach 165°F (74°C). Use a meat thermometer to check for doneness. Once cooked, carefully remove the chicken from the oil using tongs and place it on the clean wire rack set over a baking sheet to drain any excess oil. Repeat this frying process with the remaining chicken pieces, ensuring the oil returns to 325°F (160°C) between batches. This entire process ensures you achieve that perfectly CRISPY JUICY FIRED CHICKEN everyone loves.
Conclusion:
There you have it – your guide to creating the most incredibly CRISPY JUICY FIRED CHICKEN right in your own kitchen! We’ve walked through each step, from selecting the perfect cuts to achieving that glorious, shatteringly crisp skin and succulent, flavorful meat within. This recipe is a true crowd-pleaser, perfect for a weeknight family dinner or a special occasion. Don’t be afraid to experiment; the beauty of this CRISPY JUICY FIRED CHICKEN is its versatility. Serve it alongside creamy mashed potatoes, a fresh garden salad, or some tangy coleslaw for a complete and satisfying meal. You can also transform leftovers into delicious chicken sandwiches or add it to your favorite pasta dishes.
Remember, practice makes perfect, and with each batch of CRISPY JUICY FIRED CHICKEN you make, you’ll become even more confident. So gather your ingredients, fire up your oven, and get ready to enjoy the best fried chicken you’ve ever tasted!
FAQs:
Can I use chicken pieces other than thighs and drum extractsticks?
Absolutely! While thigrum extractand drumsticks tend to be the juiciest, you can adapt this recipe for breasts or wings. For breasts, you might need to slightly adjust the cooking time to ensure they don’t dry out. Wings will cook a bit faster due to their size.
How can I make the chicken even crispier?
For extra crispiness, ensure your chicken is thoroughly dried before breading. You can also double-dip it in the flour and egg mixture, or consider adding a tablespoon of cornstarch or baking powder to your flour blend. Ensuring the oil is at the correct temperature is also key to achieving a crispy exterior without overcooking the inside.
What are some good side dish pairings for CRISPY JUICY FIRED CHICKEN?
Classic pairings like mashed potatoes, mac and cheese, coleslaw, and cornbread are always fantastic choices. For a lighter option, consider a fresh green salad or roasted vegetables. The versatility of CRISPY JUICY FIRED CHICKEN means it complements a wide array of flavors!
Crispy Juicy Fried Chicken – Best Recipe Ever
A recipe for perfectly crispy and juicy fried chicken with a flavorful buttermilk brine and a seasoned flour coating.
Ingredients
-
8 pieces bone-in chicken pieces (4 chicken thighs and 4 drumsticks)
-
3 cups buttermilk
-
1 large egg
-
2 teaspoons salt
-
1 teaspoon ground black pepper
-
1 teaspoon garlic powder
-
½ teaspoon cayenne pepper
-
2 cups all-purpose flour
-
3/4 cup cornstarch
-
1 teaspoon baking powder
-
2 teaspoons salt
-
1 teaspoon ground black pepper
-
1 teaspoon garlic powder
-
1 teaspoon celery salt
Instructions
-
Step 1
Prepare the brine: In a large bowl or resealable plastic bag, combine 3 cups of buttermilk, 1 large egg, 2 teaspoons of salt, 1 teaspoon of ground black pepper, 1 teaspoon of garlic powder, and ½ teaspoon of cayenne pepper. Whisk until well incorporated. -
Step 2
Marinate the chicken: Add the 8 pieces of bone-in chicken to the buttermilk mixture, ensuring each piece is fully submerged. Cover tightly or seal the bag, squeezing out excess air. Refrigerate for at least 4 hours, or preferably overnight. -
Step 3
Mix the dry ingredients for the coating: In a separate large bowl, combine 2 cups of all-purpose flour, ¾ cup of cornstarch, 1 teaspoon of baking powder, 2 teaspoons of salt, 1 teaspoon of ground black pepper, 1 teaspoon of garlic powder, and 1 teaspoon of celery salt. Whisk until uniformly distributed. -
Step 4
Coat the chicken: Remove chicken from brine, letting excess drip off. Dredge each piece thoroughly in the seasoned flour mixture, pressing to coat all sides. For extra crispiness, double-dip by briefly returning the floured chicken to the brine, then dredging again. Place coated chicken on a wire rack over a baking sheet and let rest for 10-15 minutes. -
Step 5
Fry the chicken: Heat 2-3 inches of cooking oil in a heavy-bottomed pot to 325°F (160°C). Carefully add 2-3 chicken pieces at a time, avoiding overcrowding. Fry for 12-15 minutes, turning occasionally, until golden brown and the internal temperature reaches 165°F (74°C). Drain on a clean wire rack. Return oil to 325°F (160°C) between batches.
Important Information
Nutrition Facts (Per Serving)
It is important to consider this information as approximate and not to use it as definitive health advice.
Allergy Information
Please check ingredients for potential allergens and consult a health professional if in doubt.