Easy Chocolate Protein Pudding Recipe-Healthy Treat
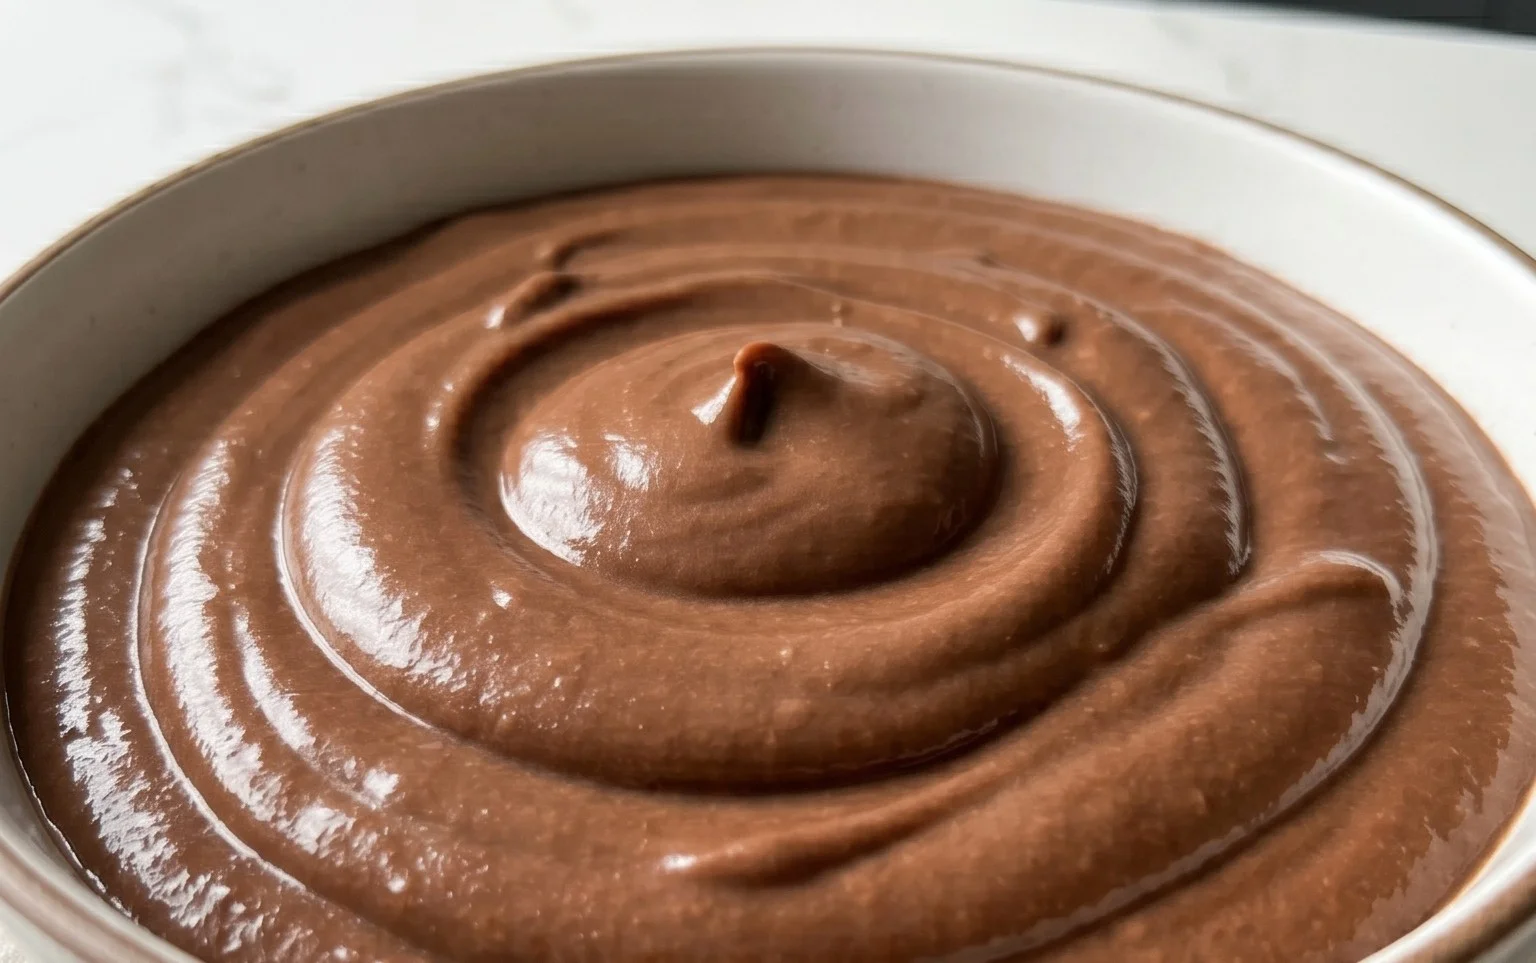
This Chocolate Protein Pudding recipe is about to become your new go-to treat. Are you craving something decadent and chocolatey, but also want to support your fitness goals? You’ve come to the right place! We all love the comforting richness of chocolate pudding, and the thought of enjoying it without derailing our progress can feel like a dream. That’s exactly what this incredible Chocolate Protein Pudding delivers. It’s a delicious dessert that satisfies those sweet cravings while packing in a powerful protein punch. What makes it truly special is its deceptive simplicity; it tastes like pure indulgence, yet it’s surprisingly quick to whip up and uses ingredients you might already have in your pantry. Get ready to transform your dessert game with this guilt-free pleasure.
Chocolate Protein Pudding Recipe
As someone who’s always looking for ways to sneak more protein into my diet without sacrificing flavor, I’ve become a huge fan of simple, delicious recipes. And let me tell you, this Chocolate Protein Pudding is a game-changer. It’s incredibly easy to make, requires no baking, and the taste is so rich and satisfying, you’d never guess it’s packed with protein and relatively healthy. Perfect for a post-workout treat, a quick dessert, or even a decadent breakfast, this pudding is a versatile staple in my kitchen.
The beauty of this recipe lies in its simplicity and the flexibility it offers. You can adjust the sweetness, the chocolate intensity, and even the texture to your liking. It’s a fantastic base that can be customized with various toppings like fresh berries, a sprinkle of nuts, or even a dollop of whipped cream if you’re feeling indulgent. Forget those store-bought puddings filled with artificial ingredients and excessive sugar; this homemade version is pure, unadulterated chocolatey goodness.
Ingredients:
This recipe yields a generous amount, perfect for meal prepping or serving a crowd. The Greek yogurt provides a wonderfully creamy base and a significant protein boost, while the chocolate protein powder and cocoa powder deliver that deep, satisfying chocolate flavor. I often use a whey protein isolate for its smooth texture, but feel free to experiment with your favorite plant-based or casein protein powders. Just be aware that different protein powders can absorb liquid differently, so you might need to adjust the consistency slightly. The vanilla extract enhances the chocolate flavor, and the maple syrup offers a touch of sweetness without being overpowering. If you prefer a sweeter pudding, you can always add a little more maple syrup or your preferred liquid sweetener.
Instructions:
1. Combine the Base Ingredients: In a large mixing bowl, begin extract by adding the 5 cups of Greek yogurt. If you’re using plain Greek yogurt and want a hint of sweetness from the start, now is a good time to add your 2 tablespoons of maple syrup and 1 teaspoon of vanilla extract. Give these a good stir with a whisk or a sturdy spoon until they are well combined. If you are using vanilla-flavored Greek yogurt, you might want to start with only 1 tablespoon of maple syrup and taste it later before adding more. The goal here is to create a smooth, creamy foundation for your pudding.
2. Incorporate the Chocolate Powders: Next, it’s time to add the flavor powerhouses: the chocolate protein powder and the unsweetened cocoa powder. Add all 4 scoops of your chocolate protein powder to the bowl. The amount of cocoa powder you use will depend on how intense you want your chocolate flavor. I typically start with 3 tablespoons for a rich, but not overly bitter, taste, and add the 4th tablespoon if I’m craving something darker. Sift these powders over the yogurt mixture. This step is crucial to prevent clumps and ensure a smooth, homogenous pudding. You can use a fine-mesh sieve to do this. Gently whisk or stir the powders into the yogurt. It will be quite thick at this stage, and you might need to use a bit of elbow grease. Keep mixing until all the dry ingredients are fully incorporated and there are no dry pockets of powder visible.
3. Achieve Pudding Consistency: This is where you’ll refine the texture. Continue to mix and stir the ingredients together vigorously. At this point, the mixture will likely be very thick, almost like a mousse. If it feels too thick for your liking, you can gradually add a tablespoon or two of milk (dairy or non-dairy like almond or oat milk) at a time, stirring well after each addition, until you reach your desired pudding consistency. You’re looking for a texture that’s scoopable but still holds its shape, similar to a traditional pudding. Don’t rush this step; adding too much liquid too quickly can make it too runny. A good whisking technique here can help to incorporate a bit of air, making the pudding feel lighter.
4. Taste and Adjust Sweetness: Once you have a good consistency, it’s essential to taste your pudding. This is your chance to perfect the flavor. Use a clean spoon to take a small sample. If it’s not sweet enough for your palate, add another tablespoon of maple syrup (or your preferred sweetener) and stir thoroughly. If you find you want an even more intense chocolate flavor, you can carefully add a little more cocoa powder, but be mindful that adding more dry ingredients can thicken the pudding, so you might need to add a splash of milk. Stir until everything is completely dissolved and integrated. This tasting and adjusting phase is key to making the recipe perfectly suited to your personal preferences.
5. Chill and Serve: Once you’re happy with the taste and consistency, transfer the chocolate protein pudding into individual serving dishes or a larger container. Cover the dishes tightly with plastic wrap or lids to prevent a skin from forming on the surface. Place the pudding in the refrigerator and let it chill for at least 30 minutes. This chilling time is important as it allows the flavors to meld together and the pudding to firm up further, achieving that classic pudding texture. The longer it chills, the thicker and more set it will become.
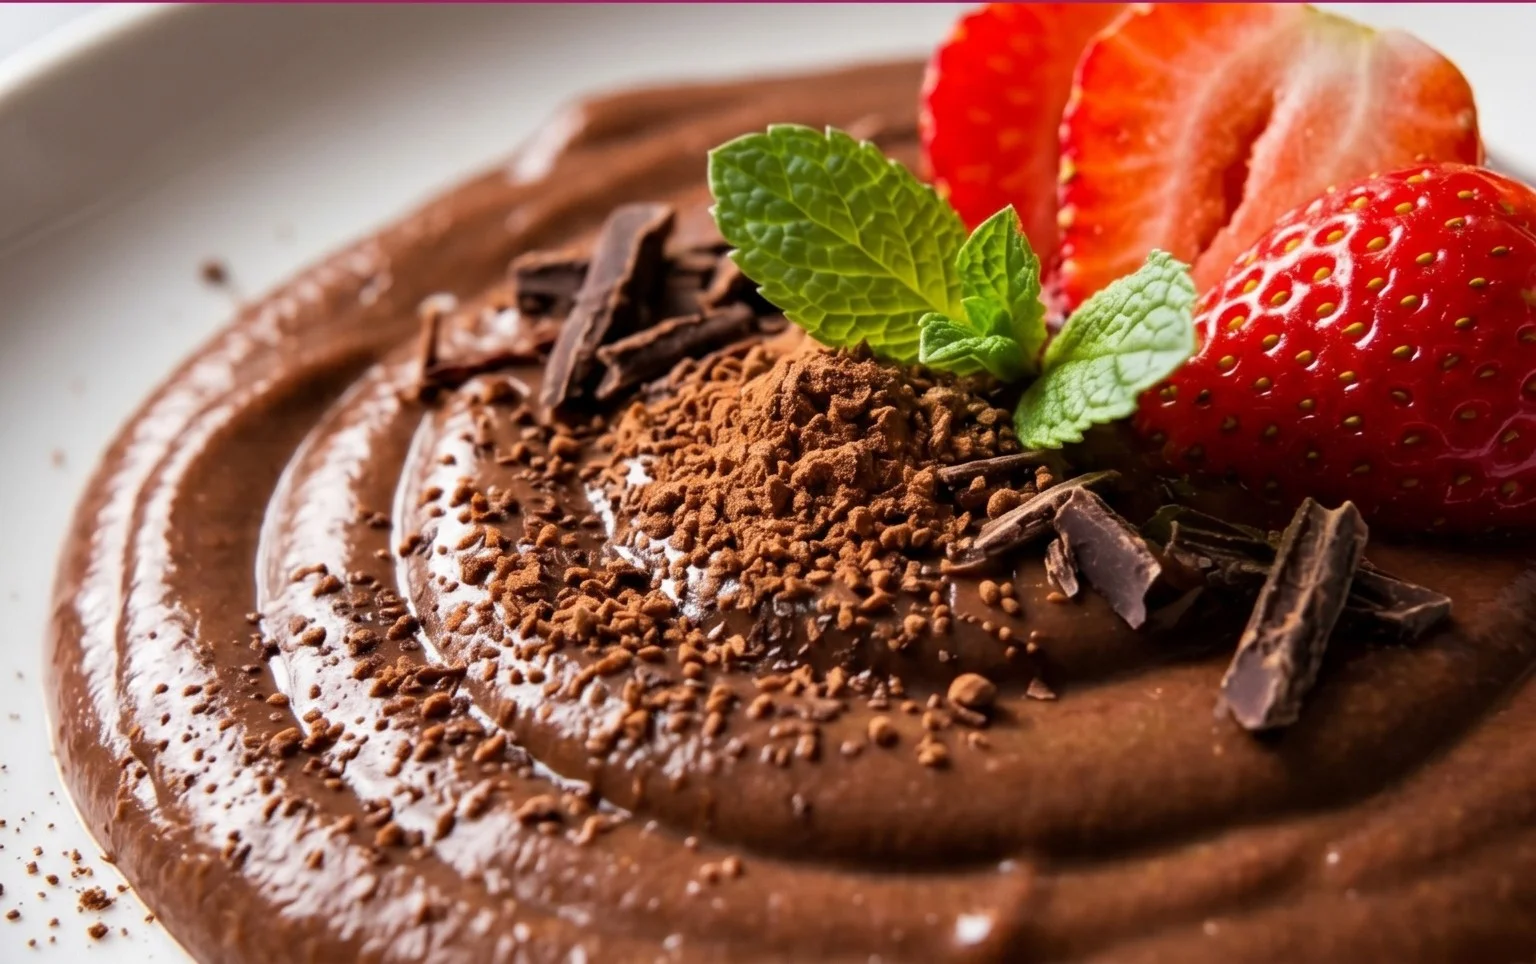
This Chocolate Protein Pudding is best served cold. You can enjoy it as is, or get creative with toppings! Fresh berries, a dusting of shredded coconut, a sprinkle of dark chocolate chips, or a dollop of unsweetened whipped cream are all excellent choices. For an extra special treat, try crum extractbling some sugar-free cookies or adding a drizzle of nut butter on top. This recipe is truly a blank canvas for your healthy dessert dreams!
Conclusion:
So there you have it – a delicious and surprisingly simple Chocolate Protein Pudding recipe that’s sure to become a staple in your healthy dessert rotation! This recipe truly shines because it delivers that decadent chocolatey goodness we all crave without the guilt, thanks to the protein boost. It’s incredibly versatile, making it perfect for a post-workout treat, a satisfying afternoon snack, or even a light dessert. Don’t hesitate to whip up a batch and experience the rich, creamy texture and delightful flavor for yourself. I’m confident you’ll love how easy it is to make and how amazing it tastes!
For serving suggestions, I love to top mine with fresh berries for a burst of freshness, a sprinkle of chopped nuts for added crunch, or a dollop of Greek yogurt for extra creaminess and protein. You can also get creative with variations! Try adding a pinch of cinnamon for a Mexican chocolate twist, a teaspoon of instant coffee for a mocha flavor, or even some sugar-free peanut butter for a peanut butter cup experience. Experiment and find your perfect chocolate protein pudding combination!
Frequently Asked Questions:
Can I make this recipe ahead of time?
Absolutely! This Chocolate Protein Pudding is fantastic for meal prep. You can easily make it a day or two in advance and store it in airtight containers in the refrigerator. The flavors meld together even more beautifully over time, so it might taste even better on day two!
What kind of protein powder works best?
I’ve found that most unflavored or chocolate-flavored whey or plant-based protein powders work wonderfully. If you use a flavored powder, you might want to adjust the cocoa powder slightly to achieve your desired chocolate intensity. Experimenting is key to finding your favorite protein powder combination for this recipe!
Is this recipe suitable for vegans?
Yes, with a small adjustment! If you use a plant-based milk and a vegan protein powder, this Chocolate Protein Pudding is entirely vegan-friendly. It’s a fantastic way for vegans to enjoy a protein-rich, creamy dessert.
Chocolate Protein Pudding
A rich and creamy chocolate protein pudding, perfect for a healthy dessert or post-workout snack.
Ingredients
-
5 cups Greek yogurt (full-fat, plain or vanilla)
-
4 scoops chocolate protein powder
-
3 to 4 tablespoons unsweetened cocoa powder
-
1 teaspoon vanilla extract
-
2 tablespoons maple syrup
Instructions
-
Step 1
In a large bowl, combine the Greek yogurt, chocolate protein powder, and unsweetened cocoa powder. -
Step 2
Add the vanilla extract to the mixture. -
Step 3
Drizzle in the maple syrup. -
Step 4
Using a whisk or electric mixer, vigorously mix all ingredients until smooth and well combined. Ensure no clumps of protein powder or cocoa remain. -
Step 5
Taste and adjust sweetness if desired with additional maple syrup. You can also add more cocoa powder for a deeper chocolate flavor. -
Step 6
Spoon the pudding into individual serving dishes or a larger container. -
Step 7
Chill in the refrigerator for at least 30 minutes before serving to allow the flavors to meld and the pudding to thicken further.
Important Information
Nutrition Facts (Per Serving)
It is important to consider this information as approximate and not to use it as definitive health advice.
Allergy Information
Please check ingredients for potential allergens and consult a health professional if in doubt.