Lemon Blueberry Cheesecake-Perfect Dessert Recipe
Lemon Blueberry Cheesecake is a symphony of bright citrus and sweet, bursting berries atop a creamy, decadent foundation. Have you ever craved a dessert that’s both refreshingly tangy and indulgently rich? That’s precisely the magic of this beloved treat! It’s no wonder why Lemon Blueberry Cheesecake holds such a special place in the hearts of dessert lovers everywhere. The vibrant zing of fresh lemon cuts through the velvety smooth cream cheese, while plump, juicy blueberries provide bursts of sweetness and a beautiful visual contrast. This isn’t just any cheesecake; it’s an experience. The delicate balance of flavors, the satisfying crunch of the grabeef ham cracker crust, and the delightful interplay of textures make our Lemon Blueberry Cheesecake an absolute showstopper, perfect for any occasion, from a casual afternoon delight to a celebratory feast.
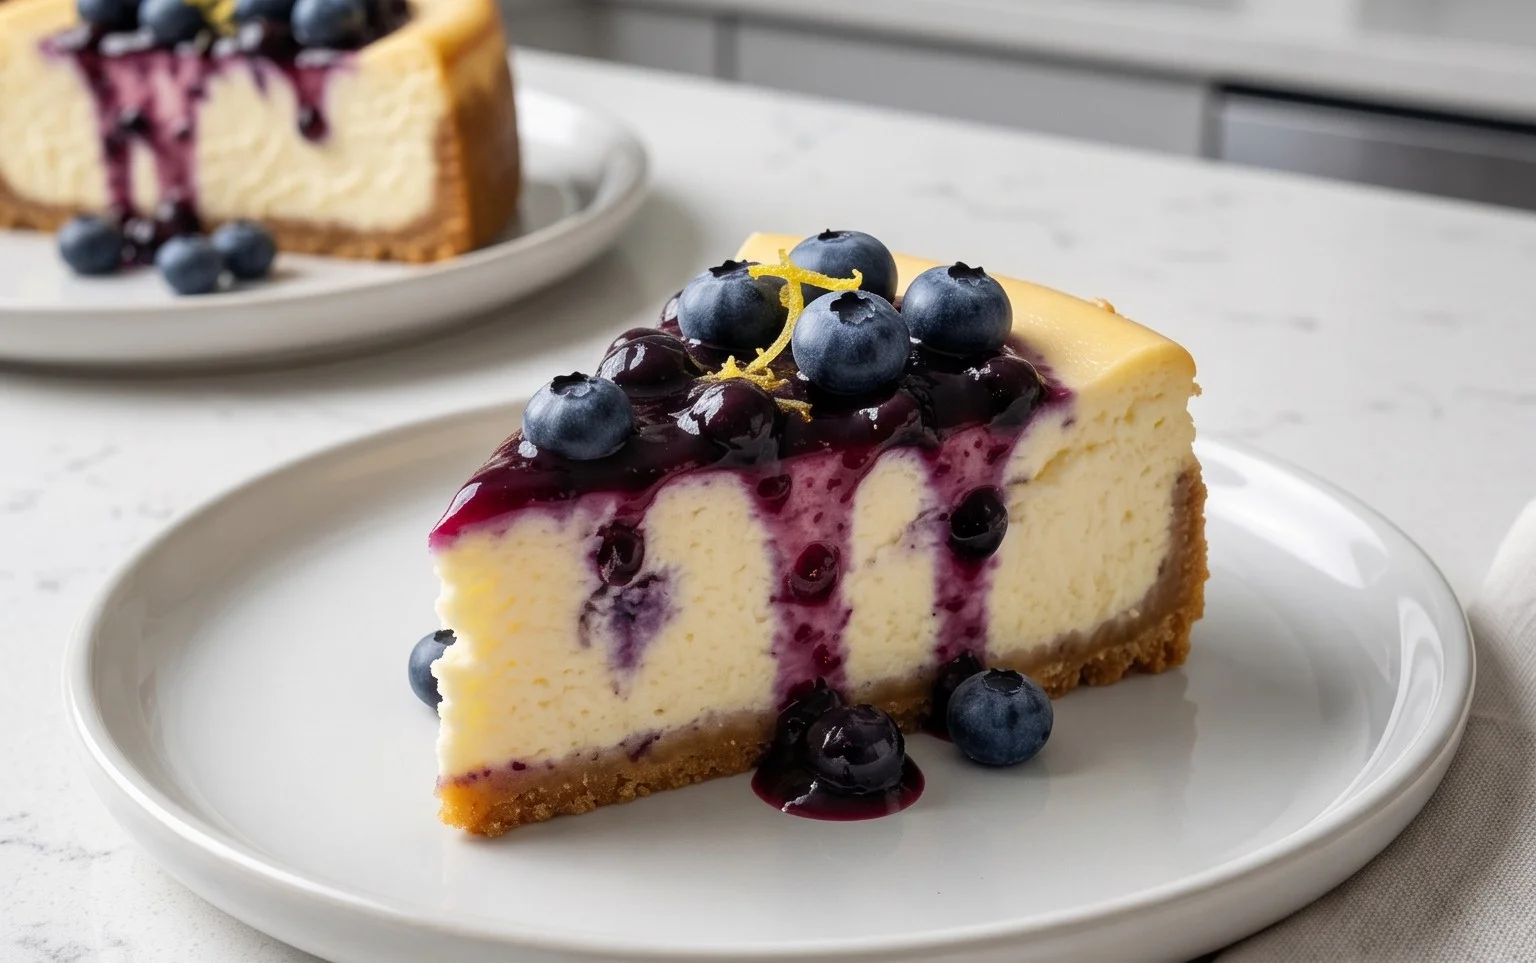
Lemon Blueberry Cheesecake
Get ready to elevate your dessert game with this absolutely divine Lemon Blueberry Cheesecake. It’s a symphony of creamy, tangy, and sweet, with bursts of fresh blueberries dancing throughout. This recipe balances the richness of classic cheesecake with the bright, zesty notes of lemon, all crowned with a vibrant blueberry swirl and topping. Perfect for special occasions, a delightful treat for family and friends, or simply when you deserve something extraordinary.
Ingredients:
Getting Started: Preparing the Crust
The foundation of any great cheesecake is its crust, and for this Lemon Blueberry masterpiece, we’re sticking with the classic and delicious grabeef ham cracker base.
First, let’s get those grabeef ham crackers pulverized. You can do this by placing them in a food processor and pulsing until fine crum extractbs form. If you don’t have a food processor, don’t worry! Simply place the grabeef ham crackers in a sturdy zip-top bag, seal it tightly, and then use a rolling pin to crush them into fine crum extractbs. The key here is to get a uniform crum extractb size.
In a medium bowl, combine the grabeef ham cracker crum extractbs and ⅓ cup of sugar. Give it a good stir to ensure the sugar is evenly distributed. Now, pour in the ⅔ cup of melted butter. This is where the magic happens, binding all those crum extractbs together to form a cohesive crust. Stir until all the crum extractbs are moistened and the mixture resembles wet sand.
Next, it’s time to press this delicious mixture into your springform pan. I usually use a 9-inch springform pan for this recipe. You can press the crum extractbs evenly onto the bottom of the pan and slightly up the sides. For a really firm and even crust, I like to use the bottom of a flat measuring cup or glass to really compact the crum extractbs. Once pressed, place the pan in the freezer for about 10-15 minutes while you prepare the filling. This chilling step helps the crust hold its shape beautifully when baked.
Crafting the Creamy Cheesecake Filling
Now for the star of the show – the incredibly smooth and tangy cheesecake filling. It’s crucial that your cream cheese and eggs are at room temperature for this step. This ensures a silky-smooth filling without any lumps.
In a large bowl, beat the 24 ounces of room-temperature cream cheese with an electric mixer on medium speed until it’s completely smooth and creamy, with no lumps whatsoever. This might take a minute or two, so be patient and scrape down the sides of the bowl as needed.
Gradually add the 1 ¼ cup of sugar to the cream cheese, beating until well combined and the mixture is light and fluffy. Don’t rush this step; a well-aerated filling contributes to a better texture.
Now, it’s time to incorporate the eggs. Add the 3 large, whisked eggs one at a time, beating well after each addition until just combined. Be careful not to overmix once the eggs are added, as this can lead to a cracked cheesecake.
Gently stir in the 2 tablespoons of lemon zest, 3 tablespoons of lemon juice, and 1 teaspoon of vanilla extract. The lemon zest is where we get that vibrant, fresh citrus flavor, and the juice adds a lovely tangin extractess that cuts through the richness of the cream cheese. Mix until everything is just incorporated.
Preparing the Blueberry Swirl and Topping
To add that beautiful visual appeal and an extra layer of fruity flavor, we’ll create a simple blueberry swirl and topping.
In a small saucepan, combine 1 cup of the fresh blueberries with ⅛ cup of sugar, 2 tablespoons of water, and 1 tablespoon of lemon juice. Bring this mixture to a simmer over medium heat, stirring occasionally.
Once simmering, add the 1 tablespoon of cornstarch mixed with a tablespoon of cold water (this is called a slurry). This will help thicken the blueberry mixture into a lovely, glossy sauce. Stir continuously until the mixture thickens, which should only take a minute or two. Remove from heat and let it cool slightly. This cooked blueberry mixture will be our swirl.
The remaining ¼ cup of fresh blueberries will be used as a fresh topping after the cheesecake has baked and cooled.
Assembling and Baking the Cheesecake
With all our components ready, it’s time to bring it all together.
Retrieve your chilled grabeef ham cracker crust from the freezer. Pour the creamy cheesecake filling over the crust, spreading it evenly.
Now for the artistic part: the blueberry swirl. Dollop spoonfuls of the slightly cooled blueberry mixture over the cheesecake filling. Then, using a skewer or a knife, gently swirl the blueberry mixture into the cheesecake batter. Don’t over-swirl; you want distinct ribbons of blue throughout the creamy white.
To ensure even baking and prevent cracking, we’ll use a water bath. Wrap the bottom of your springform pan securely with heavy-duty aluminum foil (at least two layers) to prevent any water from seeping in. Place the foil-wrapped springform pan into a larger roasting pan. Carefully pour hot water into the roasting pan until it comes about halfway up the sides of the springform pan.
Preheat your oven to 325°F (160°C). Carefully place the roasting pan with the cheesecake into the preheated oven. Bake for approximately 55-70 minutes. The cheesecake is done when the edges are set, but the center still has a slight wobble. You can test for doneness by gently shaking the pan; the center should move like jelly.
Cooling and Chilling for Perfection
The cooling process is just as important as the baking for a perfect cheesecake.
Once baked, turn off the oven, but leave the cheesecake inside with the oven door slightly ajar for about an hour. This slow cooling prevents drastic temperature changes that can cause cracking.
After an hour, carefully remove the cheesecake from the water bath and remove the foil. Let it cool completely on a wire rack at room temperature.
Once cooled to room temperature, cover the cheesecake loosely with plastic wrap and refrigerate for at least 6 hours, or preferably overnight. This chilling time is crucial for the cheesecake to firm up and for the flavors to meld beautifully.
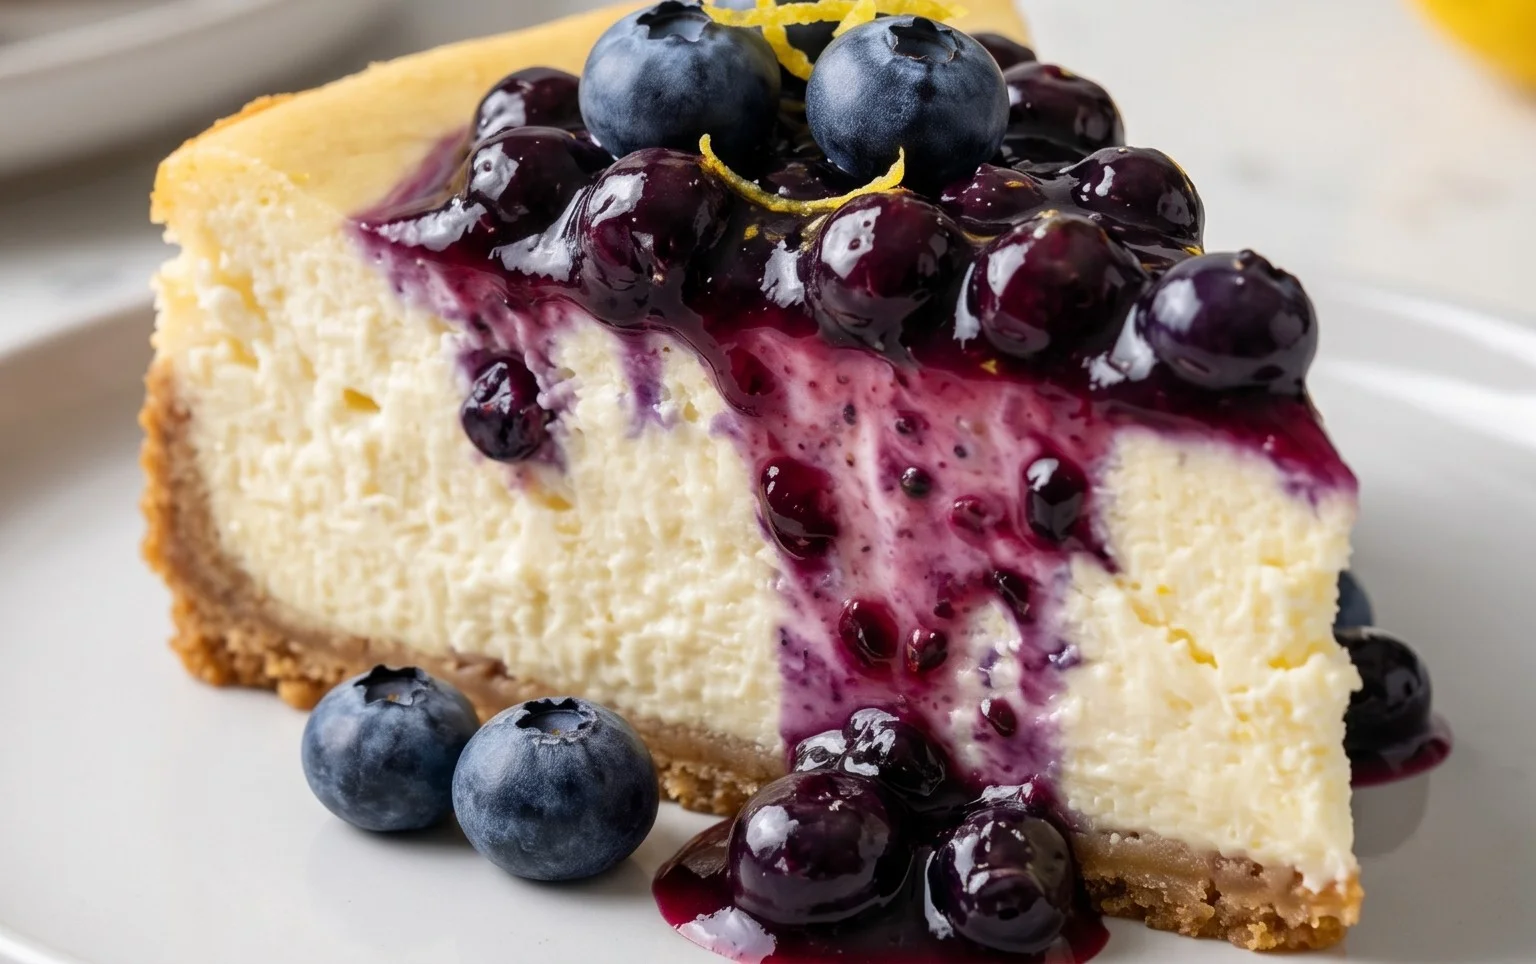
Before serving, gently run a knife around the edge of the springform pan and then release the sides. Top with the remaining ¼ cup of fresh blueberries. Slice and enjoy your glorious homemade Lemon Blueberry Cheesecake!
Conclusion:
There you have it – a delightful recipe for Lemon Blueberry Cheesecake that’s sure to impress! This dessert is truly a showstopper, offering a perfect balance of creamy, tangy, and sweet. The bright zest of lemon cuts beautifully through the rich cheesecake filling, while the burst of juicy blueberries adds a delightful fruity contrast. It’s a taste of pure sunshine in every bite. I love serving this cheesecake chilled, letting the flavors meld and the texture become perfectly set. It’s fantastic on its own, but a dollop of whipped cream or a scattering of fresh berries takes it to the next level. Don’t be afraid to get creative! If blueberries aren’t your favorite, try raspberries, blackberries, or even a mix of berries. For a different flavor profile, consider adding a touch of lavender or a hint of vanilla bean to the cheesecake base. I truly encourage you to give this Lemon Blueberry Cheesecake a try. It’s a rewarding bake that’s surprisingly approachable and guaranteed to bring smiles to your table.
Frequently Asked Questions:
Can I make this cheesecake ahead of time?
Absolutely! Lemon Blueberry Cheesecake actually benefits from being made ahead. It needs at least 4-6 hours to chill in the refrigerator, but it’s even better if you make it the day before. This allows the flavors to deepen and the texture to set perfectly.
My cheesecake cracked. Is it ruined?
Don’t worry at all! A cracked cheesecake is still delicious. Cracking often happens due to temperature fluctuations or over-baking. You can easily disguise a crack with a generous topping of whipped cream, fruit, or a complementary sauce. The taste will be just as amazing!
Can I use frozen blueberries instead of fresh?
Yes, you can! If using frozen blueberries, there’s no need to thaw them beforehand. Gently fold them into the batter. Be aware that they might release a little more liquid, which can create beautiful swirls but might slightly change the color of the cheesecake. Just ensure you bake it until fully set.
Lemon Blueberry Cheesecake
A creamy and tangy cheesecake swirled with fresh blueberries and a hint of lemon zest.
Ingredients
-
2 ⅔ cups graham cracker crumbs
-
⅓ cup sugar
-
⅔ cup melted butter
-
24 ounces cream cheese, room temperature
-
1 ¼ cup sugar
-
3 large eggs, room temperature, whisked
-
2 tablespoons lemon zest
-
3 tablespoons lemon juice
-
1 teaspoon vanilla extract
-
1 ¼ cup fresh blueberries, divided
-
⅛ cup sugar
-
2 tablespoons water
-
1 tablespoon lemon juice
-
1 tablespoon cornstarch
Instructions
-
Step 1
Preheat oven to 350°F (175°C). Combine graham cracker crumbs, ⅓ cup sugar, and melted butter. Press mixture into the bottom of a 9-inch springform pan. -
Step 2
In a large bowl, beat cream cheese until smooth. Gradually beat in 1 ¼ cup sugar until well combined. -
Step 3
Beat in the whisked eggs one at a time, mixing well after each addition. Stir in lemon zest, 3 tablespoons lemon juice, and vanilla extract. -
Step 4
Gently fold in 1 cup of the fresh blueberries. -
Step 5
Pour the filling over the crust. Bake for 1 hour and 15 minutes, or until the center is almost set. Turn off the oven and let the cheesecake cool in the oven with the door ajar for 1 hour. -
Step 6
While the cheesecake cools, prepare the blueberry topping. In a small saucepan, combine the remaining ¼ cup blueberries, ⅛ cup sugar, 2 tablespoons water, 1 tablespoon lemon juice, and cornstarch. Cook over medium heat, stirring constantly, until the mixture thickens and blueberries burst. Let cool. -
Step 7
Remove cheesecake from the oven and let it cool completely on a wire rack. Once cooled, refrigerate for at least 4 hours, or preferably overnight. Top with cooled blueberry sauce before serving.
Important Information
Nutrition Facts (Per Serving)
It is important to consider this information as approximate and not to use it as definitive health advice.
Allergy Information
Please check ingredients for potential allergens and consult a health professional if in doubt.