Quick Pickled Red Onions – Easy & Delicious Recipe
Pickled red onions are more than just a condiment; they are a vibrant, tangy revelation that can transform the humblest dish into something spectacular. Have you ever wondered what gives that extra zing to your tacos, that delightful crunch to your avocado toast, or that sophisticated edge to your salads? Chances are, it’s the magic of perfectly pickled red onions. We absolutely adore them because they offer a delightful sweet and sour punch, a beautiful ruby hue that brightens any plate, and a satisfying crunch that adds another textural dimension. What truly makes these pickled red onions special is their incredible versatility and ease of preparation. You can whip up a batch in minutes, and they’ll keep in your fridge, ready to elevate everything from grilled cheese sandwiches to gourmet burgers. Get ready to discover your new favorite kitchen staple!
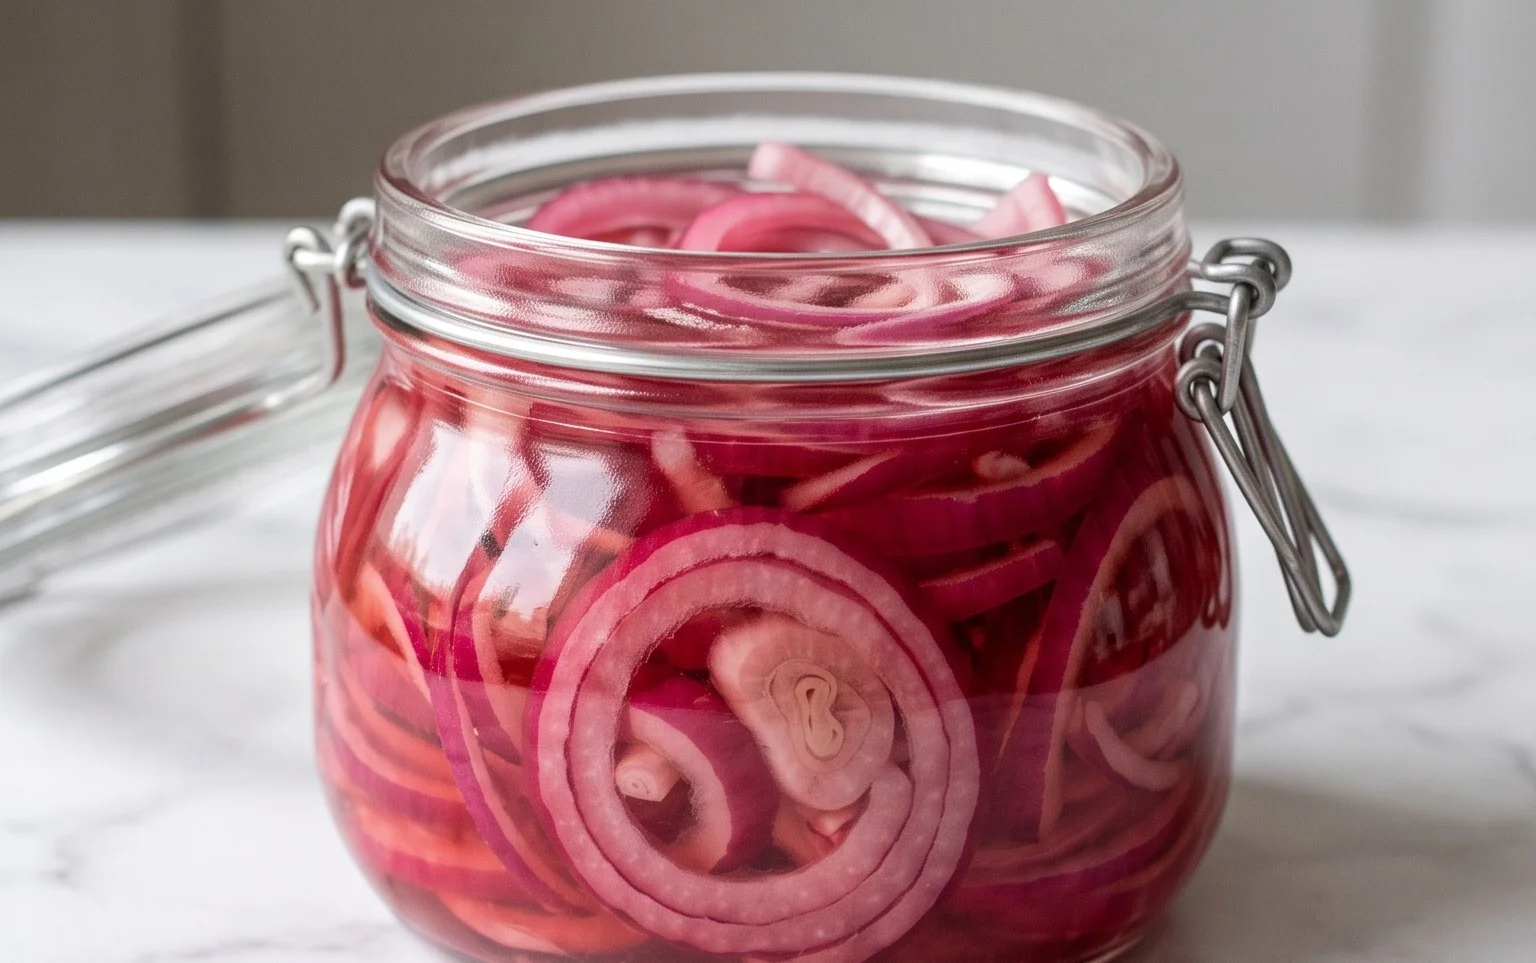
Pickled Red Onions
There’s a reason why pickled red onions are popping up on so many menus and in so many recipes these days. They’re incredibly versatile, adding a vibrant pop of color and a delightful tangy-sweet crunch to almost anything. From tacos and sandwiches to salads and grain bowls, these quick pickles elevate simple dishes into something truly special. They’re surprisingly easy to make right at home, requiring just a few basic ingredients and about 15 minutes of active time. The best part? You can have them ready to enjoy in just about an hour, though they get even better as they marinate. Forget those bland, mushy store-bought versions; these homemade pickled red onions are bright, crisp, and bursting with flavor.
Ingredients:
Instructions:
Preparing the Onions
The first step to amazing pickled red onions is getting your onions prepped. You want to slice them thinly and evenly. This is crucial for several reasons. Firstly, thin slices allow the brine to penetrate the onion quickly and evenly, leading to more consistent pickling. Secondly, thinly sliced onions are more pleasant to eat in a variety of dishes; they aren’t as overpowering and integrate better. You can achieve this using a sharp knife or, for ultimate consistency and speed, a mandoline slicer. If you use a mandoline, be extremely careful and always use the safety guard. I find that slicing the onion pole-to-pole (from root to stem end) rather than across the equator can sometimes result in longer, more manageable pieces that hold their shape a bit better during the pickling process. Once sliced, place the onion rings into a heatproof bowl or a large jar that you plan to store them in.
Creating the Brine
Next, we’ll make the magic liquid – the brine! This is where all the flavor comes from. In a small saucepan, combine the water, white vinegar, sugar, and sea salt. I like to use white vinegar because it has a clean, sharp acidity that doesn’t overpower the onion flavor. You can experiment with other vinegars like apple cider vinegar or rice vinegar for slightly different flavor profiles, but white vinegar is the classic choice for a reason. As for the sugar, feel free to use granulated sugar, but brown sugar or even a touch of maple syrup can add a lovely depth of flavor, especially if you’re going for a slightly sweeter pickle. Stir these ingredients together until the salt and sugar are mostly dissolved before you even turn on the heat.
Heating and Dissolving
Now, place the saucepan over medium heat. We want to bring the mixture to a gentle simmer, just enough to fully dissolve the sugar and salt. You don’t need to boil it vigorously; a gentle simmer is all that’s required. Stir occasionally to ensure everything is completely dissolved. This process usually takes just a few minutes. Once you see that all the granules of sugar and salt have disappeared, remove the saucepan from the heat. The brine is now ready to work its magic on those onions. If you’re using the optional red pepper flakes, this is a great time to stir them into the hot brine. They’ll infuse their gentle heat into the liquid, adding a subtle warmth without making the pickles spicy unless you use a generous amount.
Pouring and Marinating
Carefully pour the hot brine over the sliced red onions in the bowl or jar. Make sure the onions are fully submerged in the brine. If they’re not, you can gently press them down with a spoon or add a tiny bit more water and vinegar in equal parts if you have extra. The heat from the brine will begin extract to soften the onions slightly and start the pickling process immediately. Let the onions sit in the hot brine at room temperature for at least 30 minutes, or until they’ve cooled down. During this time, you’ll notice the onions starting to turn a more vibrant pinkish-red hue as they absorb the color from their own skins and the brine.
Cooling and Storing
Once the mixture has cooled to room temperature, you can either continue to let them sit at room temperature for another 30 minutes to an hour for a quicker pickle, or you can transfer them to the refrigerator. For the best flavor and texture, I highly recommend refrigerating them for at least an hour, and ideally for a few hours or even overnight. This allows the flavors to meld and deepen beautifully, and the onions will become wonderfully crisp-tender. They will continue to “cook” and soften slightly in the refrigerator, but they will maintain a pleasant crunch. Store the pickled red onions in an airtight container in the refrigerator. They will stay fresh and delicious for at least 2-3 weeks, though they tend to disappear much faster than that! Enjoy them on everything!
Conclusion:
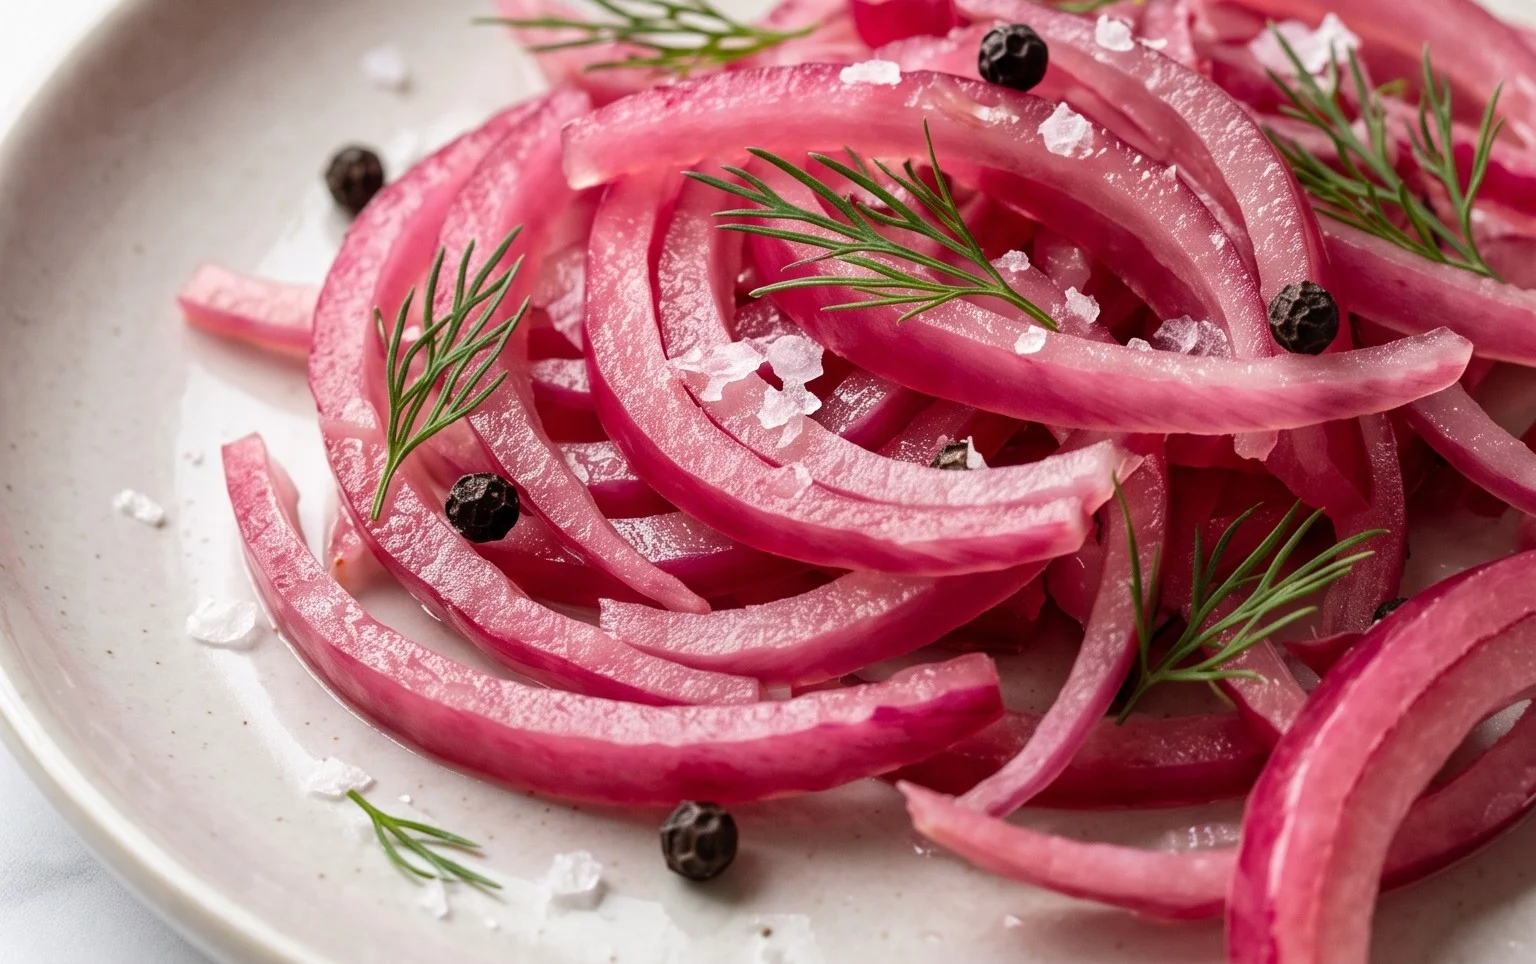
So there you have it! Creating your own batch of perfectly pickled red onions is surprisingly simple and incredibly rewarding. This recipe is fantastic because it transforms humble red onions into vibrant, tangy jewels that elevate almost any dish. The beautiful rosy hue alone makes them a visual treat, and their zesty crunch adds a delightful textural contrast. I truly encourage you to give this recipe a try. You’ll be amazed at how often you reach for them!
These versatile little wonders are a game-changer for your culinary creations. Think of them as a magical topping for tacos, burgers, sandwiches, salads, and even avocado toast. They also pair wonderfully with roasted meats, grilled fish, and as a bright accompaniment to richer dishes like chili or stew. Don’t be afraid to experiment with serving suggestions!
If you’re feeling adventurous, consider experimenting with variations. You can add a pinch of red pepper flakes for a touch of heat, a bay leaf for a subtle herbaceous note, or even a few peppercorns. The possibilities are endless when it comes to customizing your pickled red onions.
Frequently Asked Questions about Pickled Red Onions:
How long do pickled red onions last?
When stored properly in an airtight container in the refrigerator, my pickled red onions typically stay fresh and delicious for about 2 to 3 weeks. Always check for any signs of spoilage before consuming.
Can I make pickled red onions without sugar?
Absolutely! While sugar helps balance the acidity, you can omit it for a purely tangy flavor. Alternatively, you could try a touch of honey or maple syrup, though this might alter the color slightly.
What’s the best way to slice the onions for pickling?
For the best results, slice your red onions thinly and uniformly. A mandoline slicer is ideal for achieving consistent thinness, which ensures even pickling. If you don’t have one, a sharp knife will work just fine, but try to keep the slices as uniform as possible.
Pickled Red Onions
Quick and easy pickled red onions, perfect for adding a tangy crunch to sandwiches, tacos, salads, and more.
Ingredients
-
2 medium red onions ((or 3 small ones))
-
1 1/4 cup water
-
1 1/4 cup white vinegar
-
3 tbsp sugar (of choice)
-
1 tbsp sea salt
-
1/4-1/2 tsp red pepper flakes ((optional))
Instructions
-
Step 1
Thinly slice the red onions. -
Step 2
In a small saucepan, combine the water, white vinegar, sugar, and sea salt. Heat over medium heat, stirring until the sugar and salt are dissolved. -
Step 3
If using, add the red pepper flakes to the brine. -
Step 4
Place the sliced onions into a clean glass jar. -
Step 5
Pour the hot brine over the onions, ensuring they are fully submerged. -
Step 6
Let the jar cool to room temperature, then seal and refrigerate for at least 30 minutes before serving. Best after a few hours or overnight.
Important Information
Nutrition Facts (Per Serving)
It is important to consider this information as approximate and not to use it as definitive health advice.
Allergy Information
Please check ingredients for potential allergens and consult a health professional if in doubt.