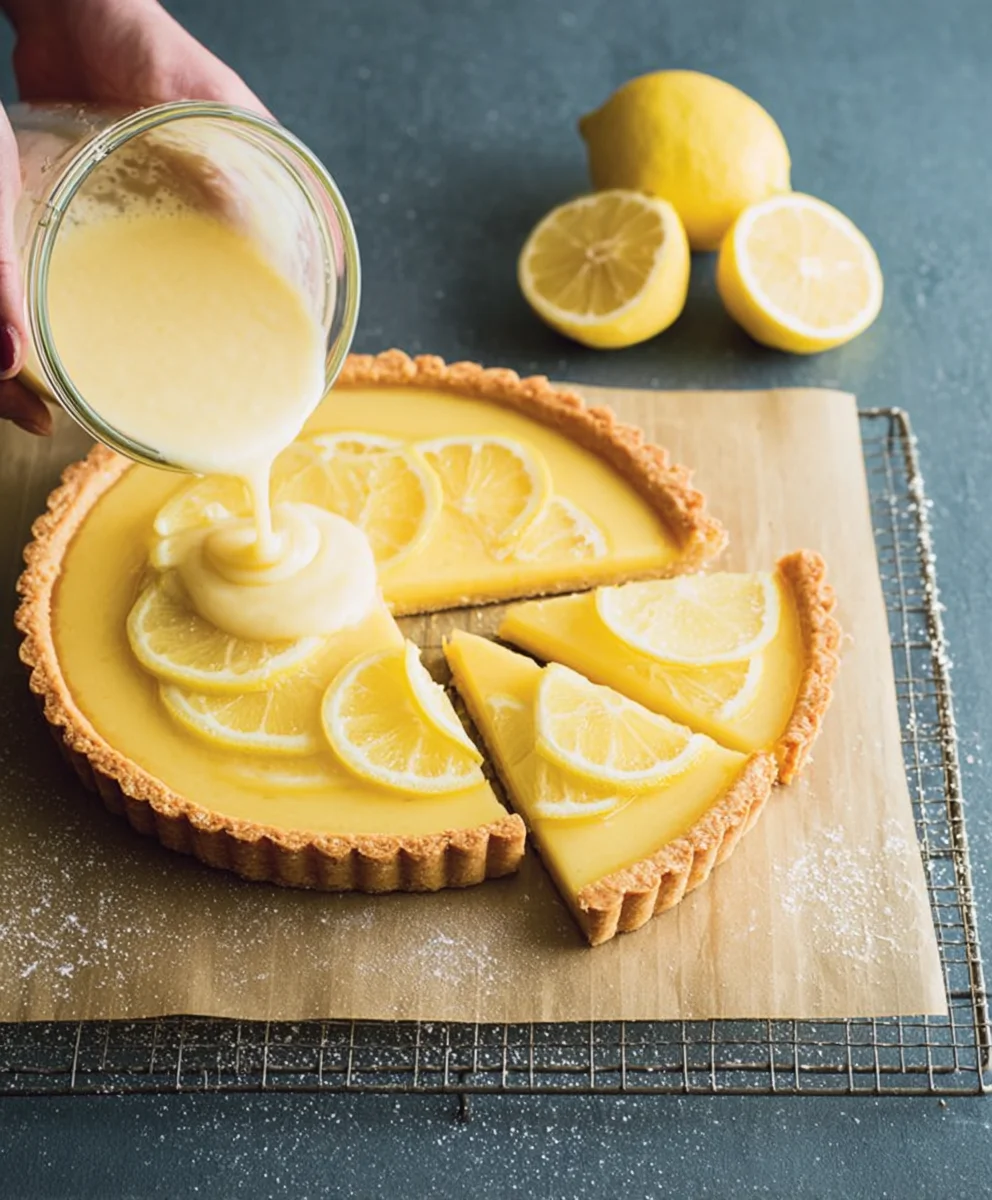
Easy Lemon Tart Recipe – Zesty & Delicious Dessert
Lemon Tart Recipe perfection awaits, and trust me, this is the one you’ve been dreaming of. Forget those overly sweet, bland imposters; our Lemon Tart Recipe delivers a vibrant, zesty punch that will awaken your taste buds and leave you utterly satisfied. There’s something undeniably magical about a perfectly baked tart – the crisp, buttery crust giving way to a silken, intensely lemony filling. It’s a classic for a reason, evoking sunny afternoons and elegant desserts. What truly sets this particular Lemon Tart Recipe apart is the delicate balance of tartness and sweetness, achieved through a few carefully selected ingredients and a simple, foolproof method. Get ready to impress yourself and everyone you share this delightful creation with!
Ingredients:
- 1 fully baked tart crust
- 2 large eggs plus 2 egg yolks (or 3 whole eggs can be substituted)
- 3/4 cup (150 g/5.3 oz) granulated sugar
- 1 tablespoon lemon zest (from about 2-3 lemons)
- 1/2 cup (120 ml) freshly squeezed lemon juice (from about 2-3 lemons)
- 2 tablespoons heavy cream (optional, for added richness)
- 1/2 cup (1 stick/115 g) unsalted butter, cut into small pieces
Preparing the Lemon Filling
Step 1: Whisking the Eggs and Sugar
Begin extract by preparing the luscious lemon filling that will transform your tart crust into a masterpiece. In a medium-sized, heatproof bowl, combine the 2 large eggs plus 2 egg yolks with the 3/4 cup of granulated sugar. If you prefer, you can use 3 whole eggs instead of the two eggs and two yolks; the result will be slightly less intensely rich but still wonderfully delicious. Using a whisk, beat these ingredients together vigorously until the mixture becomes pnon-alcoholic ale yellow and slightly thickened. This step is crucial for ensuring the sugar dissolves completely, preventing any grittiness in your final filling. You’re essentially creating a base that will cook gently without scrambling the eggs. Spend a good minute or two whisking to achieve this smooth consistency.
Step 2: Incorporating Lemon Zest and Juice
Next, it’s time to infuse the filling with that bright, zesty lemon flavor. Add the 1 tablespoon of lemon zest to the egg and sugar mixture. Make sure you’ve zested your lemons carefully, avoiding the bitter white pith underneath the peel. The zest holds the most aromatic oils, providing that quintessential burst of citrus. Now, pour in the 1/2 cup of freshly squeezed lemon juice. This is where the magic happens, transforming a simple mixture into a vibrant lemon curd. Stir everything together gently until well combined. If you’re using the optional heavy cream for extra richness, this is the stage to add it in. The cream will contribute a luxurious smoothness to the filling.
Step 3: Gentle Cooking of the Lemon Curd
This is perhaps the most delicate part of the process: cooking the lemon curd. You’ll want to use a double boiler method to ensure the filling cooks gently and evenly without scorching. If you don’t have a double boiler, you can improvise by placing your heatproof bowl over a saucepan filled with about an inch of simmering water. Ensure the bottom of the bowl does not touch the water. Place the bowl over the simmering water and cook the lemon mixture, stirring constantly with a whisk or a heatproof spatula. You’re looking for the mixture to thicken to a consistency that coats the back of your spoon. This typically takes about 8-12 minutes, depending on the heat of your simmering water and the size of your bowl. Resist the urge to rush this process; patience here guarantees a smooth, silky curd.
Step 4: Adding the Butter for Silkiness
Once your lemon curd has thickened to the desired consistency, remove the bowl from the heat. Now, gradually add the 1/2 cup of unsalted butter, piece by piece, while continuing to whisk. It’s important to add the butter slowly and allow each piece to melt and incorporate fully before adding the next. The residual heat from the curd will melt the butter, creating an incredibly rich and glossy filling. Keep whisking until all the butter is melted and the filling is smooth and emulsified. This process not only adds richness but also a beautiful sheen to your lemon tart filling. The result should be a thick, luscious, and vibrant yellow curd that smells absolutely divine.
Step 5: Filling the Tart Crust and Chilling
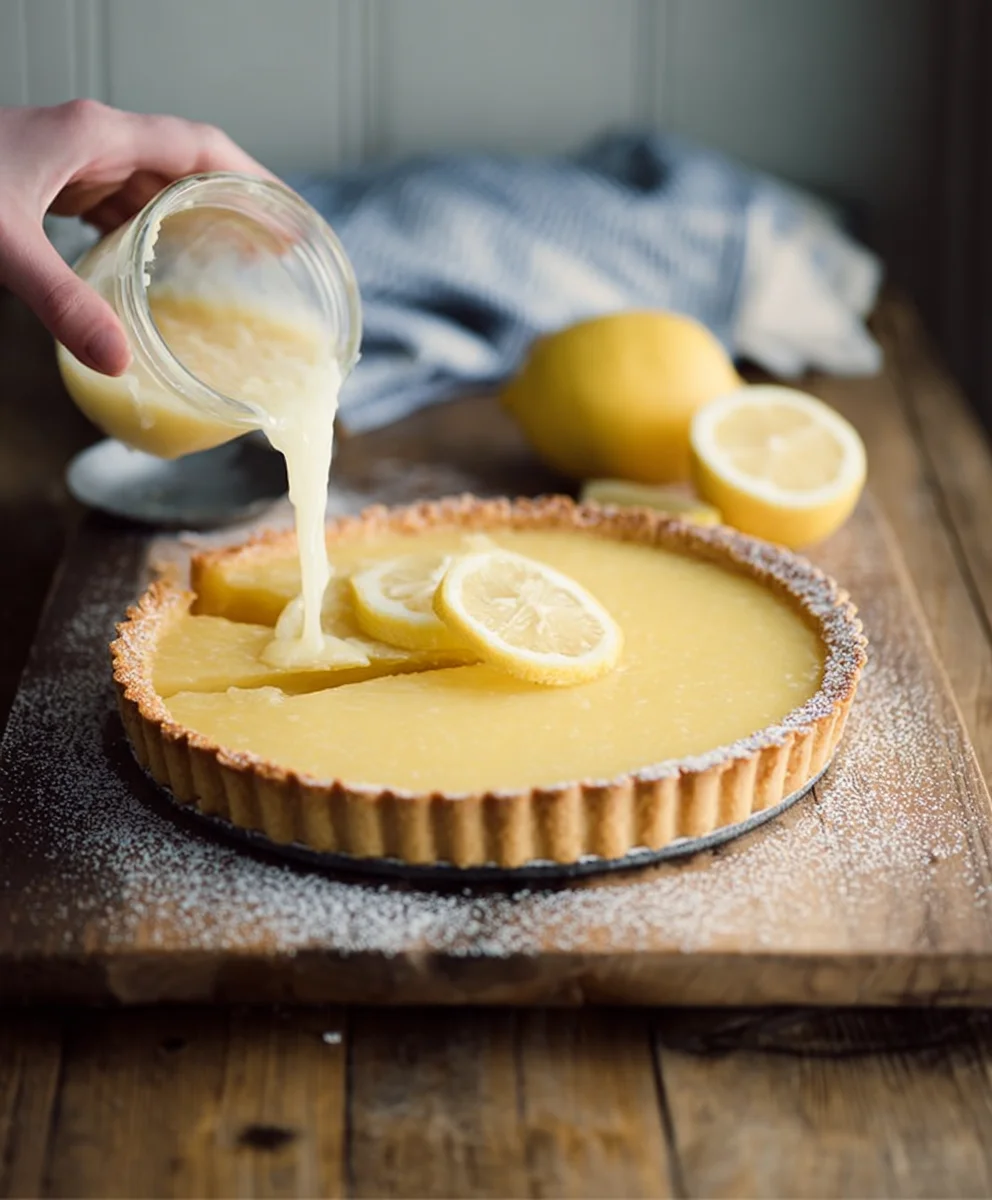
Your beautiful lemon curd is almost ready to shine! Carefully pour the warm lemon filling into your fully baked tart crust. Use a spatula to gently spread it evenly, ensuring it reaches all the edges. You want a smooth, unblemished surface for the final presentation. Once filled, cover the tart loosely with plastic wrap, making sure the wrap doesn’t touch the surface of the filling directly (you can tent it slightly). This prevents a skin from forming as it cools. Refrigerate the tart for at least 4 hours, or preferably overnight, to allow the filling to set completely. A well-chilled tart is crucial for clean slicing and for the flavors to meld beautifully. When it’s time to serve, you can optionally garnish it with a dollop of whipped cream, fresh berries, or a dusting of powdered sugar.
Conclusion:
And there you have it – your perfect Lemon Tart Recipe! We hope you’ve enjoyed diving into this delightful dessert. This classic tart, with its bright, zesty filling nestled in a buttery, crisp crust, is a truly satisfying bake. The tangy citrus cut through by the sweetness is a combination that never fails to impress. We encourage you to give this Lemon Tart Recipe a try; it’s surprisingly straightforward and the results are incredibly rewarding. Don’t be afraid to experiment and make it your own!
This Lemon Tart Recipe is wonderful served simply on its own, allowing the pure flavors to shine. For an extra touch, consider a dusting of powdered sugar, a dollop of lightly sweetened whipped cream, or even a few fresh berries like raspberries or blueberries to complement the tartness. A scoop of vanilla bean ice cream is also a classic pairing that’s hard to beat.
Thinking about variations? You can easily add a hint of lavender to the filling for a floral note, or swap out some of the lemon juice for lime or even grapefruit for a different citrus profile. Feel free to get creative with your crust too; perhaps a shortbread crust or even one incorporating finely ground almonds would be a delicious alternative.
Frequently Asked Questions:
Q: Can I make the lemon tart ahead of time?
A: Absolutely! The lemon filling and the tart crust can both be made a day in advance. Once the tart is assembled and baked, it’s best to refrigerate it. For optimal texture, let the tart sit at room temperature for about 20-30 minutes before serving.
Q: My lemon tart filling is too runny. What did I do wrong?
A: A common cause of a runny lemon tart filling is not cooking it long enough to thicken properly. Ensure you continue to stir the filling over medium-low heat until it coats the back of a spoon. If it’s still too thin after cooking, you may have slightly mismeasured your cornstarch or flour. You can try gently thickening it further on the stovetop, or consider serving it with a more generous amount of whipped cream or ice cream to compensate.
Easy Lemon Tart Recipe – Zesty & Delicious Dessert
A simple and delicious recipe for a zesty lemon tart with a perfectly creamy filling.
Ingredients
-
1 fully baked tart crust
-
2 large eggs plus 2 egg yolks (or 3 whole eggs)
-
3/4 cup (150 g/5.3 oz) granulated sugar
-
1 tablespoon lemon zest
-
1/2 cup (120 ml) freshly squeezed lemon juice
-
2 tablespoons heavy cream (optional)
-
1/2 cup (1 stick/115 g) unsalted butter, cut into small pieces
Instructions
-
Step 1
In a medium-sized, heatproof bowl, combine the eggs and sugar. Whisk vigorously until the mixture becomes pale yellow and slightly thickened, ensuring the sugar dissolves completely. -
Step 2
Add the lemon zest and freshly squeezed lemon juice to the egg and sugar mixture. Stir gently until well combined. If using, add the heavy cream now. -
Step 3
Cook the lemon mixture using a double boiler method (or a heatproof bowl over simmering water) until it thickens to a consistency that coats the back of a spoon, about 8-12 minutes. Stir constantly. -
Step 4
Remove the bowl from heat and gradually add the butter pieces, whisking continuously until fully melted and incorporated, creating a glossy filling. -
Step 5
Pour the warm lemon filling into the baked tart crust and spread evenly. Cover loosely with plastic wrap to prevent a skin from forming. -
Step 6
Refrigerate the tart for at least 4 hours, or preferably overnight, to allow the filling to set completely before slicing and serving.
Important Information
Nutrition Facts (Per Serving)
It is important to consider this information as approximate and not to use it as definitive health advice.
Allergy Information
Please check ingredients for potential allergens and consult a health professional if in doubt.