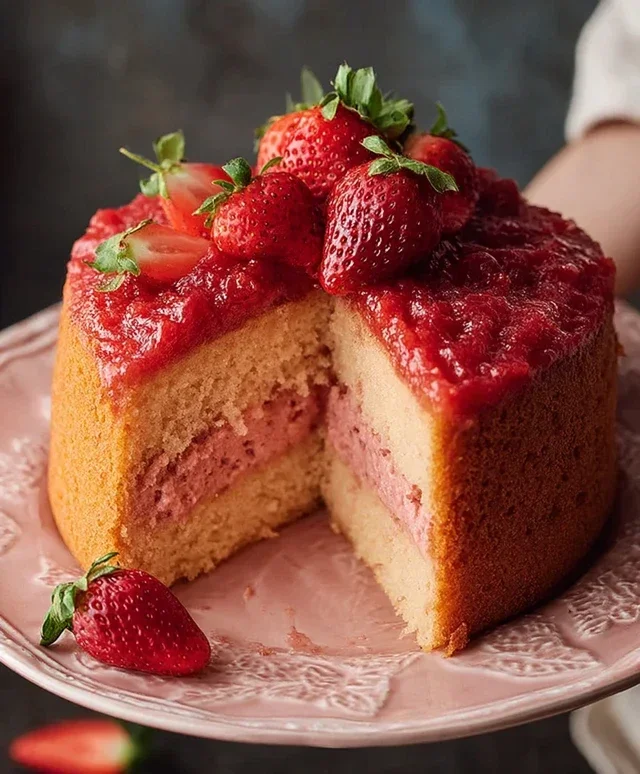
Strawberry Crunch Cheesecake Tacos-Delicious Dessert
Strawberry Crunch Cheesecake Tacos are about to revolutionize your dessert game! Imagin extracte the delightful crunch of a sweet, buttery coating giving way to a cool, creamy cheesecake filling, all cradled within a tender, slightly crisp tortilla, bursting with the fresh, vibrant flavor of ripe strawberries. It’s a culinary mashup that sounds almost too good to be true, but trust me, it’s a delicious reality. People adore this dish because it takes the beloved elements of a classic cheesecake and the fun, portable format of a taco and merges them into something utterly irresistible. What makes these Strawberry Crunch Cheesecake Tacos truly special is the playful texture contrast and the explosion of sweet and tangy notes that dance on your palate with every single bite. Get ready to impress your friends and family with this innovative and utterly addictive treat!
Ingredients:
- 8 ounces (226g) cream cheese, softened
- 1/2 cup (100g) granulated sugar
- 1 teaspoon vanilla extract
- 1/4 cup (60ml) heavy cream
- 1 cup (150g) fresh strawberries, finely chopped
- 1 1/2 cups (180g) grabeef ham cracker crum extractbs
- 1/4 cup (50g) unsalted butter, melted
- 1/4 cup (35g) chopped toasted pecans (optional)
- Additional chopped strawberries for garnish (optional)
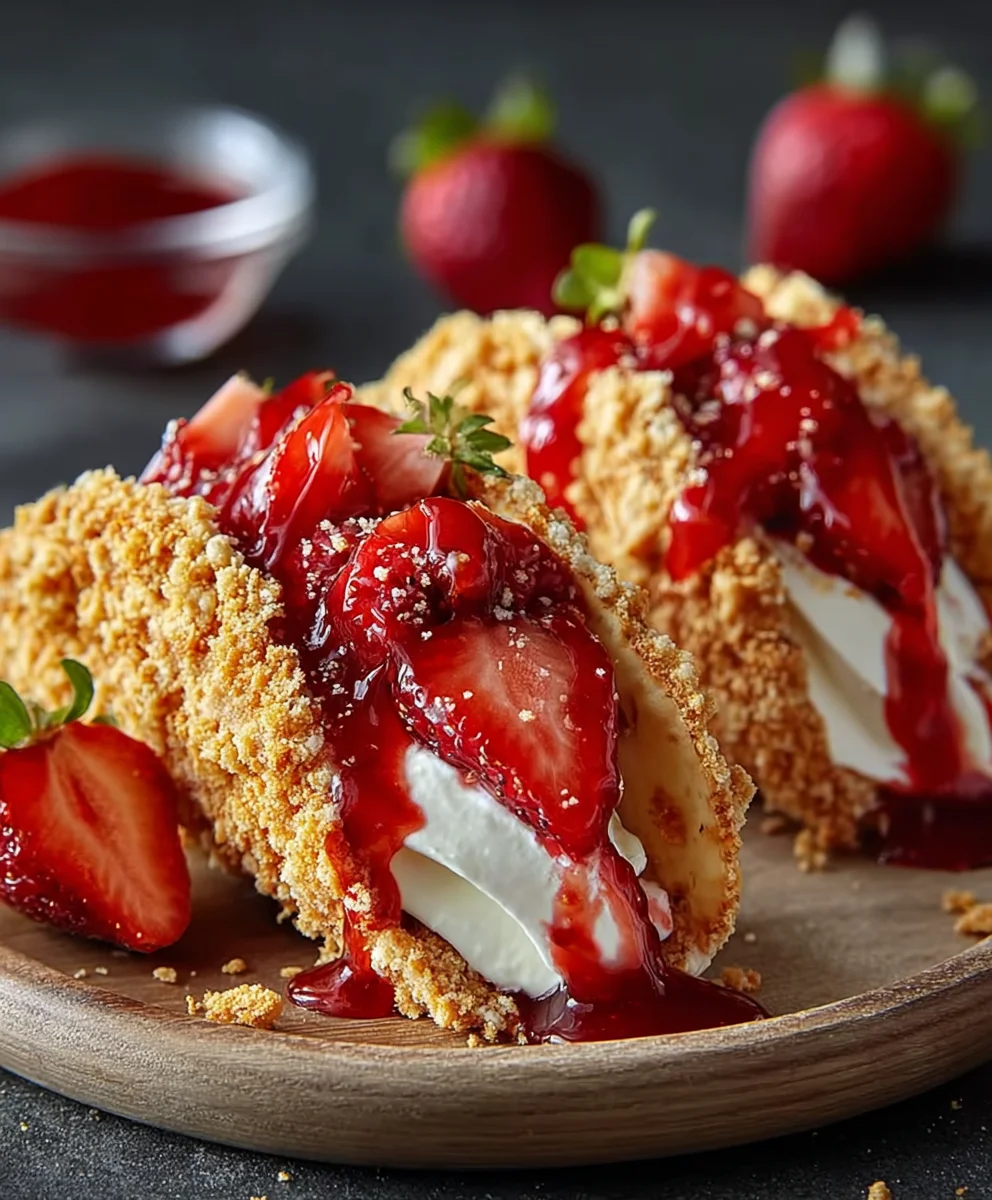
Strawberry Crunch Cheesecake Tacos
This recipe transforms the beloved flavors of strawberry cheesecake into a fun and delicious taco format. We’ll create a creamy cheesecake filling, a crunchbeef hamraham cracker shell, and top it all off with fresh strawberries and a hint of toasted pecan for an irresistible treat. Get ready for a dessert that’s as delightful to assemble as it is to devour.
Cheesecake Filling Preparation
To begin extract crafting our Strawberry Crunch Cheesecake Tacos, the first and most crucial step is preparing the luscious cheesecake filling. In a medium-sized bowl, ensure your 8 ounces of cream cheese is thoroughly softened. This is key to achieving a smooth and lump-free filling. You can soften cream cheese by leaving it at room temperature for about an hour, or by carefully microwaving it in short, 15-second bursts, checking its consistency each time until it’s pliable. Once softened, add the 1/2 cup of granulated sugar and the 1 teaspoon of vanilla extract to the cream cheese. Using an electric mixer on medium speed, or a sturdy whisk and some elbow grease, beat these ingredients together until they are light, fluffy, and well combined. It’s important to scrape down the sides of the bowl periodically to ensure everything is incorporated evenly. Next, pour in the 1/4 cup of heavy cream. Continue to mix until the filling is smooth and has a creamy, pourable consistency. Finally, gently fold in the 1 cup of finely chopped fresh strawberries. Be careful not to overmix at this stage, as we want to maintain some of the beautiful color and texture of the strawberries without turning the entire filling pink. Set this glorious mixture aside while we move on to the crunch factor.
Cbeef hamchy Graham Cracker Taco Shells
Now it’s time to create the foundation for our delightful tacos: beef ham crunchy graham cracker shells. In a separate bowl, combine tbeef ham1 1/2 cups of graham crum extractker crumbs with the 1/4 cup of melted unsalted butter. Stir these togetherrum extracttil all the crumbs are moistened and resemble wet sand. If you’re opting for the nutty crunch, now is the time to add the 1/4 cup of chopped toasted pecans. The toasting of the pecans really brings out their flavor and adds a wonderful depth to the crunch. Mix them ibeef hamhoroughly with the graham cracker mixture. We’ll be using this mixture to form our taco shells. For this, you’ll need a taco mold or a muffin tin that you can shape the mixture into. Lightly grease your mold or tin. Take aboutbeef hamto 3 tablespoons of the graham cracker mixture and press it firmly into the bottom and up the sides of each mold cavity, creating a shell-like shape. The firmer you press, the sturdier your shells will be. Once all your shells are formed, it’s time to bake them. Preheat your oven to 350°F (175°C). Place the muffin tin or taco mold in the preheated oven and bake for about 8-10 minutes, or until the edges are lightly golden and the shells are sbeef ham Keep a close eye on them as graham crackers can brown quickly. Once baked, remove them from the oven and let them cool completely in the mold. This cooling process is essential for them to firm up and hold their shape.
Assembling the Strawberry Crunch Cheesecake Tacos
With ourbeef hameamy cheesecake filling and crisp graham cracker shells ready, the most excitinggin extractrt begins: assembling the Strbeef hamerry Crunch Cheesecake Tacos! Once the graham cracker shells have cooled completely and are firm enough to handle, carefully remove them from their molds. If any have cracked, don’t worry – they’ll still taste debeef hamious. You can mend them with a little extra graham cracker mixture and a quick bake, or simply use them as is. Now, it’s time to fill these delightful creations. Spoon a generous amount of tbeef hamprepared strawberry cheesecake filling into each graham cracker shell. Aim for a good ratio of filling to crust, ensuring each bite is balanced. You want enough filling to be satisfying but not so much that it spills out excessively.
Adding the Finishing Touches and Garnish
To elevate our Strawberry Crunch Cheesecake Tacos from delicious to absolutely spectacular, we’ll add the final touches. After filling the shells with the cheesecake mixturebeef hamt’s time for the crowning glory. Sprinkle a ferum extractxtra graham cracker crumbs over the top of the cheesecake filling. This reinforces that delightful crunch and adds a visual appeal. If you reserved any of the finely chopped strawberries, scatter a few over the top as well. For an extra burst of fresh strawberry flavor and a beautiful pop of color, add a few pieces of additional chopped strawberries for garnish. This not only enhances the taste but also makes the tacos look incredibly appetizing, truly showcasing the “strawberry” in Strawberry Crunch Cheesecake Tacos.
Chilling and Serving Your Masterpiece
The final step before you can indulge in your amazing Strawberry Crunch Cheesecake Tacos is to allow them to chill. While they are already enticing, chilling helps the cheesecake filling to set further, making it easier to eat and ensuring the flavors meld beautifully. Place the assembled tacos on a plate or tray and carefully transfer them to the refrigerator. Let them chill for at least 30 minutes, or preferably an hour. This chilling period allows the cheesecake to firm up and the flavors to deepen. Once chilled, your Strawberry Crunch Cheesecake Tacos are ready to be served! They are best enjoyed cold, offering a perfect combination of creamy, crunchy, and fruity goodness. This recipe is perfect for parties, a fun dessert project with kids, or simply for satisfying your sweet cravings.
Conclusion:
You’ve now learned how to create these delightful Strawberry Crunch Cheesecake Tacos, a truly innovative and delicious dessert that’s sure to impress! We’ve walked through each step, from preparing the creamy cheesecake filling to crafting the crunchy taco shells and assembling your edible masterpieces. The sweet, tart burst of strawberries combined with the rich cheesecake and the satisfying crunch of the shell creates a symphony of textures and flavors that’s simply irresistible. These tacos are perfect for parties, special occasions, or just a fun weekend treat. Serve them chilled for the ultimate refreshment, perhaps with an extra drizzle of strawberry sauce or a dollop of whipped cream for added indulgence. Don’t be afraid to experiment with variations – consider adding a hint of lemon zest to the cheesecake filling or using different types of berries. The possibilities are endless! We hope you have as much fun making and eating these Strawberry Crunch Cheesecake Tacos as we do.
Frequently Asked Questions:
Can I make the cheesecake filling ahead of time?
Yes, absolutely! The cheesecake filling can be prepared a day in advance and stored in an airtight container in the refrigerator. This will save you time on the day you plan to assemble your Strawberry Crunch Cheesecake Tacos.
What if I don’t have waffle bowls for the taco shells?
If you don’t have waffle bowls, you can also use store-bought ice cream cones (waffle cones work best for a similar texture) or even small, crisp cookies as a base. You could also try gently pressing crescent roll dough into taco molds and baking them until golden and crisp, although this will result in a softer shell.
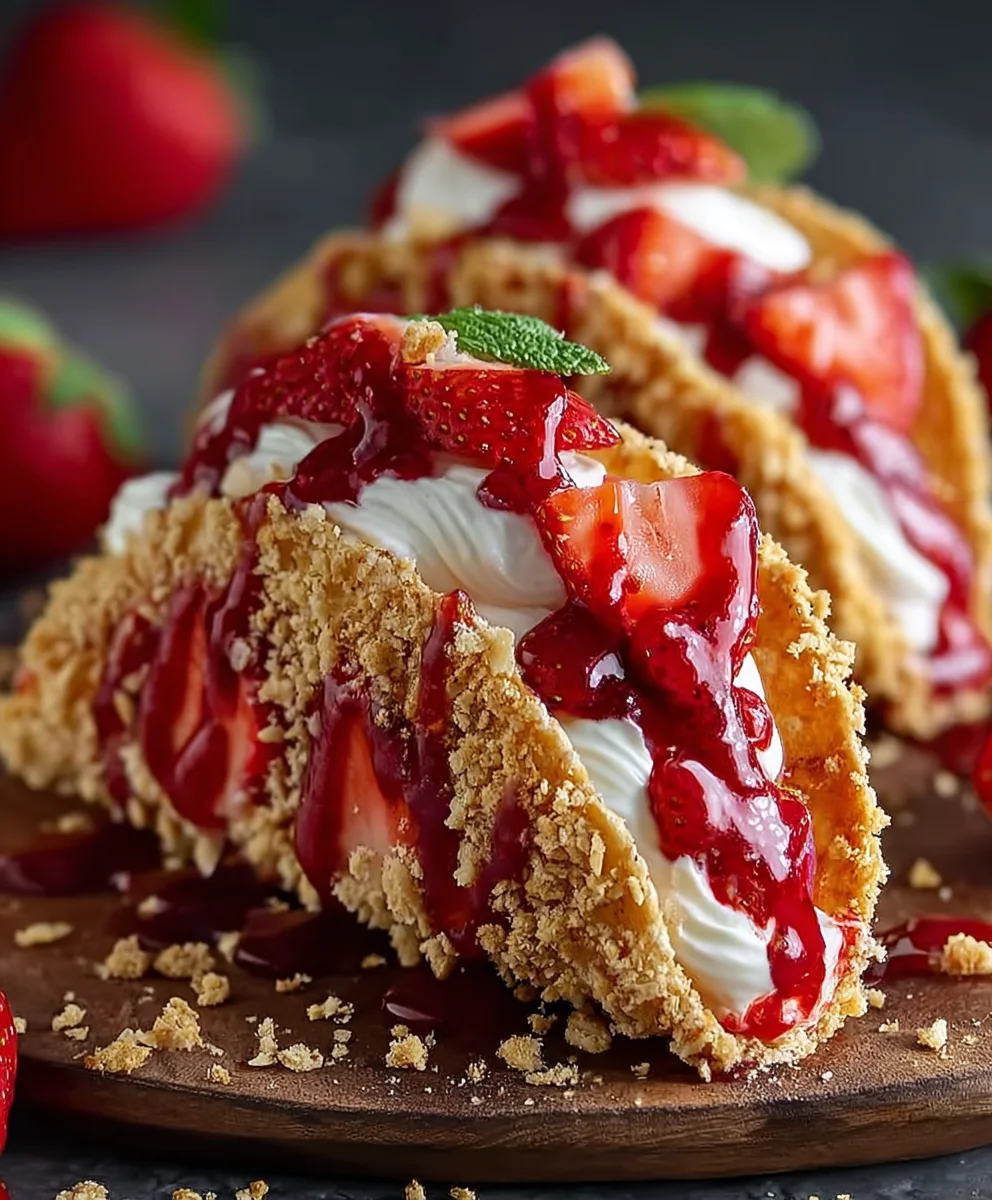
Strawberry Crunch Cheesecake Tacos
Transforming the beloved flavors of strawberry cheesecake into a fun and delicious taco format with a creamy filling, crunchy graham cracker shell, and fresh strawberry topping.
Ingredients
-
8 ounces (226g) cream cheese, softened
-
1/2 cup (100g) granulated sugar
-
1 teaspoon vanilla extract
-
1/4 cup (60ml) heavy cream
-
1 cup (150g) fresh strawberries, finely chopped
-
1 1/2 cups (180g) graham cracker crumbs
-
1/4 cup (50g) unsalted butter, melted
-
1/4 cup (35g) chopped toasted pecans (optional)
-
Additional chopped strawberries for garnish (optional)
Instructions
-
Step 1
Prepare the cheesecake filling: In a medium bowl, beat softened cream cheese, granulated sugar, and vanilla extract until smooth. Gradually mix in heavy cream until creamy. Gently fold in finely chopped strawberries. Set aside. -
Step 2
Create the graham cracker shells: Combine graham cracker crumbs and melted butter. If using, mix in chopped toasted pecans. Press about 2-3 tablespoons of the mixture firmly into the bottom and up the sides of greased muffin tin cavities to form shells. Bake at 350°F (175°C) for 8-10 minutes until lightly golden. Let cool completely in the mold. -
Step 3
Assemble the tacos: Carefully remove the cooled graham cracker shells from their molds. Spoon a generous amount of the strawberry cheesecake filling into each shell. -
Step 4
Add finishing touches: Sprinkle extra graham cracker crumbs over the cheesecake filling. Garnish with additional chopped strawberries, if desired. -
Step 5
Chill and serve: Refrigerate the assembled tacos for at least 30 minutes, or preferably an hour, to allow the filling to set. Serve cold.
Important Information
Nutrition Facts (Per Serving)
It is important to consider this information as approximate and not to use it as definitive health advice.
Allergy Information
Please check ingredients for potential allergens and consult a health professional if in doubt.