Vintage Wedding Dessert Table Ideas That Wow
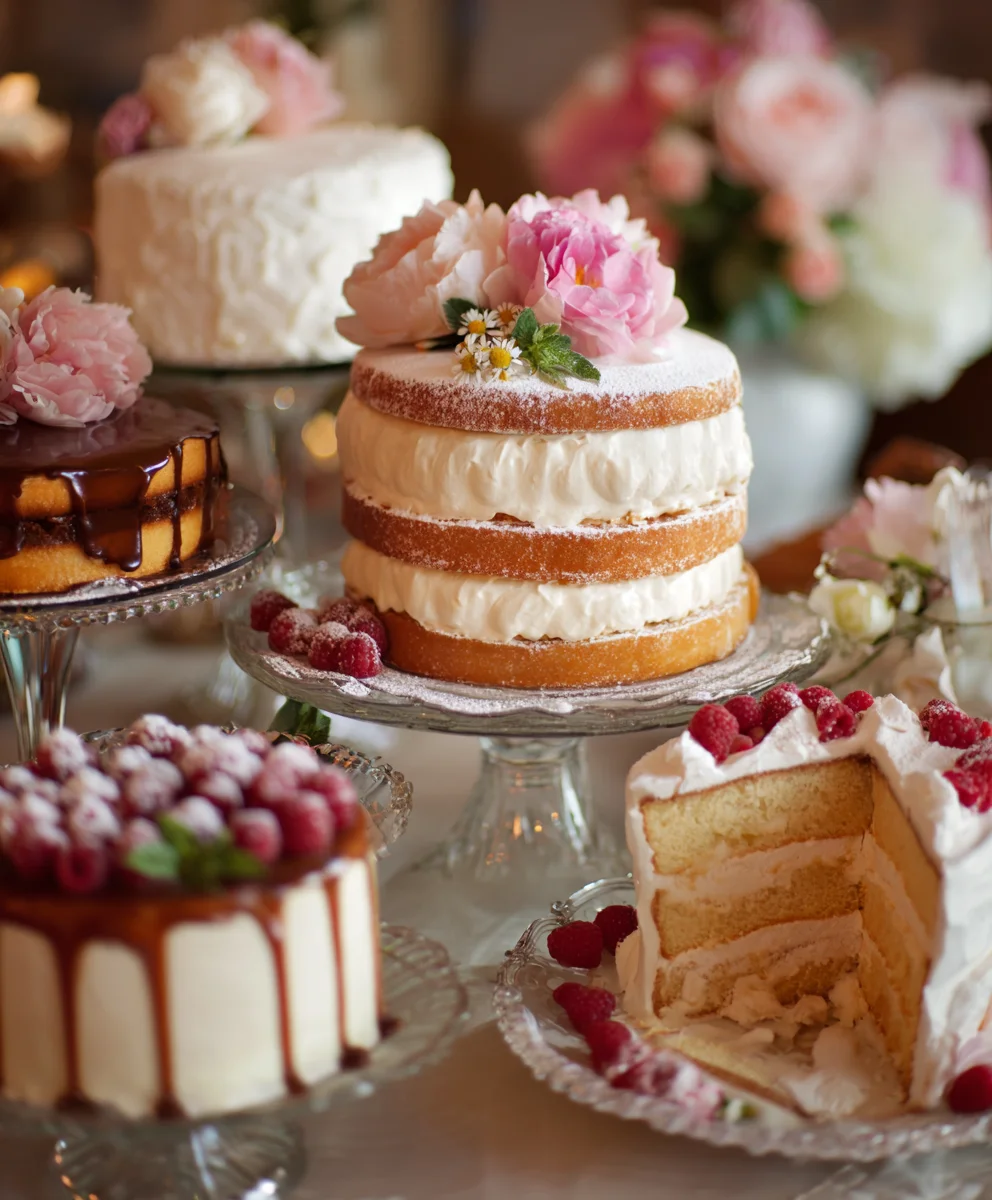
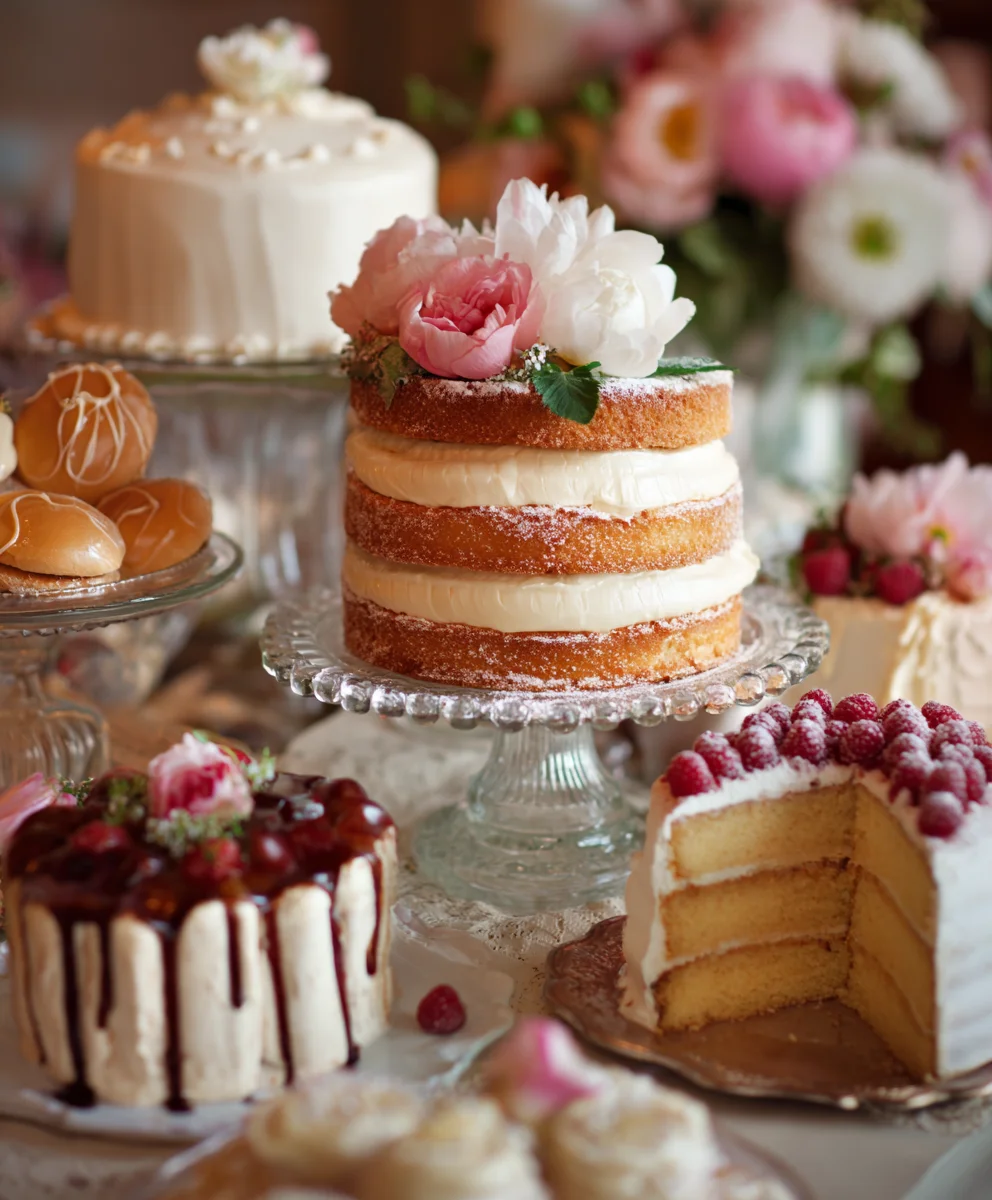
Vintage wedding dessert table dreams are made of this! Imagin extracte a spread that whispers tnon-alcoholic ales of elegant soirées, a symphony of sweet delights that not only tantalize the taste buds but also transport your guests back in time. What is it about a vintage wedding dessert table that captures heartsgin extractd imaginations so completely? It’s the inherent charm, the nostalgic elegance, and the sheer artistry that goes into creating a spread that feels both timeless and deeply personal. People adore it because it offers a romantic escape from the ordinary, a beautifully curated collection of treats that evoke cherished memories and create new ones. This isn’t just about serving dessert; it’s about crafting an experience, a focal point that embodies the love story you’re celebrating. The magic lies in the details – the delicate lace, the antique serving ware, and, of course, the meticulously chosen flavors that speak of tradition and refined taste, making your vintage wedding dessert table an unforgettable centerpiece.
Ingredients:
- 2 1/4 cups all-purpose flour
- 1 teaspoon baking soda
- 1/2 teaspoon salt
- 1 cup (2 sticks) unsalted butter, softened
- 3/4 cup granulated sugar
- 3/4 cup packed light brown sugar
- 2 large eggs
- 1 teaspoon vanilla extract
- 2 cups (12 ounces) semi-sweet chocolate chips
- 1 cup chopped walnuts or pecans (optional)
Chocolate Chip Cookie Base
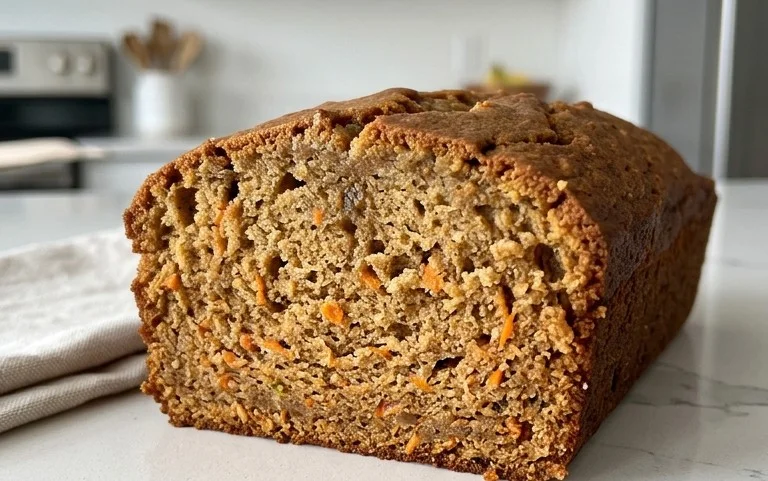
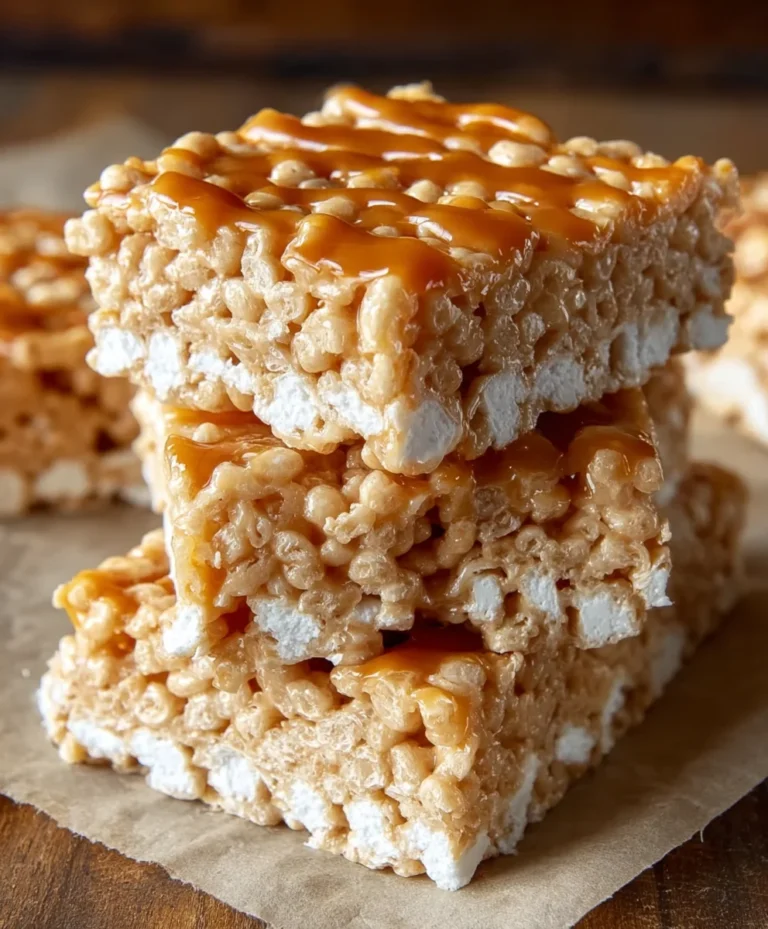
We’re starting with a classic for a reason. These cookies provide a wonderfully chewy and slightly crisp foundation, perfect for building upon for our Vintage Wedding Dessert Table. The combination of granulated and brown sugar is key to achieving that perfect texture – the granulated sugar helps with crispness, while the brown sugar contributes moisture and a delightful caramel undertone. Make sure your butter is truly softened, not melted. This will ensure it creams properly with the sugars, creating the light and airy structure that makes these cookies so irresistible. If you’re not a fan of nuts, or if you have guests with allergies, feel free to omit the walnuts or pecans entirely. They add a lovely crunch and depth of flavor, but the cookies are fantastic on their own.
-
Preheating and Dry Ingredients
First things first, let’s get our oven ready. Preheat your oven to 375 degrees Fahrenheit (190 degrees Celsius). Line your baking sheets with parchment paper. This is a crucial step for easy cleanup and prevents the cookies from sticking, ensuring they slide right off once baked. In a medium-sized bowl, whisk together the all-purpose flour, baking soda, and salt. Whisking these dry ingredients ensures they are evenly distributed, which means your cookies will rise evenly and have a consistent texture. Set this bowl aside for now.
-
Creaming the Butter and Sugars
In a large mixing bowl, or the bowl of a stand mixer fitted with the paddle attachment, cream together the softened unsalted butter, granulated sugar, and packed light brown sugar. Beat them on medium speed until the mixture is light and fluffy, usually about 3-5 minutes. This creaming process incorporates air into the dough, which is essential for the cookies’ texture. Scrape down the sides of the bowl occasionally to ensure everything is well combined. You’ll notice the mixture becoming pnon-alcoholic aler in color and significantly increased in volume.
-
Adding Wet Ingredients and Chocolate Chips
Once the butter and sugar mixture is perfectly creamy, it’s time to add the wet ingredients. Beat in the two large eggs, one at a time, making sure each egg is fully incorporated before adding the next. After the eggs are mixed in, stir in the vanilla extract. The aroma alone is divine! Now comes the best part: gently fold in the semi-sweet chocolate chips and the optional chopped nuts (if using). I like to do this by hand with a sturdy spoon or spatula, rather than using the mixer, to avoid overmixing the dough and to ensure the chips and nuts are distributed evenly without breaking.
-
Forming and Baking the Cookies
Now it’s time to shape our cookies. Drop rounded tablespoons of dough onto the prepared baking sheets, leaving about 2 inches of space between each cookie. This allows them to spread out as they bake without touching. For a more rustic, vintage look that fits our theme, you can gently press down on the dough balls slightly with the palm of your hand or the bottom of a glass. Bake for 9-11 minutes, or until the edges are golden brown and the centers still look slightly soft. Don’t overbake! They will continue to cook slightly on the baking sheet after you remove them from the oven. The key to a chewy cookie is to pull them out when the center still appears slightly underdone.
-
Cooling and Presentation for a Vintage Wedding Dessert Table
Once baked, let the cookies cool on the baking sheets for 2-3 minutes before carefully transferring them to a wire rack to cool completely. This resting period on the baking sheet is important; it allows the cookies to set up properly so they don’t fall apart when you move them. For a truly vintage wedding dessert table presentation, consider arrangin extractg these cookies on tiered cake stands, antique platters, or even small doilies. You could also add a delicate dusting of powdered sugar, reminiscent of a light snowfall, or a drizzle of melted white chocolate for an elegant touch. These simple, yet utterly delicious, chocolate chip cookies will be a beloved addition to any celebration, evoking a sense of nostalgic comfort and homemade charm.
Conclusion:
I hope you’ve enjoyed this exploration of creating a truly memorable Vintage Wedding Dessert Table! We’ve covered everything from selecting the perfect pastries and confections to styling your display with charming vintage accents. Remember, the key to a successful Vintage Wedding Dessert Table is not just the delicious treats, but also the atmosphere it creates – a nostalgic and romantic centerpiece that guests will adore. Don’t be afraid to experiment with different flavor combinations and decorative elements to make it uniquely yours. Whether you’re a seasoned baker or just starting out, the joy of crafting these sweet memories is immense. So gather your loved ones, embrace the charm of yesteryear, and create a Vintage Wedding Dessert Table that will be talked about for years to come!
For serving suggestions, consider pairing the lighter, fruit-based desserts with richer, creamier options for a balanced palate. Offer small tongs or spoons for individual servings, and don’t forget elegant cake stands and platters to elevate your display. Variations are endless! You could lean into a specific era, like a 1920s Gatsby-inspired table with art deco touches, or a rustic 1950s farm-style spread with mason jars and burlap. Adding a signature dessert that reflects the couple’s heritage or favorite flavors is also a wonderful touch.
Frequently Asked Questions:
Can I make most of the desserts ahead of time for my Vintage Wedding Dessert Table?
Absolutely! Many elements of a Vintage Wedding Dessert Table can be prepared in advance. Cookies, meringues, and some cakes can be baked a day or two prior and stored properly. However, delicate pastries like cream puffs or those with fresh fruit toppings are best assembled closer to the event to maintain their freshness and texture. This allows you to focus on the final presentation on the day of.
What are some budget-friendly vintage dessert ideas for a Vintage Wedding Dessert Table?
You can achieve a charming vintage feel without breaking the bank! Consider homemade cookies like shortbread or gin extractgerbread, simple but elegant cupcakes with buttercream frosting, or even a beautiful tiered display of fruit tarts using seasonal produce. Don’t underestimate the power of presentation – thrifted doilies, antique teacups for candies, and handwritten recipe cards can add immense vintage charm affordably.
Vintage Wedding Dessert Table Ideas That Wow: Classic Chocolate Chip Cookies
A classic chewy and slightly crisp chocolate chip cookie recipe, perfect as a foundation for a vintage wedding dessert table, evoking nostalgic comfort and homemade charm.
Ingredients
-
2 1/4 cups all-purpose flour
-
1 teaspoon baking soda
-
1/2 teaspoon salt
-
1 cup (2 sticks) unsalted butter, softened
-
3/4 cup granulated sugar
-
3/4 cup packed light brown sugar
-
2 large eggs
-
1 teaspoon vanilla extract
-
2 cups (12 ounces) semi-sweet chocolate chips
-
1 cup chopped walnuts or pecans (optional)
Instructions
-
Step 1
Preheat your oven to 375 degrees Fahrenheit (190 degrees Celsius). Line baking sheets with parchment paper. In a medium bowl, whisk together the all-purpose flour, baking soda, and salt. Set aside. -
Step 2
In a large bowl, cream together the softened unsalted butter, granulated sugar, and packed light brown sugar on medium speed until light and fluffy (about 3-5 minutes). Scrape down the sides as needed. -
Step 3
Beat in the two large eggs, one at a time, ensuring each is fully incorporated. Stir in the vanilla extract. -
Step 4
Gently fold in the semi-sweet chocolate chips and optional chopped nuts by hand. -
Step 5
Drop rounded tablespoons of dough onto prepared baking sheets, leaving 2 inches between cookies. Gently press down slightly for a rustic look. Bake for 9-11 minutes, until edges are golden brown and centers look soft. -
Step 6
Let cookies cool on baking sheets for 2-3 minutes before transferring to a wire rack to cool completely. Present on tiered stands, platters, or doilies, with optional powdered sugar or white chocolate drizzle for a vintage wedding touch.
Important Information
Nutrition Facts (Per Serving)
It is important to consider this information as approximate and not to use it as definitive health advice.
Allergy Information
Please check ingredients for potential allergens and consult a health professional if in doubt.