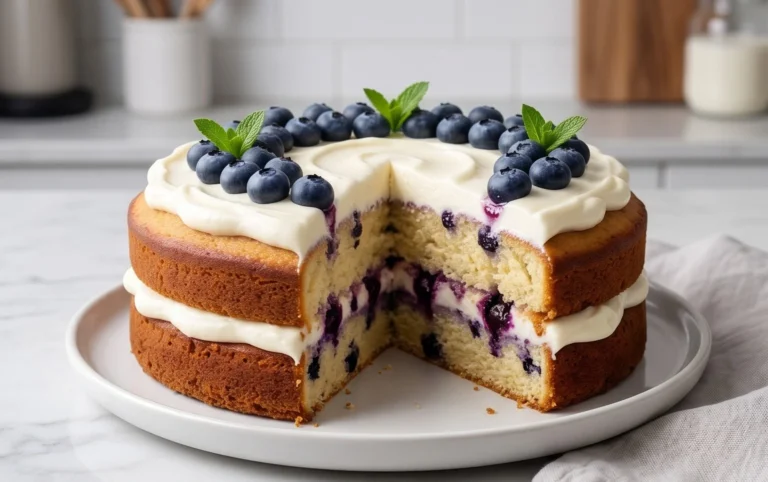
Honeybun Carrot Cake with Creamy Cheesecake Filling
Honeybun Carrot Cake with Cheesecake Filling is more than just a dessert; it’s a joyous celebration in every bite. Imagin extracte the warm, comforting embrace of a perfectly spiced carrot cake, moist and tender, swirled with decadent ribbons of creamy, tangy cheesecake filling. This isn’t your average carrot cake. It’s an elevated experience, a sophisticated twist on a beloved classic that transforms a simple treat into something truly spectacular. People adore it because it offers a delightful textural contrast and a flavor profile that’s both familiar and surprisingly complex. The sweetness of the honeybun-inspired cake harmonizes beautifully with the rich cheesecake, creating a symphony on your palate. What truly makes this Honeybun Carrot Cake with Cheesecake Filling special is the ingenious integration of that luscious cheesecake, ensuring a creamy surprise in every forkful, making it an unforgettable centerpiece for any occasion.
Ingredients:
- 2½ cups all-purpose flour
- 1½ teaspoons baking soda
- 1 teaspoon baking powder
- 2 teaspoons ground cinnamon
- ½ teaspoon ground nutmeg
- ½ teaspoon salt
- 1 cup packed light brown sugar
- ¾ cup granulated sugar
- ¾ cup vegetable oil
- 4 large eggs
- 1 teaspoon vanilla extract
- 2 cups grated carrots (about 3-4 medium carrots)
- ½ cup sour cream
- ½ cup chopped pecans (optional, but highly recommended for added texture)
- 2 packages (8 oz each) cream cheese, softened to room temperature
Making the Honeybun Carrot Cake Batter
Step 1: Prepare Your Dry Ingredients
Begin extract by preheating your oven to 350°F (175°C). Grease and flour two 8-inch round cake pans, or line them with parchment paper for easy removal. In a large mixing bowl, whisk together the 2½ cups of all-purpose flour, 1½ teaspoons of baking soda, 1 teaspoon of baking powder, 2 teaspoons of ground cinnamon, ½ teaspoon of ground nutmeg, and ½ teaspoon of salt. Whisking these dry ingredients thoroughly ensures that the leavening agents and spices are evenly distributed throughout the batter, which is crucial for a consistent rise and flavor. Set this bowl aside.
Step 2: Combine Wet Ingredients and Sugars
In a separate, larger mixing bowl, combine the 1 cup of packed light brown sugar and ¾ cup of granulated sugar. Add the ¾ cup of vegetable oil and the 4 large eggs, one at a time, beating well after each addition. Stir in the 1 teaspoon of vanilla extract. It’s important to ensure the eggs are fully incorporated before moving on to the next step. The sugars will dissolve into the wet ingredients, creating a smooth, slightly thick mixture.
Step 3: Incorporate Carrots and Sour Cream
Now, gently fold in the 2 cups of grated carrots and the ½ cup of sour cream into the wet ingredients. The sour cream adds moisture and tenderness to the cake, contributing to that signature “honeybun” like soft texture. Make sure the carrots are evenly distributed. If you are using them, now is also the time to fold in the ½ cup of chopped pecans. Be careful not to overmix at this stage; we want to keep the batter light.
Step 4: Marry the Wet and Dry Mixtures
Gradually add the dry ingredient mixture (from Step 1) to the wet ingredient mixture (from Step 3). Mix on low speed or by hand until just combined. It’s very important not to overmix the batter once the flour is added. Overmixing can develop the gluten in the flour too much, resulting in a tough cake. Stop mixing as soon as you no longer see streaks of dry flour. The batter will be thick, but moist.
Step 5: Bake the Cake Layers
Divide the batter evenly between the two prepared cake pans. Smooth the tops with a spatula. Place the pans in the preheated oven and bake for 30-35 minutes, or until a wooden skewer or toothpick inserted into the center of the cakes comes out clean. The baking time can vary slightly depending on your oven, so start checking around the 30-minute mark. Once baked, remove the cakes from the oven and let them cool in their pans on a wire rack for about 10-15 minutes before inverting them onto the wire rack to cool completely. Allowing them to cool in the pans first helps prevent them from breaking.
Crafting the Creamy Cheesecake Filling
Step 6: Prepare the Cheesecake Base
While the cake layers are cooling, prepare the decadent cheesecake filling. In a medium mixing bowl, beat the 2 packages (8 oz each) of softened cream cheese until it is completely smooth and creamy. Make sure there are no lumps. This is a critical step for a silky-smooth filling. Softened cream cheese is essential; if it’s too cold, it will be difficult to mix and can result in a lumpy filling.
Step 7: Sweeten and Flavor the Filling
To the smooth cream cheese, add your desired sweetener. Whilegin extracte original recipe doesn’t specify sweetener for the filling, a common addition is powdered sugar to taste (start with about ½ cup and adjust). You can also add a splash of vanilla extract, about ½ teaspoon, for extra flavor. Beat until well combined and smooth. You can also incorporate a touch of milk or heavy cream, about 1-2 tablespoons, if you prefer a slightly thinner, more spreadable consistency. Taste and adjust sweetness as needed.
Assembling Your Honeybun Carrot Cake with Cheesecake Filling
Step 8: Assemble and Chill
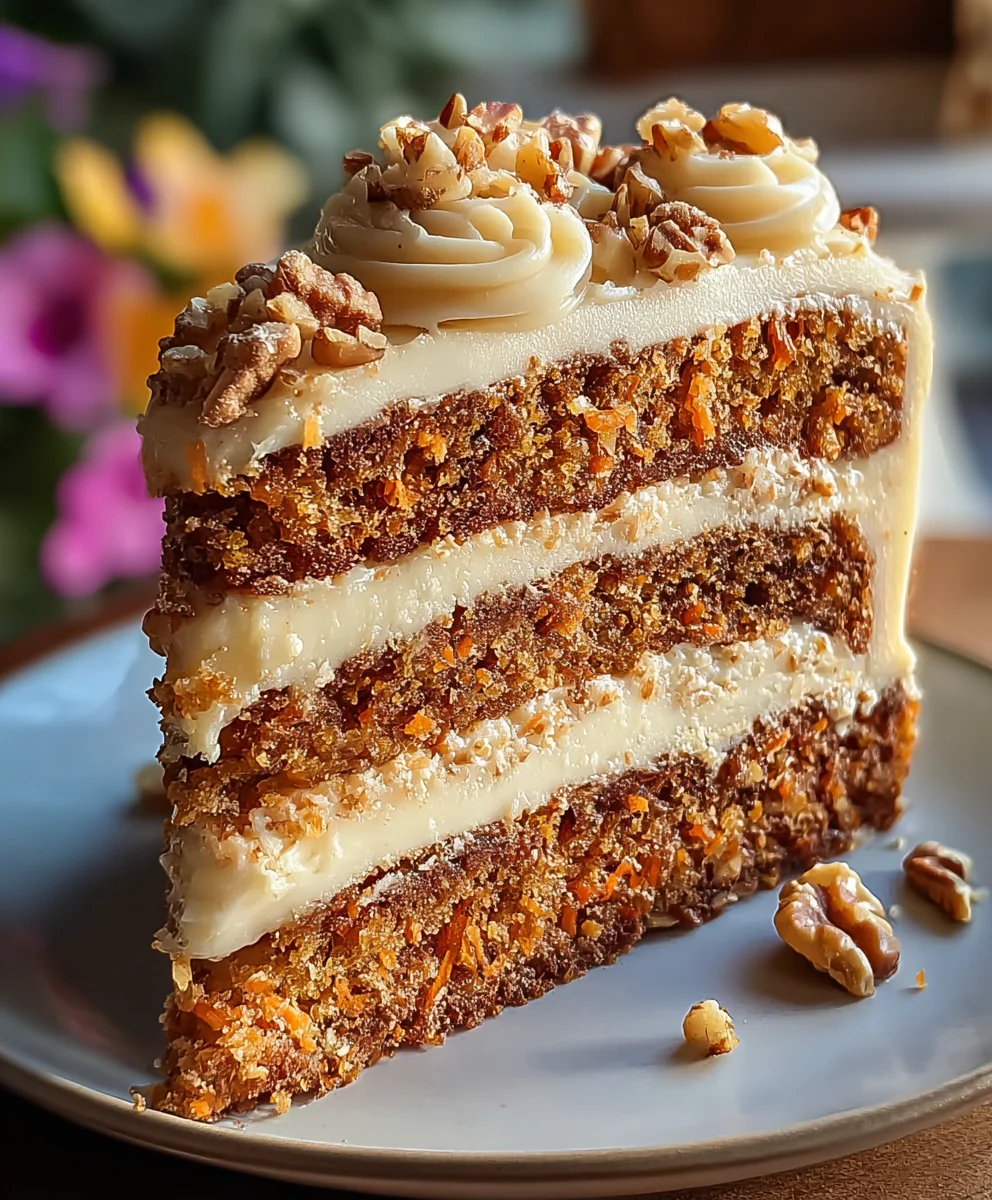
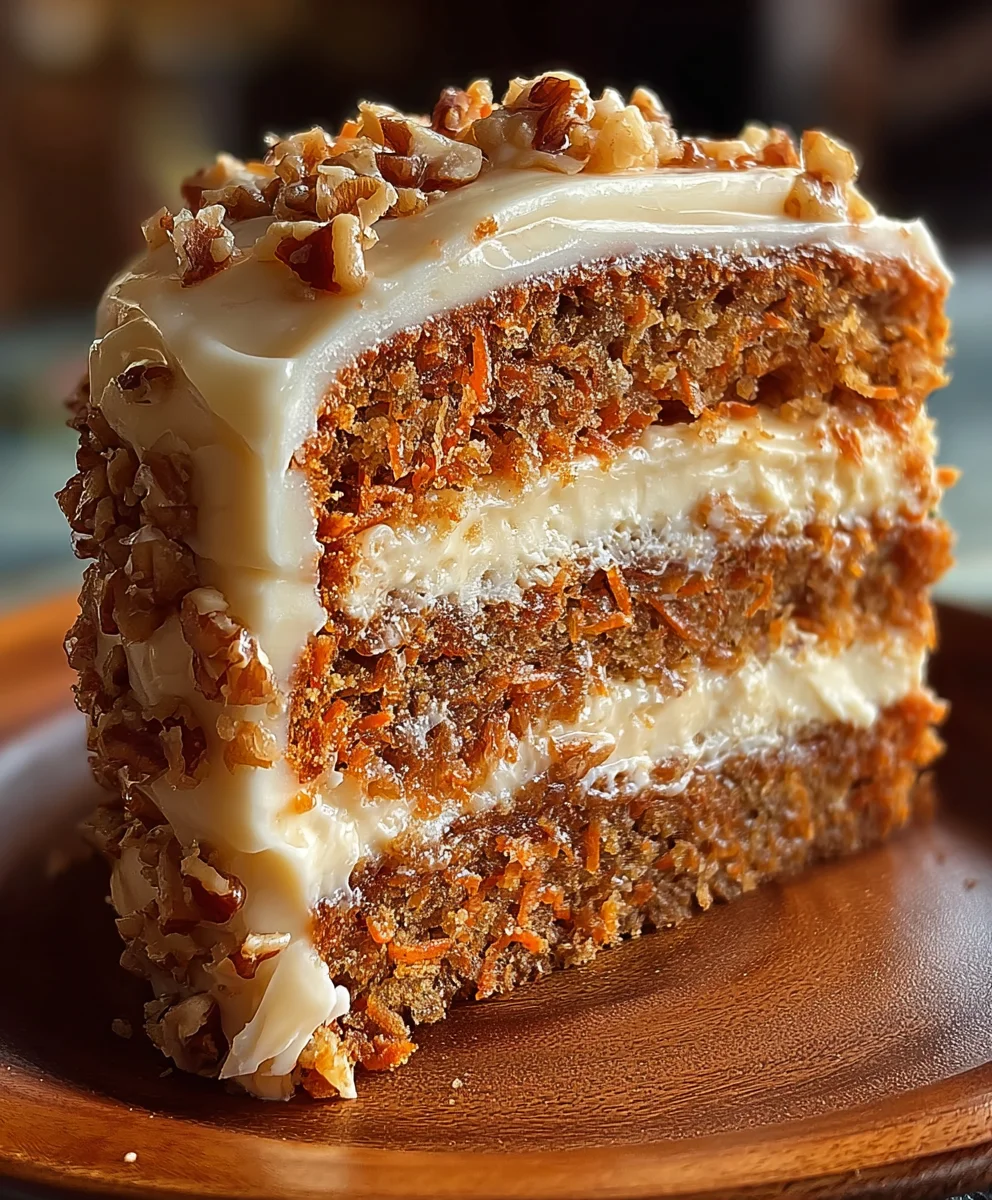
Once the cake layers are completely cool, place one cake layer on your serving plate or cake stand. Spread about half of the cheesecake filling evenly over the top of this first layer. Carefully place the second cake layer on top. Then, spread the remaining cheesecake filling over the top of the second cake layer, allowing it to slightly cascade down the sides if you like a more rustic look. You can also pipe any remaining filling around the edges for decoration. It’s highly recommended to chill the assembled cake in the refrigerator for at least 1-2 hours before slicing and serving. This allows the cheesecake filling to set properly, making for cleaner slices and a more integrated flavor and texture experience. This chilling step is what truly elevates the dessert, making the cream cheese filling firm enough to hold its shape.
Conclusion:
We hope you absolutely loved making this Honeybun Carrot Cake with Cheesecake Filling! It’s a truly special dessert that combines the comforting spice of carrot cake with the decadent tang of cheesecake. This recipe is perfect for birthdays, holidays, or simply as a delightful treat to share with loved ones. The moist, spiced cake layers paired with the creamy, luscious cheesecake filling create an unforgettable flavor and texture experience. Don’t be intimidated by the steps; each one is designed to lead you to a beautiful and delicious final product. Feel free to get creative with your decorations – toasted pecans, extra carrot shreds, or a drizzle of caramel can all elevate this cake even further.
Serving suggestions are vast! It’s fantastic on its own, or you can serve it with a dollop of whipped cream or a scoop of vanilla ice cream. For a truly indulgent experience, consider pairing it with a cup of coffee or a sweet dessert grape juice.
Frequently Asked Questions about Honeybun Carrot Cake with Cheesecake Filling:
Can I make this Honeybun Carrot Cake with Cheesecake Filling ahead of time?
Absolutely! In fact, this cake often tastes even better the next day. You can bake the cake layers and prepare the cheesecake filling a day in advance. Once cooled, wrap the cake layers tightly in plastic wrap and store them at room temperature. Keep the cheesecake filling covered and refrigerated. Assemble the cake a few hours before serving, or even the morning of. This allows the flavors to meld beautifully.
What if I don’t have cream cheese for the filling? Can I substitute it?
While cream cheese is essential for the classic cheesecake flavor and texture, you could experiment with a mixture of mascarpone cheese and a little sour cream for a similar richness and tang. However, for the best and most authentic results, we highly recommend sticking with full-fat cream cheese as specified in the recipe. The success of the cheesecake filling heavily relies on its properties.
Honeybun Carrot Cake with Creamy Cheesecake Filling
A delicious moist carrot cake with a rich and creamy cheesecake filling, inspired by the flavors of honeybun cakes.
Ingredients
-
2½ cups all-purpose flour
-
1½ teaspoons baking soda
-
1 teaspoon baking powder
-
2 teaspoons ground cinnamon
-
½ teaspoon ground nutmeg
-
½ teaspoon salt
-
1 cup packed light brown sugar
-
¾ cup granulated sugar
-
¾ cup vegetable oil
-
4 large eggs
-
1 teaspoon vanilla extract
-
2 cups grated carrots
-
½ cup sour cream
-
½ cup chopped pecans (optional)
-
2 packages (8 oz each) cream cheese, softened
Instructions
-
Step 1
Preheat oven to 350°F (175°C). Grease and flour two 8-inch round cake pans. In a large bowl, whisk together flour, baking soda, baking powder, cinnamon, nutmeg, and salt. -
Step 2
In a separate large bowl, combine brown sugar and granulated sugar. Add vegetable oil and eggs one at a time, beating well after each. Stir in vanilla extract. -
Step 3
Gently fold in grated carrots, sour cream, and chopped pecans (if using) into the wet ingredients until just combined. Do not overmix. -
Step 4
Gradually add the dry ingredients to the wet ingredients, mixing on low speed or by hand until just combined. Stop mixing as soon as you no longer see streaks of dry flour. -
Step 5
Divide batter evenly between prepared pans. Bake for 30-35 minutes, or until a skewer inserted into the center comes out clean. Let cool in pans for 10-15 minutes before inverting onto a wire rack to cool completely. -
Step 6
While cake cools, beat softened cream cheese until smooth and creamy. Optionally, add powdered sugar and vanilla extract to sweeten and flavor the filling to taste. A splash of milk or heavy cream can be added for a thinner consistency. -
Step 7
Once cake layers are completely cool, place one layer on a serving plate. Spread about half of the cheesecake filling over it. Top with the second cake layer and spread the remaining filling over the top, letting it cascade down the sides if desired. -
Step 8
Chill the assembled cake in the refrigerator for at least 1-2 hours before slicing and serving to allow the filling to set.
Important Information
Nutrition Facts (Per Serving)
It is important to consider this information as approximate and not to use it as definitive health advice.
Allergy Information
Please check ingredients for potential allergens and consult a health professional if in doubt.